Cooking 101: Or, how to cook a perfect hard-boiled egg…
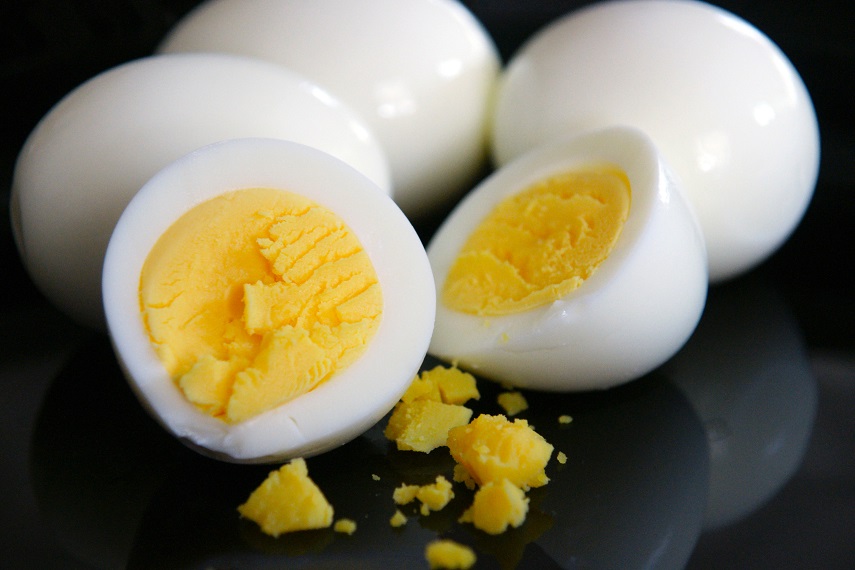
The photo I took above shows an egg in all it’s glory. The yolk is a beautiful creamy golden yellow and the whites are soft and silky. This is not the hard-boiled egg I grew up with; the one, with a greenish grey outlined yolk and rubbery egg white. You know what I mean! In actuality, hard-boiled eggs aren’t boiled at all; they are simply simmered gently.
If cooking an egg is so simple, then why do so many people struggle with it? Even my mother was challenged in this area. Yes, you read that right, the woman whose cooking and baking prowess I’m always praising did not cook a perfect egg! Like most people, when she boiled an egg to a hard-boiled stage, it often ended up with a greenish grey color that surrounded the yolk. Which is a real turnoff and has an off putting aroma. I wondered what causes this reaction and found out is a chemical reaction from the sulfur in the egg white reacting to the iron in the yolk when it’s overheated. Okay, simple solution, don’t over cook your eggs!
While it sounds simple, if you search for this information, you will find many variations on how to achieve the perfect hard-boiled egg. Should you use fresh or older eggs? If you purchase your eggs straight from a farm, I would wait a week before hard cooking them. If you use grocery bought eggs, you will be fine. Some cooks pierce the shell before cooking, others say don’t. Some cooks boil them for 8 minutes, some let them sit with the heat off for 12 to 15 minutes or longer. Some cooks cover the pot with a lid, some don’t. There are also those who say to add salt or vinegar to the water. So who is right? I haven’t a clue, it’s overwhelming and I just want a beautifully cooked egg! Enjoy!
Here is what I do for a perfect egg every time…
• I start with extra large eggs, and place them in a single layer in a large pot.
• Add enough water* to cover the eggs plus an extra inch or so and add a teaspoon of salt.
• Put the pot on high heat and bring it to a boil.
• Lower the heat to a low simmer and set a timer for 3 minutes.
• When the timer goes off, turn off the heat, remove the pot from the stove and cover the pot for 9 to 10 minutes**
• After that time, drain the water and run cold water over them. Place the eggs in an ice water bath (a bowl filled with ice and water 50/50). In 5 to 10 minutes when cold, peel the eggs. Drain the water, put the lid on and shake the pot to crack the shells.
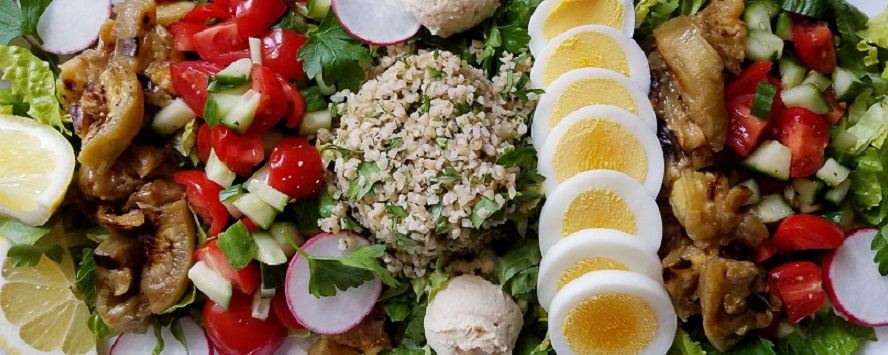
• Enjoy chopped into egg salad, cut in half and sprinkled with salt and pepper, or on top of a salad. However you like to eat a hard cooked egg you’ll now always have a perfect one!
*Make sure to add cold or room temperature water to the eggs. Keeping the water temperature close to the egg temperature may help prevent cracking.
**Timing also depends on the size of the egg you are using. Large eggs – 8 minutes, extra large – 9 minutes, jumbo – 10 to 11 minutes. You can always make sure they are done by checking one egg at the minimum time before placing them all into an ice bath.






Why no salt in the water? I was told it seals any cracks in the egg and increases the temperature of the water’s boiling point.
That’s a great question and thank you for catching my error! I do add about a teaspoon of salt to the water. The salt may help prevent cracking, as well as make them easier to peel. What also may help with cracking is adding water to the pot that is close in temperature to the egg. If I take the eggs straight from the fridge, I add cold water to the pot so not to shock the egg. If you start with room temperature eggs, add room temperature water. It’s the whole expansion/contraction thing we learned in science class; that’s my theory.
Salt does increase the temperature of the water’s boiling point. However, a teaspoon of salt is not a significant enough amount to raise the water’s boiling point. I hope this answers your question.
How come u don’t add enjoy to the end anymore? I thought it was cute and funny
Thank you for being so observant! I made an edit to the post just for you. Enjoy!