While I’ve been on Instagram quite a bit, I haven’t posted here in way too long. So for those of you who have missed me, I’m back baby! And Chocolate Chip Mandel Bread with Marzipan is my Big Comeback. It’s also a great big thank you to SOS (splash of sherri) fans who have been emailing me asking for my return – I really appreciate it! You like me, you really like me! To continue the gratitude I am sharing one of my absolute favorite recipes! Now for the post…
If you walked into my mother’s house at any given time, she was always ready for company. Her coffee can was never empty, there were always a baked goods in the house, a bottle of seltzer ready to make an egg cream, and she could whip up an appetizer, meal or dessert in a matter of minutes with very little on hand. Like Monica on Friends, she was always the hostess! I suppose that’s where I get it from, and enjoy having inherited that trait from her.
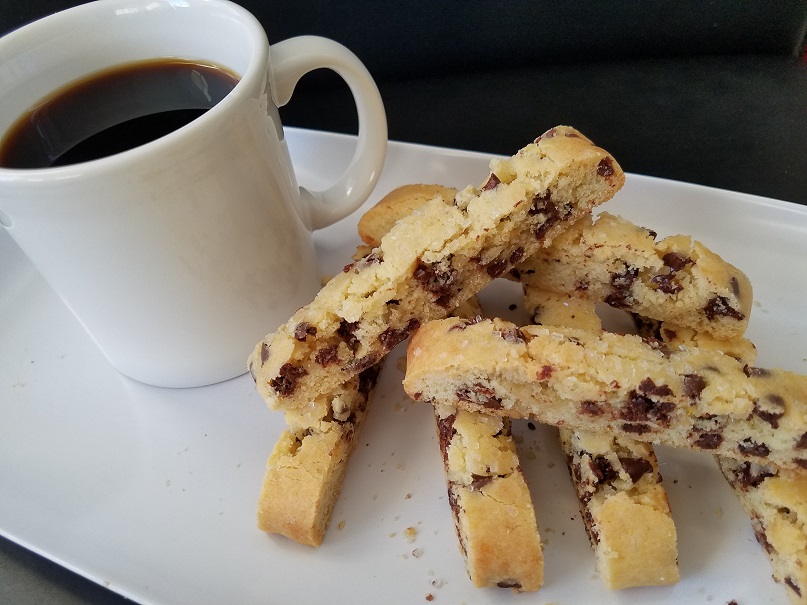
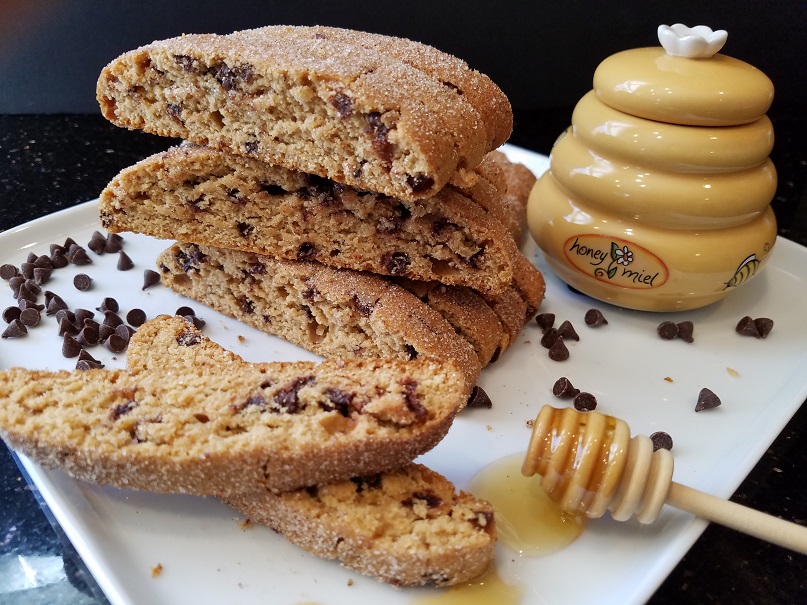
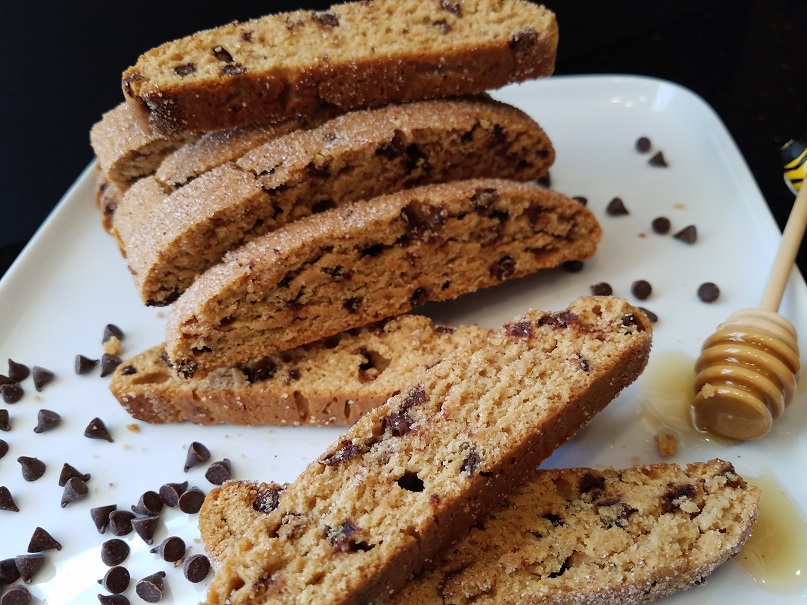
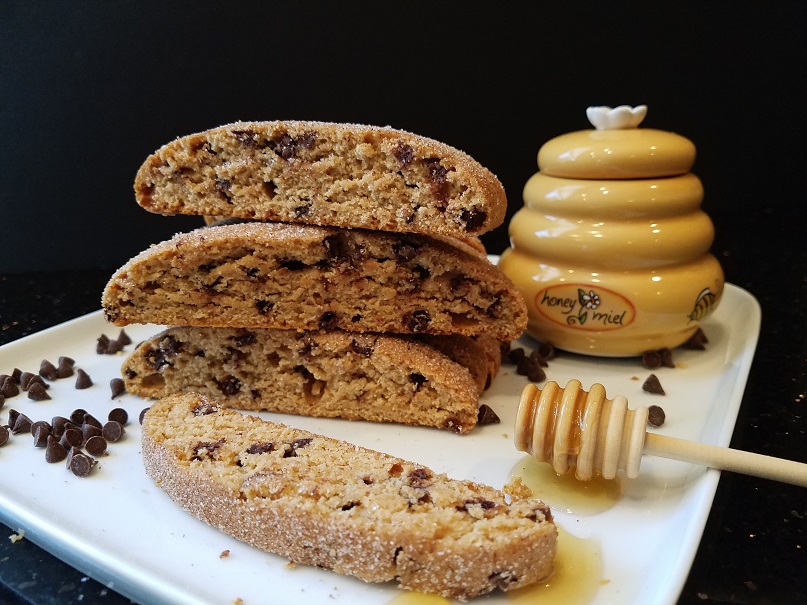
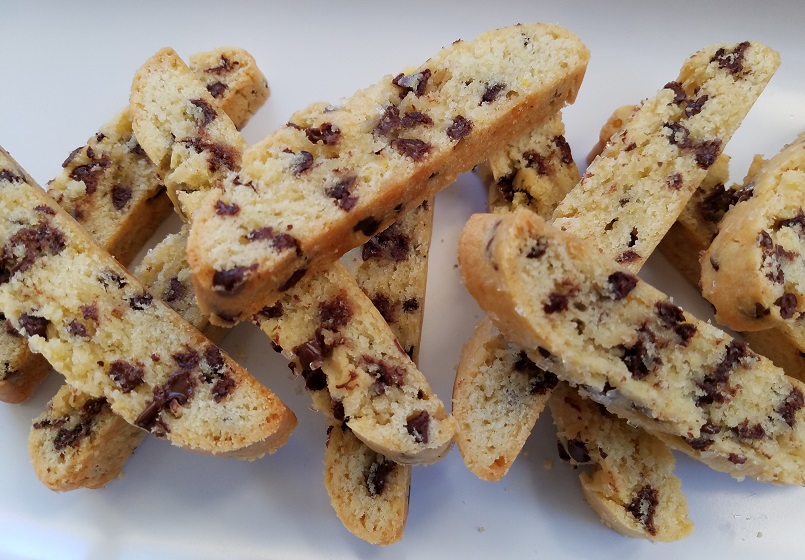
One thing she was never without was a container of her delicious and equally famous mandel bread (aka mandelbrodt). What is mandel bread you ask? The term mandelbrodt literally means almond bread in both Yiddish and German. It’s very similar to Italian biscotti and typically twice baked to get that crunchy biscotti like texture. My mom always made two versions: one loaf soft and one loaf twice baked so everyone was happy. I don’t double bake this particular mandel recipe. I like it to have that cookie dough texture and think it enhances the delicious chewiness of the marzipan. The addition of sanding sugar sprinkled on top adds a nice surprising crunch.
My mom generally made the three same flavors: chocolate chip, chocolate – chocolate chip, and raisin walnut. All three are delicious and each one having its own cheering section. Over the years I have enjoyed changing it up a little and adding different mix-ins like marzipan.
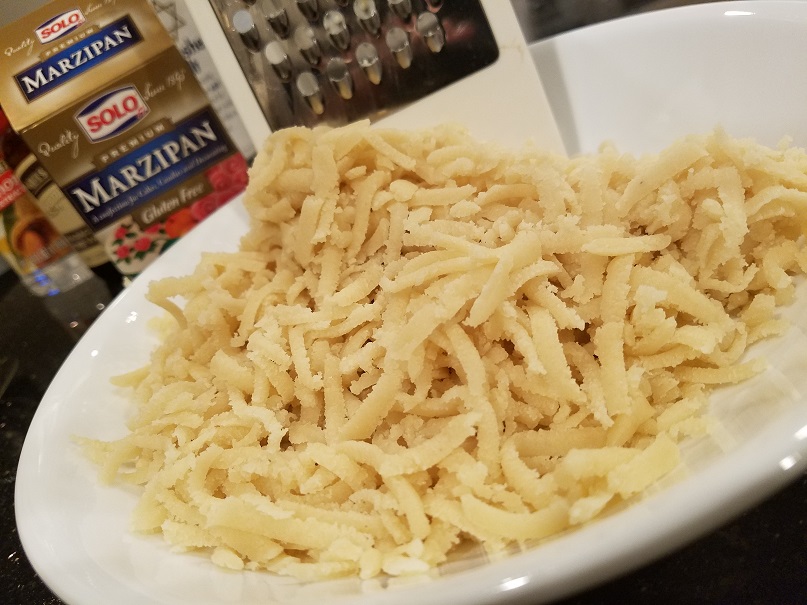
Marzipan is made from almond paste and sugar and has a smooth and chewy texture. It is very pliable making it a perfect choice for bakers to use when creating realistic fruits and vegetables or decorating cakes. Somewhere I have a great photo of an Italian bakery in Brooklyn during Easter when the entire showcase was filled with the most beautiful marzipan creations. When I find it, I’ll update this post but after 3 hours, I gave up looking! You can buy it in many grocery stores and it comes in a can or a tube. It can also be purchased online.
Why marzipan? Well, my oldest son has always had a thing for marzipan. It started when he was in 5th grade and thought it was the best thing he had ever tasted. During those early marzipan years, he drove everyone just a little bit crazy with his love of everything marzipan! Over the years I have come up with fun recipes which incorporate his favorite treat and this is one of them. It has become a family favorite and when you make it, you will know why. I’m pretty sure my mom would approve!
Please note, this recipe is best when chilled in the fridge for several hours so plan accordingly. You will yeild 3 loaves and each loaf yields approximately 20 pieces depending on the size you cut them. Enjoy!
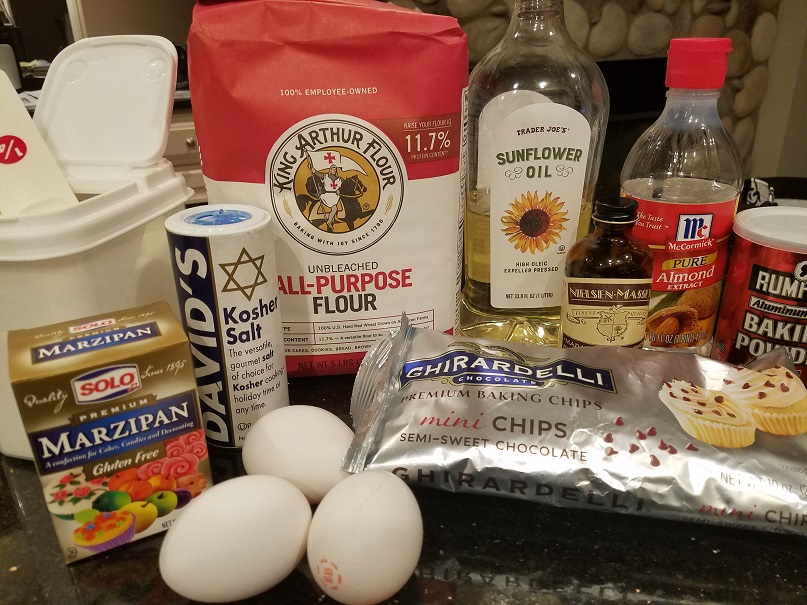
Ingredients:
3 cups all-purpose flour
3 extra large eggs
¾ cup sugar plus 2 tablespoons
1 cup vegetable oil or other neutral oil (I like Trader Joe’s sunflower oil)
1 ½ cups mini chocolate chips (I use Ghirardelli brand)*
1 – 8 ounce package of marzipan grated on the large grate of a box grater (I used Solo brand)
2 ½ teaspoons baking powder
1 teaspoon fine kosher salt
1 teaspoons vanilla extract
1 teaspoon almond extract
Sanding sugar for the top (regular sugar will be fine too)
Directions:
In a large bowl whisk the flour, baking powder and salt and set aside. In another bowl whisk the sugar and oil until incorporated. Add the eggs, vanilla and almond extracts and mix until combined. Add half of the flour mixture – stir until combined and then continue with the rest of the flour.
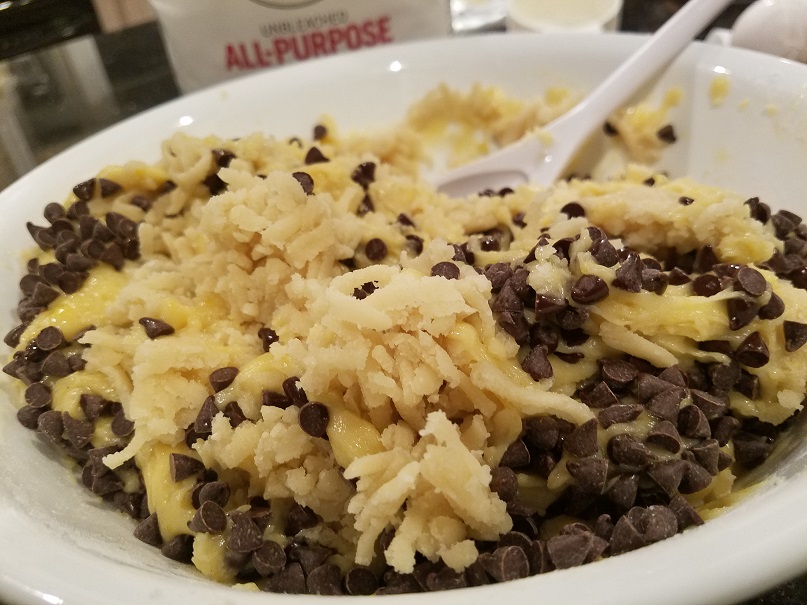
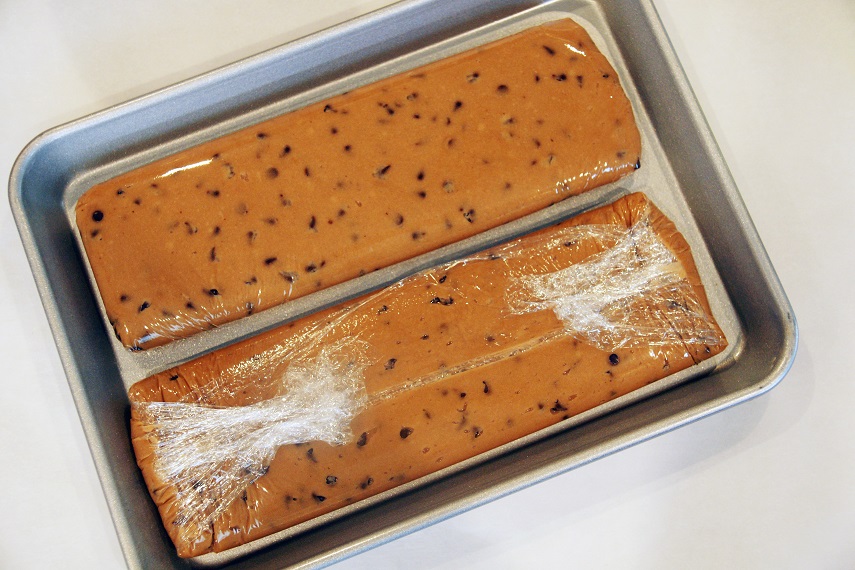
Add in the chocolate chips and grated marzipan mixing until distributed. Try not to over-mix the batter. At this point the dough needs to be chilled for at least 4 hours or overnight. I like to divide the dough in thirds and shape the logs before putting them in the fridge.
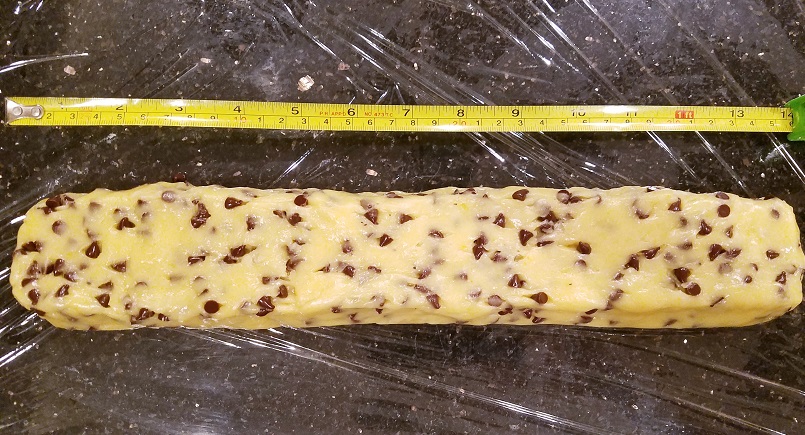
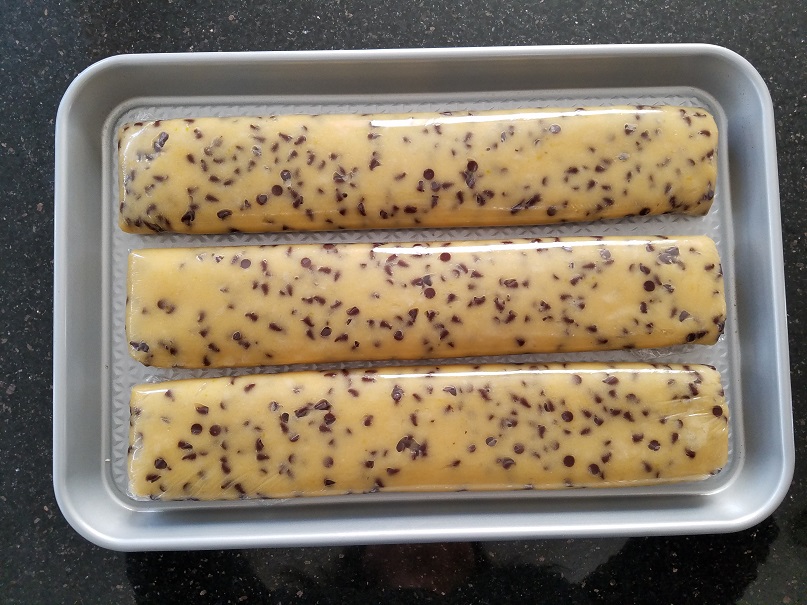
Take a long sheet of plastic wrap, lay it on your counter and place 1/3 of the dough in the center. Mold the dough it into a log about 12” long by 3” wide and about 1” high. Wrap it length wise first, and then flap the ends over. Once you have the width, the length won’t matter so much. I put the wrapped logs onto a small cookie sheet and place it in the fridge. Then when ready to bake, unwrap them and place them on the prepared cookie sheet.
Alternatively, you can cover the bowl with plastic wrap and place it into the fridge. When you are ready to bake, take a third of dough and mold it the same way as above but make the log directly on the parchment paper – don’t worry how it looks, when it bakes, it will fine.
In either technique, you will sprinkle sanding sugar over the logs before they go into the oven.
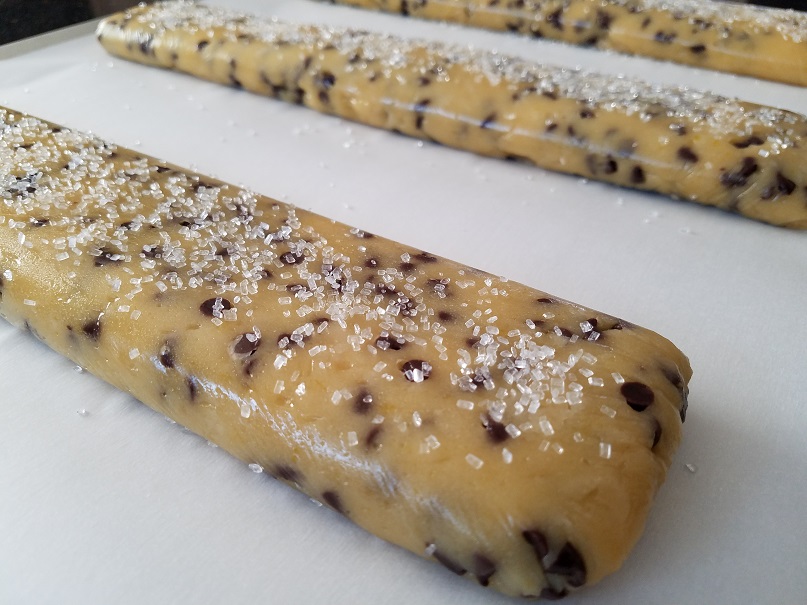
When ready to bake line 2 cookie sheets with parchment paper and set aside. Set your oven rack to the top 1/3 and bottom 1/3 of the oven and preheat to 350 degrees. If you have one oversized cookie sheet, all three will fit on that.
Take the loaves out of the fridge and one at a time unwrap it gently and turn it over onto the cookie sheet. Do the same with the other two loaves. The loaves will spread about 1 ½“ to 2” each way when baking so leave room on all sides to account for that.
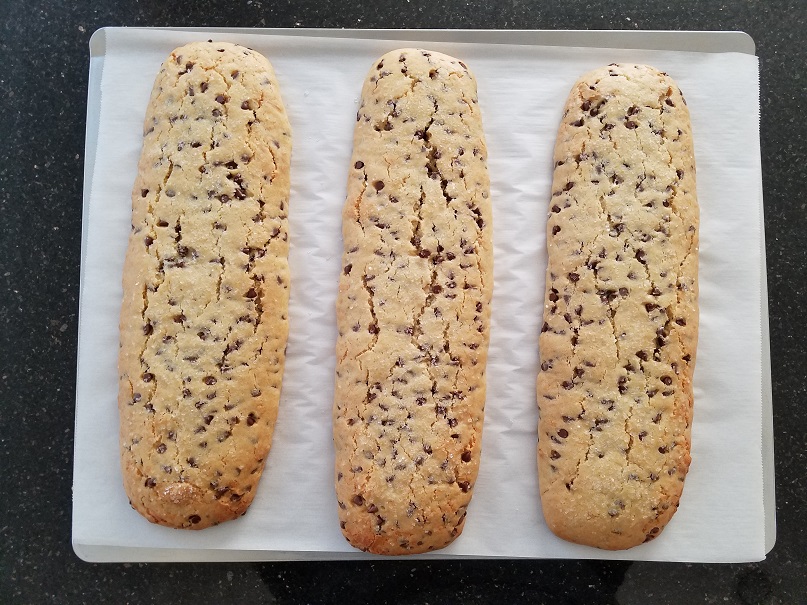
Half way through the baking rotate the pans from front to back and if using two cookie sheets switch them top to bottom. Bake for 25 to 30 minutes. They will be golden around the edges and bottom but a little soft in the center. If they crack a little that’s okay.
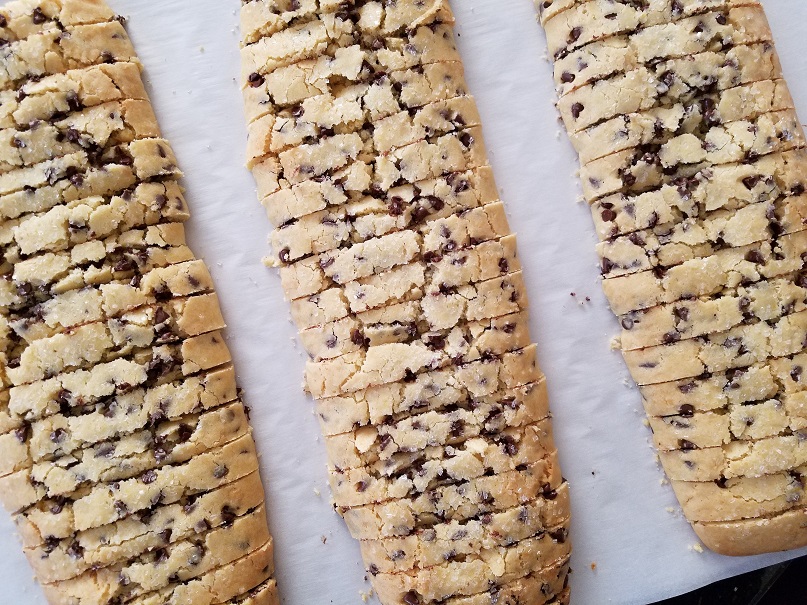
Let cool slightly on the cookie sheet. When the loaves are cool enough to handle but still warm, move to a cutting board and using a serrated knife slice each loaf into ½” slices. It’s easiest if you slice straight down instead of using a back and forth motion. Once in a while I struggle with the serrated knife and switch to a chef’s knife. Find what works easiest for you.
If you like them crispy, lower your oven to 250 degrees. Slice the mandel bread into 1/2″ slices and lay on their side on the cookie sheet. Bake for 10 minutes, turn and bake another 10 minutes.
The mandel will keep up to 2 weeks stored in an airtight container. If it lasts that long! They can also be frozen for 2 months and defrosted when needed.
* To make it parve (non-dairy) use Enjoy Life or Paskesz mini semisweet chips. You can also chop your favorite non-diary chocolate bar like Elite dark chocolate.
