Hey Northeasters, Here’s a Recipe to Keep You Warm during the Storm… Brisket Chili!

SONY DSC

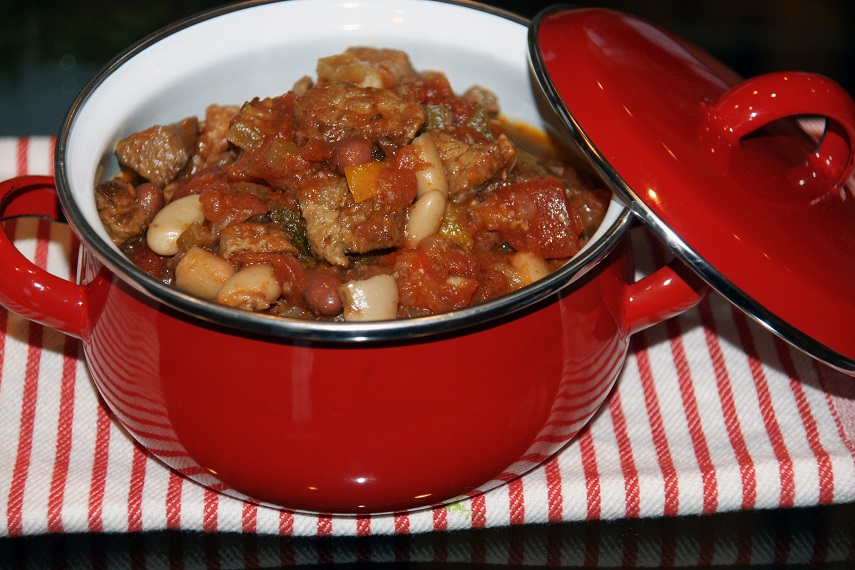
Brisket Chili. Need I say more? I don’t think so, but I will! Today there are a lot of people snowed in – in the northeast. What better time to stay home all nice and warm and cook all day? When I spoke to each of my sisters in New York, they were both very busy cooking! One sister spent the day making soups; she made chicken and lentil. The other sister made meatloaf, turkey chili and meatballs. Wish I was there to enjoy their bounty of deliciousness with them! Recently, I had my own freezing cold day where I stayed in and cooked all day. One of the things I prepared was brisket chili. I usually make turkey but this is where the Barefoot Contessa comes in. I was watching television and her show came on. It was the episode with her friend Devon’s award winning brisket chili recipe.

Ina Garten, aka the Barefoot Contessa, really knows how to live it up. She’s always having friends over to cook, bake, BBQ, decorate with and let’s not forget how much she likes surprising her husband Jeffrey with something (usually chicken)! In this episode, her friend Devon joined her to teach her how to cook her Award-Winning Chili and of course, to surprise Jeffrey! When Ina asked Devon why brisket, she simply said because it’s New York Chili – that’s why! I guess that’s as good a reason as any!

When seeing the show, I remember the first thing that popped into my head was – wow! that is a lot of spice! Then when Ina tasted it, she confirmed what I was thinking! The second thing was… brisket that’s extravagant cut of meat for chili. I had never thought of using brisket. For one reason, we don’t eat very much red meat in my house. Second, we keep kosher and kosher brisket is a very expensive cut of meat to turn into chili. As I watched her make it, I knew I had to try it. Even though I knew there was no way I was adding as much cayenne and chili pepper to it as she did! They added 2 tablespoons of chili powder, 1 tablespoon of red pepper flakes, and 1 tablespoon of cayenne pepper! Talk about hot! It was enough spice to melt all the snow in the northeast!

SONY DSC

Anyway, as luck would have it, I was at my butcher last week and all they had was chicken. Yes, I said chicken – hang in there with me I’m getting to it! David, the nice man that works at the butcher shop, walked out from the back with a tray of brisket, but before seeing what it was, I made a joke and said “where’s the beef!” Then he showed me what he was about to put in the showcase. It was beautiful brisket, but the price – not so beautiful to use for chili! That’s when he leaned over, nudged me in the elbow and asked me if I like stew meat? I said yes, when I make stew. He said this is very special stew meat, you’ll never see it here again and he whispered, it’s the leftover brisket scraps at stew meat prices! I put every package in my cart and headed to the register before someone stopped me.  Brisket chili here I come!

This is a very loosely adapted version of Devon’s Chili recipe. I want to give credit where credit was due but please note, I did change it quite a bit. The first time I made it last year, I made it close to the recipe but altered the spice to our liking (especially since Ina said it was so hot). This time around, I made it my own and added celery and more peppers plus, I like using canned tomatoes for chili. If interested, her original can be found on the Food Network website. Enjoy!

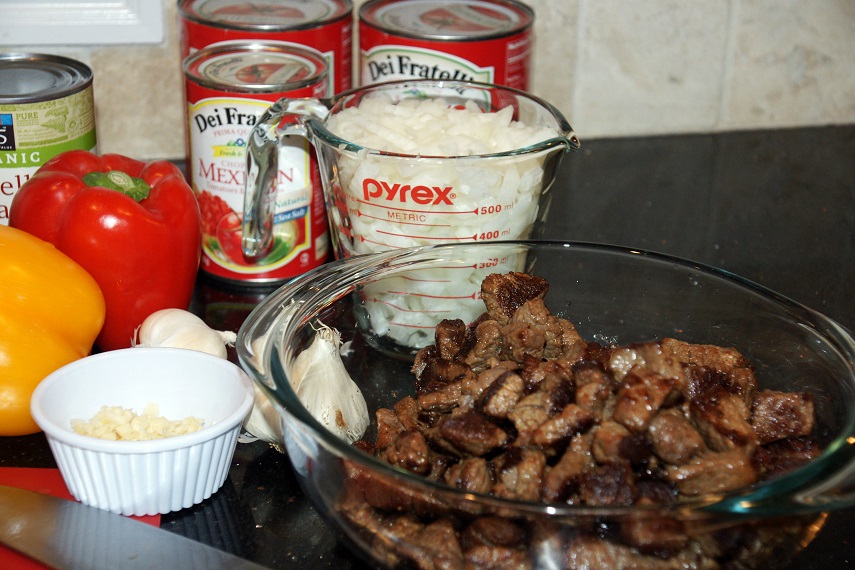
5 pounds beef brisket, cut in 1-inch cubes
3 tablespoons olive oil
2 cups chopped sweet onions
1 cup celery diced
3 peppers of any color seeded and diced (I used one of each, yellow, orange and red)
6 large garlic cloves, minced
1 bay leaf
2 (28 ounce) cans of diced tomatoes with their liquid
1 (14.5 ounce) can tomatoes with mild chili’s
1/2 cup strong coffee (I used decaf)
1 can white cannellini beans rinsed and drained
1 can red kidney beans rinsed and drained
salt and freshly ground pepper to taste
1/2 teaspoon chili powder (or to taste, more if you like it spicy!)
1 teaspoon cayenne pepper (or to taste, same as the chili powder)
2 tablespoons chopped basil leaves

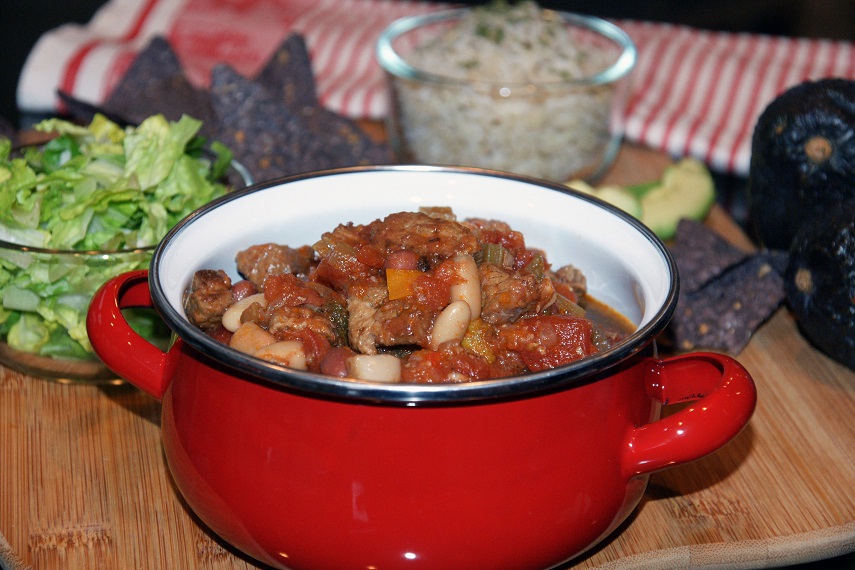
Serve with: Diced tomato, Shredded Lettuce, Brown Rice, Corn, Tortilla chips, Guacamole or other condiment you like with your chili.

SONY DSC

This recipe makes 8 to 10 servings

Directions
Pat the brisket cubes dry with paper towels. Heat the oil in a very large heavy-bottomed pot and quickly brown the meat, in batches, on all sides. Transfer the brisket to a separate bowl and set aside. Saute the onion and garlic in the same oil over medium heat until limp, but not brown, about 5 to 8 minutes and then add the celery and saute another 5 minutes until translucent.

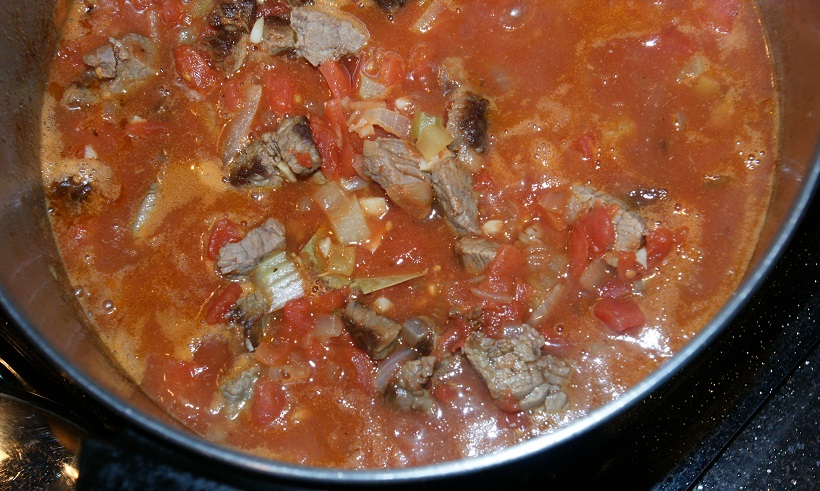
Add the tomatoes with their juice, the reserved meat, chili powder, cayenne pepper, and bay leaf and bring it to a boil. Reduce the heat, cover the pot with a tight fitting lid and simmer for 2 1/2 hours, stirring occasionally. At this point it should be perking gently not bubbling rapidly. Taste and season with salt and pepper to your liking. Add the coffee and the diced peppers and cover the pot allow to simmer for 1 more hour or until the brisket is very tender.

Add the beans and basil, and warm through for about 15 minutes. Adjust the spice according to your taste. Transfer the chili to a large serving bowl and serve with whatever you like on the top.
SONY DSC

Grandma Pizza, We don’t have that in Columbus!

SONY DSC

When my husband was scouting out the Columbus area for our move 12 years ago, he would call me and tell me what he found that was familiar to us. While he was busy researching the best school districts, I asked things like, do they have a Lord & Taylor there. Is there a  Bloomingdales? And, oh, make sure you try the pizza I can’t move anywhere that doesn’t have good pizza! I have to be honest, the reports weren’t so promising.* That was coming from my husband who can eat almost anything. The best he came up with was California Pizza Kitchen. While I do enjoy their pizza, and sometimes crave their tricolore** salad pizza, it’s not New York Pizza!

How could this happen? A Brooklyn girl living someplace without good pizza, unheard of, unthinkable! Then I thought, if I learned to make it myself, I wouldn’t have to go without. So this began my journey on learning how to make the best tasting pizza I could! Pizza that would rival some of the best I’ve had in NY.

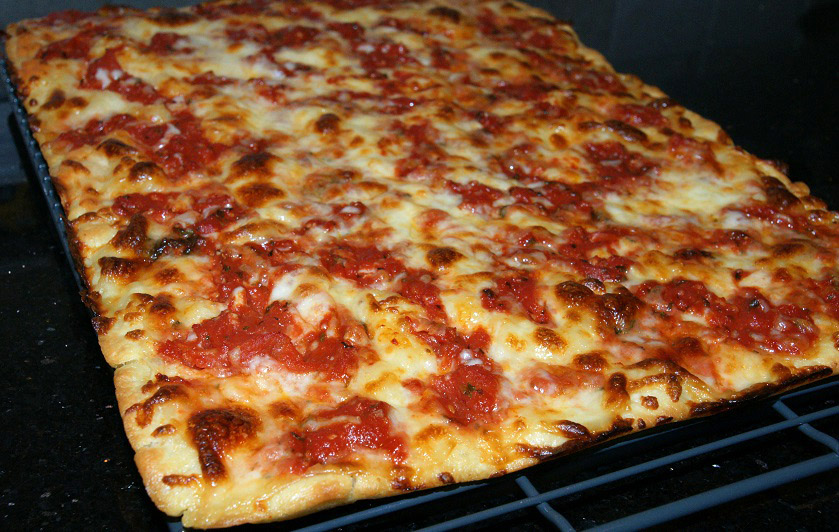
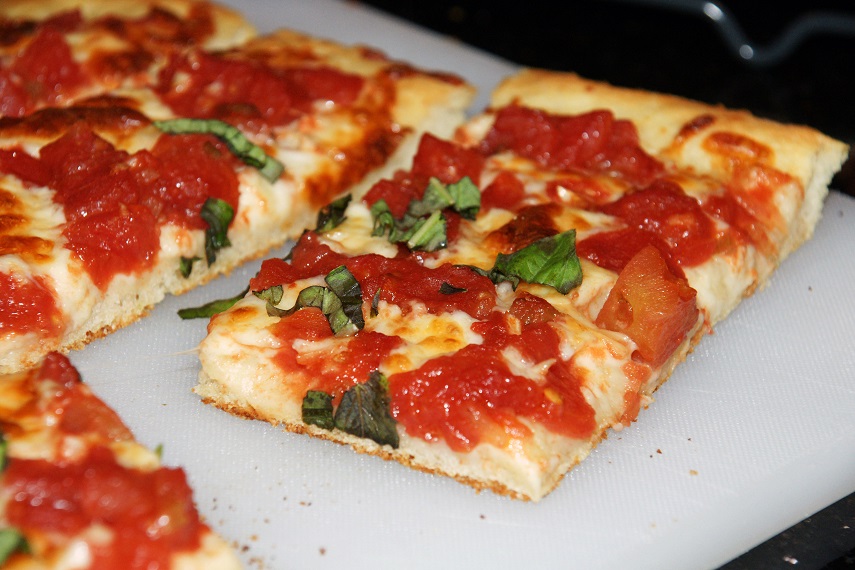
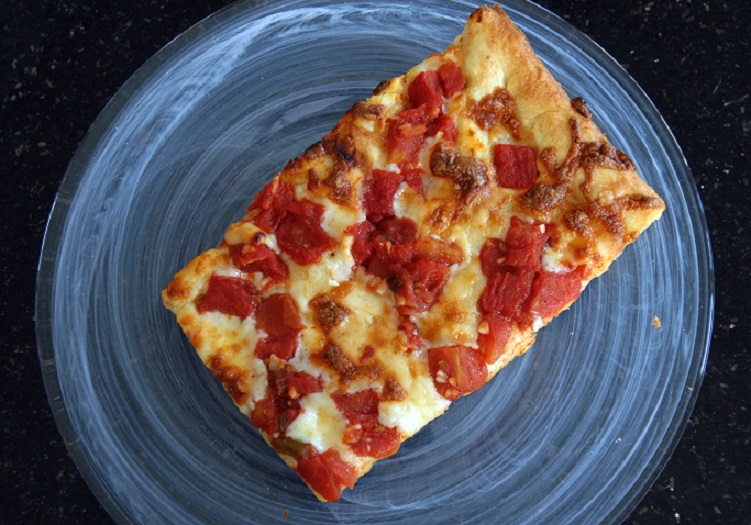
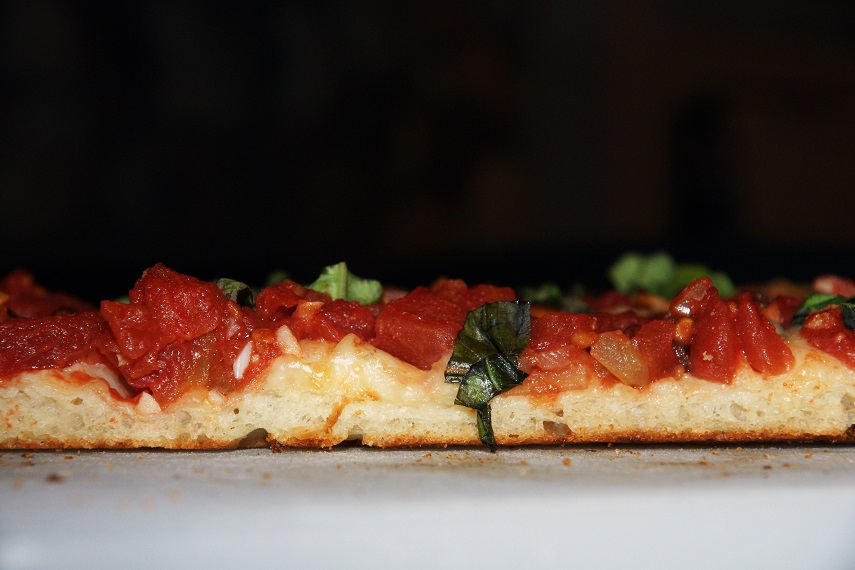
While still living in NY I purchased dough from my local pizza place just to get the hang of it. I bought a pizza stone and pizza wheel to cut the pizza. I was ready! From there, I researched cookbooks, cooking shows and asked an Italian neighbor of mine who made pizza regularly to help me. While this isn’t the first pizza I learned how to make, I wanted to share it first because it’s the easiest, absolutely delicious, and is made in a standard sheet pan. The ingredients are very simple and rustic. Most people are familiar with the round pizza, and square Sicilian, but the grandma pie is a whole different ballgame. Some people think it’s a thin Sicilian pie, but it’s not. The crust is almost like a thin focaccia and crispy on the bottom.  It’s not so easy to find outside of Long Island where it originated. That is unless you go to Italy where someone’s grandmother makes it for you, hence the title Grandma Pizza.

SONY DSC

So what exactly is a grandma pie? According to a Newsday article (Long Island newspaper) written by Erica Marcus…

“Variations abound, but the basic outlines are as follows: a thin layer of dough is stretched into an oiled, square “Sicilian” pan, topped sparingly with shredded mozzarella, crushed uncooked canned tomatoes, chopped garlic and olive oil, and baked until the top bubbles and the bottom is crisp.

[Michele] Scicolone [Manhattan resident, Italian food expert, and co-author of Pizza: Any Way You Slice It] observed that grandma pie sounded a lot like “pizza alla casalinga” (housewife-style pizza), “the kind of pizzas you’d get in Italy if you were invited to someone’s home.”

New Yorkers take their pizza seriously. If you would like to read the whole story, you can find it at this link:

http://long-island.newsday.com/restaurants/feed-me-1.812004/grandma-pizza-the-full-story-1.825269

So here it is, my version of Grandma Pizza adapted from Cooks Country…

SONY DSC

Dough
1   1/2 cups bread flour (plus more for kneading)
3/4 cup warm water (105 to 110 degrees)
2  1/4 teaspoon active dry yeast
1 teaspoon sugar
2 teaspoons kosher salt
3 tablespoons of olive oil

Recipe for the topping follows at the end.

SONY DSC

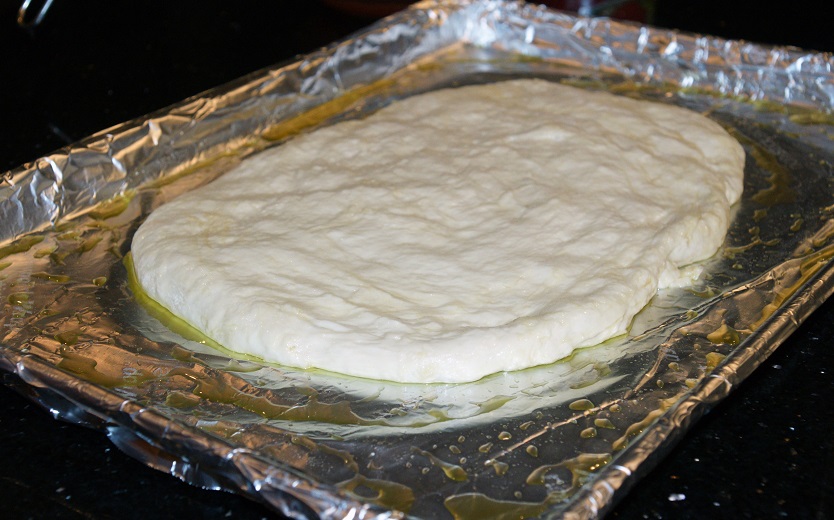
For the dough:  Coat a rimmed baking sheet (half sheet pan 18 x 13) with 2 tablespoons of good olive oil and set aside.

In a measuring cup add the warm water, sugar and yeast. Allow it to proof for about 5 minutes or until the yeast has activated and is foamy on top.

In a large bowl add the flour and salt. When the yeast is proofed, add the tablespoon of olive and stir into the flour mixture. If the dough feels too sticky, add a little more flour. Turn the dough out onto a lightly floured surface and knead until soft, smooth and elastic about 5 to 7 minutes.

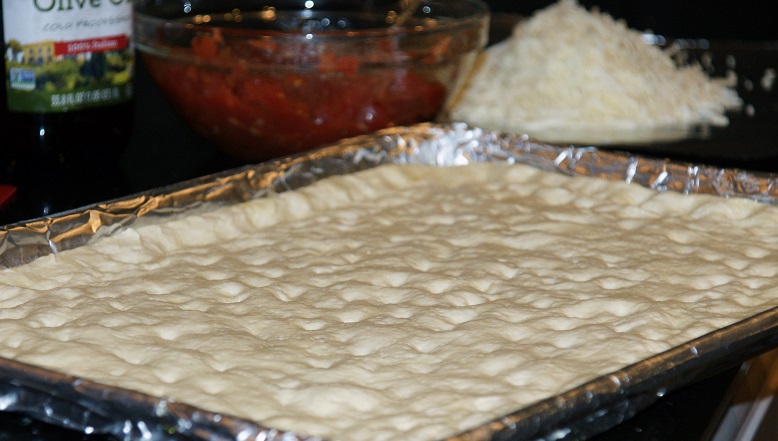
Transfer the dough to greased sheet pan and turn it to coat. Stretch dough to about a 12 by 8 inch rectangle. Cover with plastic wrap and let it rise in a warm place until doubled in size, 45 minutes to one hour. While the dough is rising, put the topping together.

SONY DSC

Topping
1 (28 ounce) can diced tomatoes
1 tablespoon olive oil
2 cloves of garlic minced fine (or more if you like garlic as much as I do!)
8 ounces shredded mozzarella cheese (use a good quality mozzarella)
1/4 cup grated Parmesan cheese
2 tablespoons fresh basil

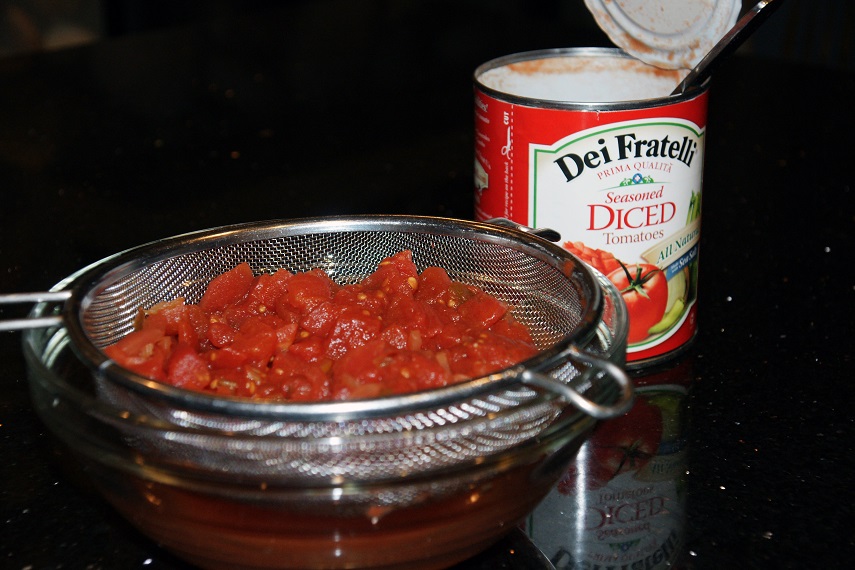
Place tomatoes in a colander and drain well. I leave it draining about 30 minutes. Then combine tomatoes, oil and garlic in a bowl and stir well. That’s it for the sauce!

SONY DSC

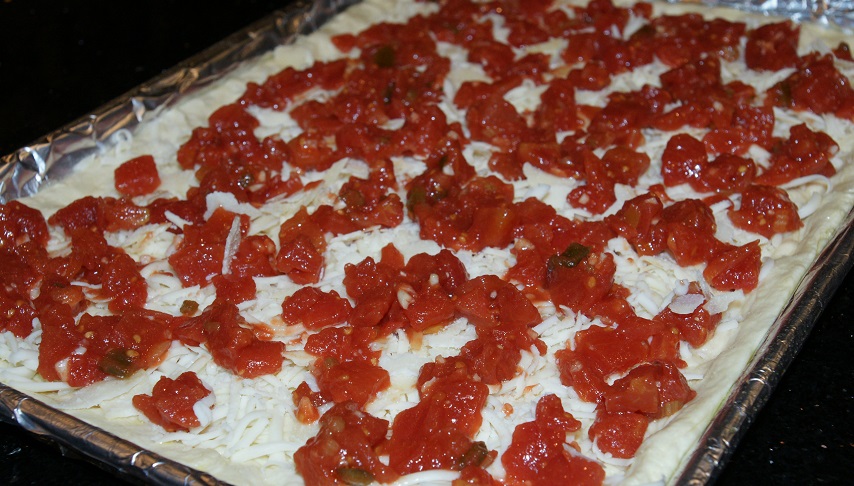
After it has doubled in size, stretch dough to the corners of the pan and let it rest for about 10 minutes. Meanwhile, adjust your oven rack to the lowest position and the heat oven to 500 degrees. Now it’s time to assemble the pizza. Sprinkle the cheese over the dough leaving 1/2 inch border around the edges. Top with tomato mixture and then place in the oven. Bake for about 15 minutes or until the cheese is bubbling and when you lift a corner of the crust you see it’s well browned underneath. Transfer to a wire rack to yield a crispy crust.  Enjoy!

SONY DSC


SONY DSC

* 11 years later we have several really good pizza places here. Tomorrow I’m planning on doing a food crawl at a couple of them. One we love, the other we can’t wait to try. I’ve been told it’s the best pizza in Columbus. I’ll be the judge of that!

**tricolore is the name and spelling of the salad at CPK, this is not a misspelling on my behalf.  It’s a caramelized Parmesan pizza crust (I get whole wheat) topped with spring salad mix, diced tomatoes and shaved Parmesan cheese with their homemade Dijon balsamic vinaigrette dressing. I highly recommend it, salad and a pizza all in one! Yum!


Soups on! Tuscan Vegetable Soup with Canellini Beans

SONY DSC
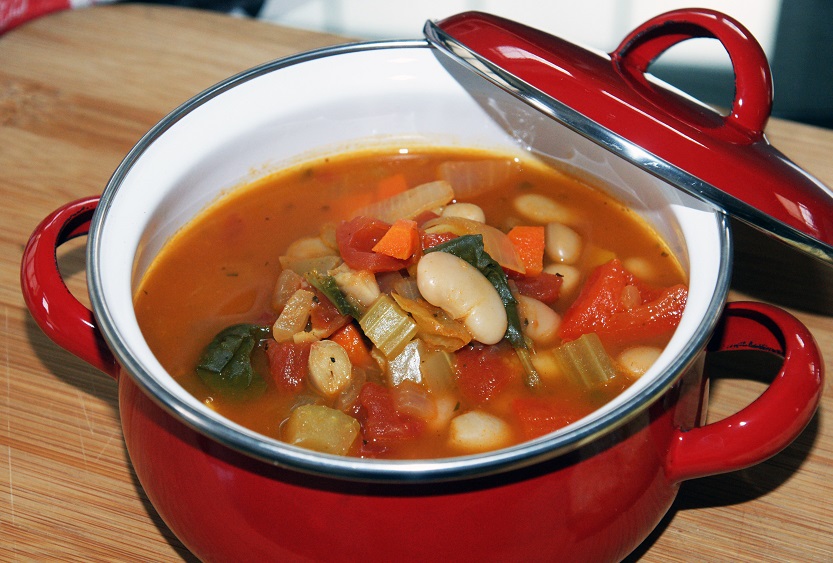
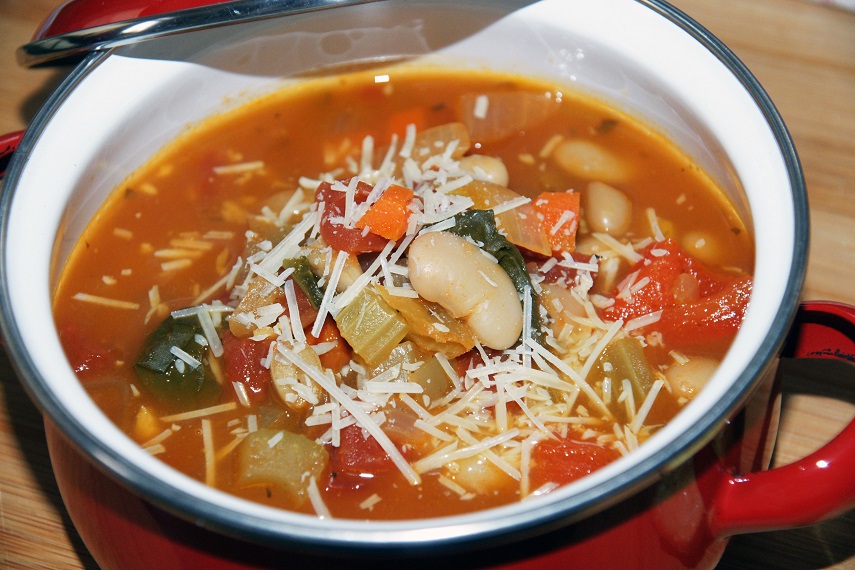
I truly have no story about this soup. It’s not linked to a family memory, favorite restaurant, or anything in particular. I was planning my husband’s birthday dinner last week and needed a starter to go with the meal. It was very cold outside so I knew I wanted to make a soup. My main dish was simmering away on the stove and I needed something quick. I searched online for mediteranean soups and came across this Tuscan Vegetable Soup from Ellie Krieger. It’s made with ingredients I had on hand, makes 6 servings and only took 30 minutes to make from start to finish. This seemed like a winner plus it got a review of 5 stars. I would like to add my 5 stars to that review! Enjoy!
SONY DSC
The recipe is adapted from Ellie Krieger’s Tuscan Vegetable Soup with a few changes. She uses zucchini which I didn’t have so I substituted two peppers and also boosted the amount of vegetables a little. The recipe called for thyme and sage which I also did not have so I used Herbes de Provence which contains both sage and thyme. All we need is parsley and rosemary and we have a song! You know Simon and Garfunkel…
Are you going to Scarborough Fair?
Parsley, sage, rosemary, and thyme
Remember me to one who lives there
She once was a true love of mine
I can’t be the only one that sings that when I’m cooking with these herbs. Am I?
SONY DSC SONY DSC
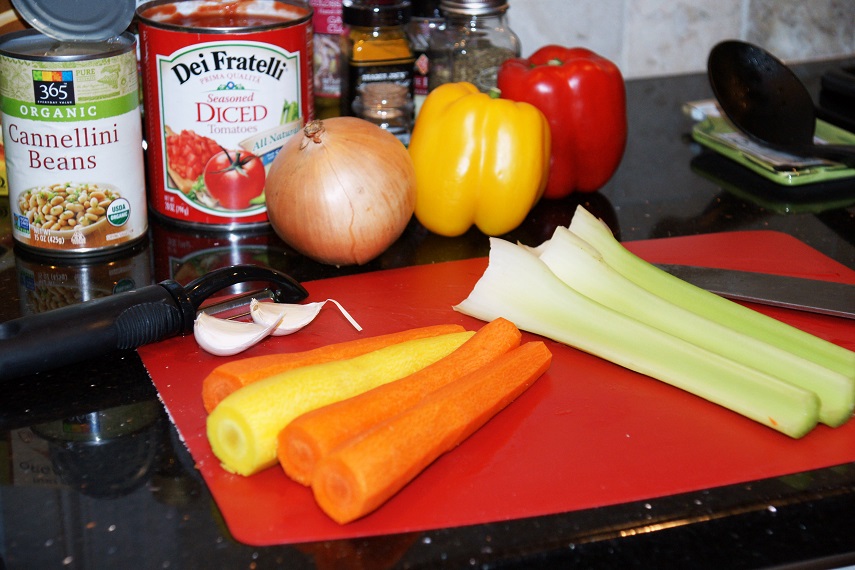
1/2 large onion, diced (about 1 cup)
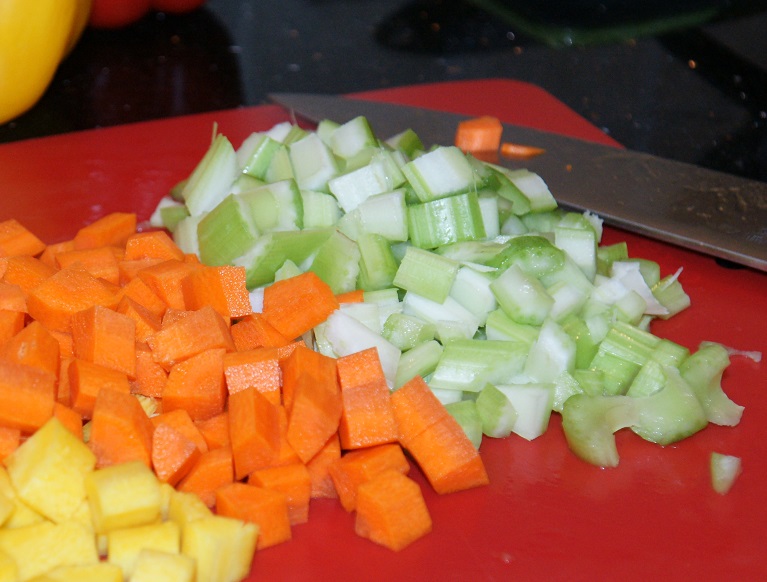
2 to 3 carrots, diced (about 1 cup)
2 to 3 stalks celery, diced, (about 1 cup)
2 peppers cut into 1″ pieces (I used one yellow, one red but any combination is fine or use 1 small zucchini)
32 ounces vegetable broth
1 (28 ounce) can diced tomatoes
1 (15-ounce) can low-sodium canellini beans, drained and rinsed
2 cups chopped baby spinach leaves (or combination kale, Swiss chard and spinach)
1 to 2 tablespoons olive oil
2 cloves garlic, minced
2 teaspoons herbes de provence*
1/2 teaspoon salt
1/4 teaspoon freshly ground black pepper (or more to taste)
1/3 cup freshly grated Parmesan (optional)
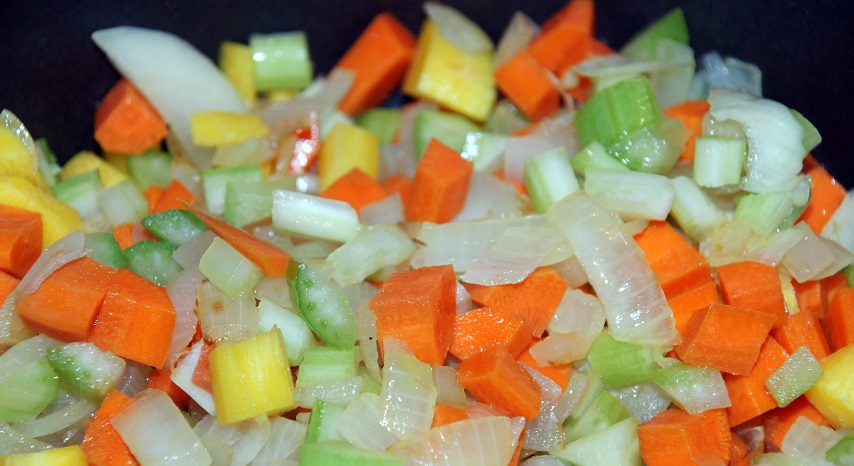
Heat the oil in a large soup pot over medium-high heat. Add the onion, carrots, celery, garlic, salt and black pepper. Cook stirring occasionally until the vegetables are tender, about 5 minutes. Now add the peppers and or zucchini, mix and cook for a couple of minutes longer.Add the vegetable broth and diced tomatoes with the juice and bring to a boil. Add beans and cook for about 5 minutes, then add the spinach leaves and cook until it’s wilted, about 3 minutes more.Serve topped with fresh grated Parmesan, if desired.
*or 1 tablespoon chopped fresh thyme leaves (or 1 teaspoon dried)
2 teaspoons chopped fresh sage leaves (or 1/2 teaspoon dried)
SONY DSC

Creamy Cauliflower Soup with no Cream!

There is a television show on PBS entitled America’s Test Kitchen. It’s filmed in a working test kitchen and is the home of Cook’s Illustrated Magazine. They have test cooks, food scientists, tasters and cookware specialists on the show. Every now and then I’ll catch an episode and find them doing something interesting whether it’s testing recipes, rating products, or trying out the newest kitchen gadget. When they create a recipe, they explain the science behind why it works or doesn’t work. Which is great especially when you try something out that is a total flop! I have gotten a few very good ideas on new tools and tricks when cooking, as well as recipes from the show like this creamy cauliflower soup.

SONY DSC

Their original recipe called for 1 and ½ sticks of butter – that’s 12 tablespoons of butter! So while they were very excited to have come up with a creamy soup that added no cream, it had plenty of butter to give it that creamy texture. That’s a lot of butter for a 2 pound head of cauliflower; it’s the equivalent of almost 2 to 3 tablespoons per serving! That’s way too much if you ask me.

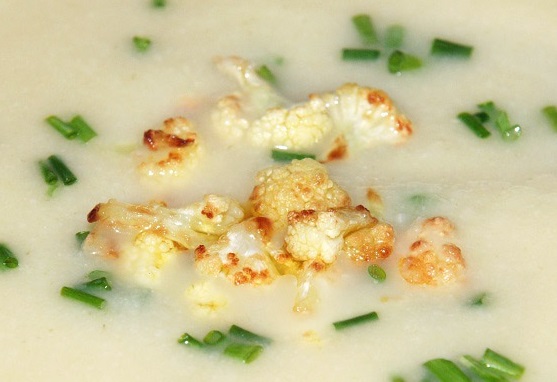
It looked so simple and delicious, I decided to try it but with a Splash of Sherri! I used olive oil instead of butter and cut that way down. The result was a delicious tasting soup. One of the secrets to the soup’s flavor is cooking the cauliflower at different times. According to the show’s test kitchen, adding it in two stages gives a grassy flavor of just-cooked cauliflower and the sweeter, nuttier flavor of long-cooked cauliflower.

It was a real winner in my house, very simple, very quick, and a great new way to cook with cauliflower. So here is my version adapted from Cooks Illustrated. Enjoy!

1 head of cauliflower (approximately 2 pounds)
2 to 3 tablespoons light olive oil
1 leek, white and light green part only – washed very well and sliced thin
1 medium onion diced
1 ½ teaspoons salt
½ teaspoon white pepper (more or less to taste)
4 ½ to 5 cups water
3 or more tablespoons minced fresh chives
1 teaspoon of light olive oil (to sauté the reserved cup of florets)
1/2 teaspoon Sherry vinegar (cider vinegar works great as well)

This recipe serves 4 to 6

Pull off the outer leaves of the cauliflower and trim the stem. Use a paring knife and cut around the core to remove. Thinly slice the core and set aside. Separate it into core/stems, and florets. Reserve one cup of small ½” florets and set aside then cut the remaining cauliflower into ½ inch thick slices.

In a medium size pot sauté the sliced leek and diced onion in 3 tablespoons of olive oil. Sauté for 7 minutes until translucent then add stems, core and ½ the florets plus the 4 ½ cups of water. Bring it to a boil then lower the heat to a simmer for 15 minutes. After 15 minutes, add the rest of the cauliflower and cook another 15 minutes.

While the soup is cooking, brown the remaining 1 cup of florets in a tablespoon of olive oil over medium heat – stirring frequently. Sauté the cauliflower until golden brown; this takes about 5 to 10 minutes. When done, take the florets out with a slotted spoon, transfer to a small bowl and toss with the vinegar and season with a pinch of salt. Reserve the oil for a garnish or discard.

Puree the soup in a blender, food processor or use a stick blender until smooth (about a minute or two). Simmer the soup another couple of minutes on medium heat and adjust the consistency with more water as needed. The soup should have a thick, velvety texture. Season with salt and pepper to taste and serve with the browned florets, chives, and olive oil as a garnish.

Total cooking time should be no longer then 40 minutes. After that, the cauliflower will start to loose it’s flavor.

SONY DSC


Delicious Cream Filled Chocolate Cupcakes and oh, by the way… They’re Vegan!

SONY DSC

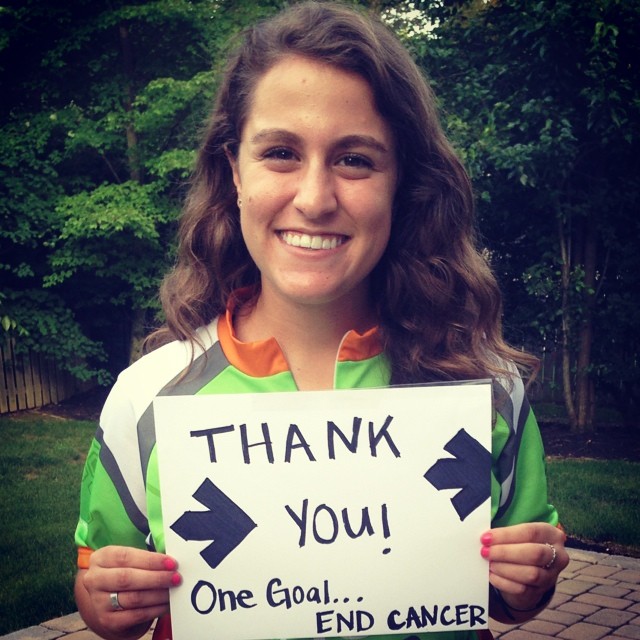
7, 270 cyclists took to the streets of Columbus, Ohio this past weekend to raise money for cancer research. You can read more about this amazing organization on Pelatonia’s website. One of those riders is my friend Hilary. She is 18 years old and rode 100 miles raising $1,800. Not only was she one of the youngest people to ride, she was also the only one on a mountain bike, which she was told is the equivalent of running a marathon in flip-flops! As a bike rider myself, I don’t know how she did it! Somehow, she did and you can see by the smile on her face how happy she was to finish! What an amazing girl!

10492341_723043001072895_6271895126054171588_n

I am so proud of her, I wanted to do something special to celebrate her accomplishment. I already donated money for her ride; now I wanted to do something just for her. You already know I’m all about the baking! Even more than that, I love to share it with people and make them happy. My only challenge – Hilary recently became a vegan. Her path to a healthier lifestyle started gradually, first she was a pescatarian (a vegetarian who will also eat fish), then a vegetarian (no meat, fish or seafood, but dairy is okay), and now, a vegan (a vegetarian diet that also eliminates all animal byproducts). To a baker that means no milk, eggs or butter or dairy of any kind!

Although I have never baked anything vegan, I have baked many things without dairy products, making them parve in the kosher world. I figured if Hilary can ride a bike for 100 miles, surely I can bake a vegan dessert! I was up for the challenge!

SONY DSC

Now, where did I find this delicious recipe you ask? It is straight from Chloe Coscarelli’s cookbook Chloe’s Kitchen. She is an adorable baker and cook, who also happens to be a vegan! I first heard of her when she won Cupcake Wars on the Food Network. The judges were very surprised that her cupcakes were vegan. I immediately went to the library to check out a copy of her cookbook.

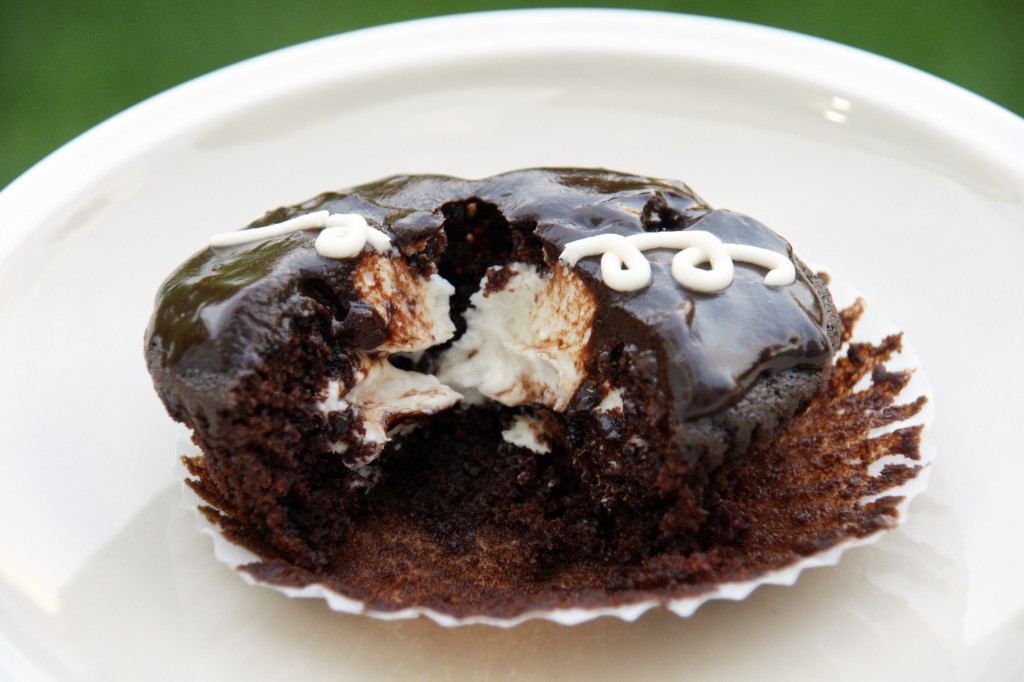
I found “Chlostess” Cream-Filled Cupcakes and even though the cupcake had three components, it seemed simple enough. You can see by the fluffy cream filling, shine of the glaze and tender crumb of the cupcake, they are going to be good and something special! I will tell you that once I got started I was surprised how easy they were to make. This recipe is adapted from Chloe Coscarelli’s Cookbook and it was so good, I’d like to say I didn’t change a thing, but had to according to ingredients I had on hand. I wrote her recipe and my changes in parenthesis. I may have reworded it a little, but the recipe is the same. They are truly delicious and you don’t miss the eggs or butter. If you’re a vegan or not, you’ll love these.  Enjoy!

Chocolate Cupcakes:
1 1/2 cups all-purpose flour
1 cup sugar
1/3 cup unsweetened cocoa powder
1 teaspoon baking soda
1/2 teaspoon salt
1 cup cold coffee or water (I used decaf)
1/2 cup canola oil
2 tablespoons apple cider vinegar or white vinegar
2 teaspoons pure vanilla extract

SONY DSC

Creme Frosting Filling:
1 cup non-hydrogenated vegetable shortening (find this in a health food store, or section of your grocery)
3 cups powdered sugar (also called confectioner’s sugar)
1 teaspoon pure vanilla extract
2 to 5 tablespoons soy, almond, or rice milk (I used almond milk*)
1/2 teaspoon salt (this is my splash on her recipe, I like a little salt in my frosting)

SONY DSC

Chocolate Ganache Glaze
1 cup semisweet chocolate chips (dairy free)*
1/4 cup canned coconut milk, mixed well before measuring (I didn’t have coconut milk and used almond milk which worked fine)
2 tablespoons canola oil

To make the cupcakes: Preheat the oven to 350 degrees. Line cupcake pans with 15 cupcake liners and set aside.

In a large bowl, whisk together flour, sugar, cocoa, baking soda, and salt. In a separate bowl, whisk together coffee, oil, vinegar, and vanilla. Pour the wet mixture into the dry mixture and whisk until just combined. Don’t over-mix.

Fill the cupcake liners about two-thirds full with batter. For this step I use an ice cream scoop so that all the cupcakes will be the same size. Bake for 16 to 18 minutes, or until a toothpick inserted in the center comes out clean. It’s okay if a few crumbs are clinging to the toothpick. Cool the cupcakes completely before frosting. I made the frosting while the cupcakes were baking.

To make the cream frosting: Using a handheld or stand mixer, beat the shortening until smooth. With the mixer running on low, add powdered sugar one cup at a time, alternating with 1 tablespoon nondairy milk until frosting reaches a nice spreadable consistency. Add vanilla extract and beat on high for 2 more minutes until light and fluffy.

To make the Chocolate Ganache: Melt chocolate chips, canola oil, and coconut milk (remember, I used almond milk in this step) in a double boiler or microwave. Whisk until smooth.

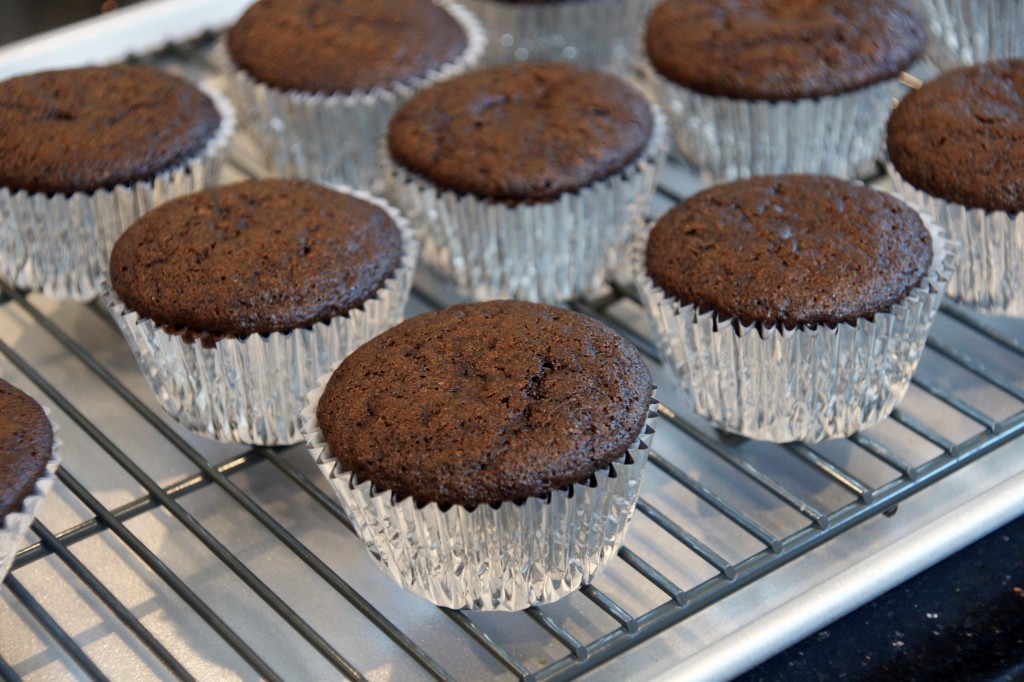
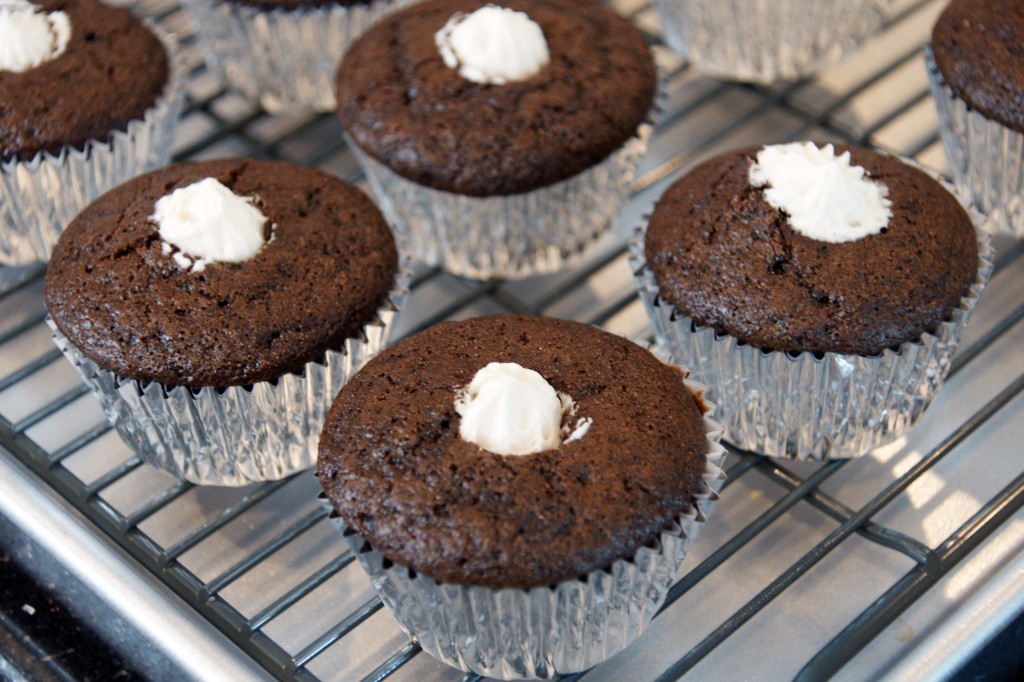
To assemble the cupcakes: Fit a pipping bag*** with a small round tip and fill with the creme frosting. I used a rosette tip and it worked very well. Insert the tip into the center of the top of each cupcake and squeeze the bag to fill the cupcake with about 1 to 2 tablespoons of frosting. Be careful when you are filling them. My first one exploded! Level off the frosting that sneaks out on top. Then, spread the top of each cupcake with a thin layer of chocolate ganache.

In another piping bag fitted with a small tip, add 4 tablespoons of the frosting and pipe a 4 loop design.

*The almond milk I used has 4 percent fat

**There are several dairy-free brands of chocolate chips. Look in a health food store or section of your grocery. If you can’t find them there, check the kosher section of your grocery. They will be labeled Parve, meaning they do not contain any dairy products.

***If you don’t have a piping bag, use a gallon size Ziploc bag, cut the tip of the bag off and insert the piping tip.