Turkey Sloppy Joes with a Surprising Indian Twist


What’s for dinner tonight? Turkey Sloppy Joes with a Surprising Indian Twist!

You can say I’m kind of a cooking show junkie. Most people who know me aren’t surprised to hear this at all. Of course I’m a Chopped fan – who isn’t? And, don’t we all want to know what Ina is going to cook for Jeffrey Friday night – spoiler alert… it’s probably chicken. Then there is my summertime guilty pleasure – The Next Food Network Star. If you’ve never seen it, you must. I secretly fantasize about being on the show. However, I think the stress would get to me. There I stand as the clock is ticking, I run to get to get my ingredients, slip on olive oil and there you go! No, just kidding – I’m actually the winner of season 14!

Day to day I often feel like I’m a contestant on a cooking show. I’ll ask my husband what he wants for dinner and he will surprise me and say something I don’t expect – like sloppy Joes! Sloppy Joes – is he serious? Is he 12? This becomes my challenge and my show begins! I look through cookbooks, magazines and Google different recipes until I find something that sounds good and I can work with.

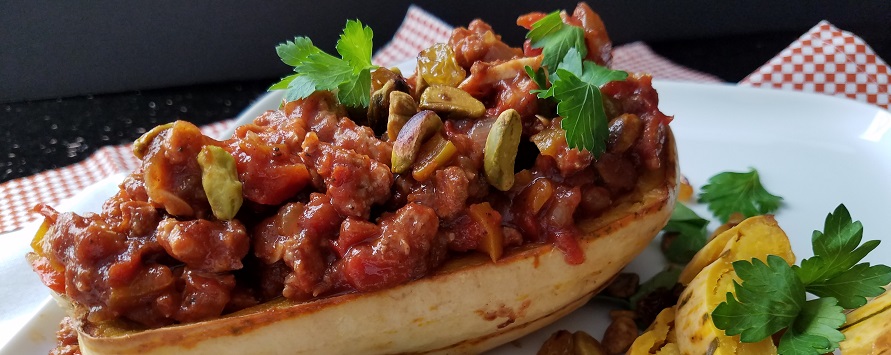
In this case, I remembered an episode of Aarti’s Party (NFNS season 6 winner), she made Sloppy Bombay Joes. It had ground turkey, raisins and pistachios. What’s not to love about that combo? But in sloppy Joes? Will that work? Of course it’s not exactly what my husband had in mind, but he loves Indian food, and he did ask for sloppy Joes! He knows I love to try new recipes and also knows I probably wasn’t going to give him exactly what he asked for anyway.

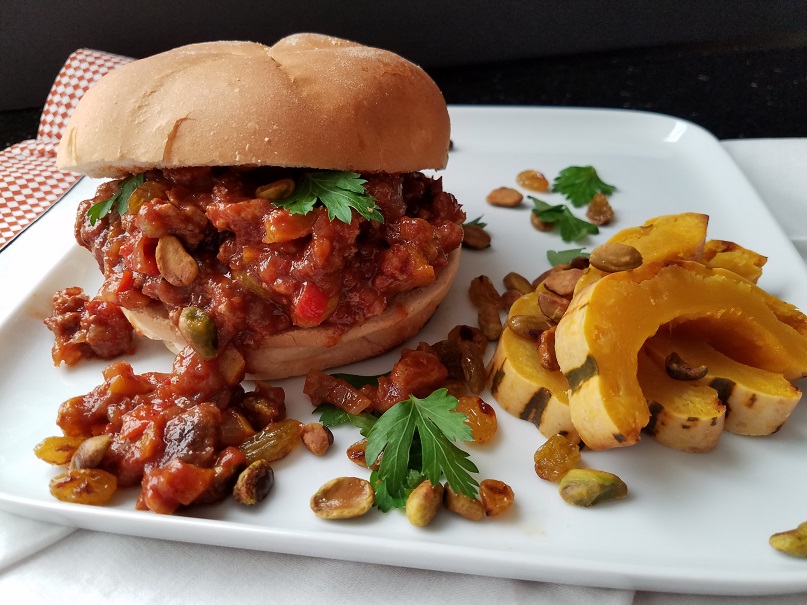
At the end of the day, it was a winner and we all loved it! The crunch from the pistachios, sweetness from the raisins and honey combined with the warmth of the Indian spices was so comforting and delicious. I now make it all of the time. While the traditional way to eat a sloppy Joe is to have it on a roll, I ate it in half of a delicata squash and it was amazing! I have also served it over rice – also delish!

The first time I made this dish, I made it close to the original recipe, then I put my splash on it: less oil, more spices, tomato paste to thicken and add richness to the dish. I did not use a serrano pepper: if I never mentioned this to you before, I have a fear of spicy peppers! Instead, I added heat to the dish by way of ground red pepper. The original recipe called for half and half and since I keep kosher (no meat and dairy together), that’s a no – no so I omitted it. There you go!
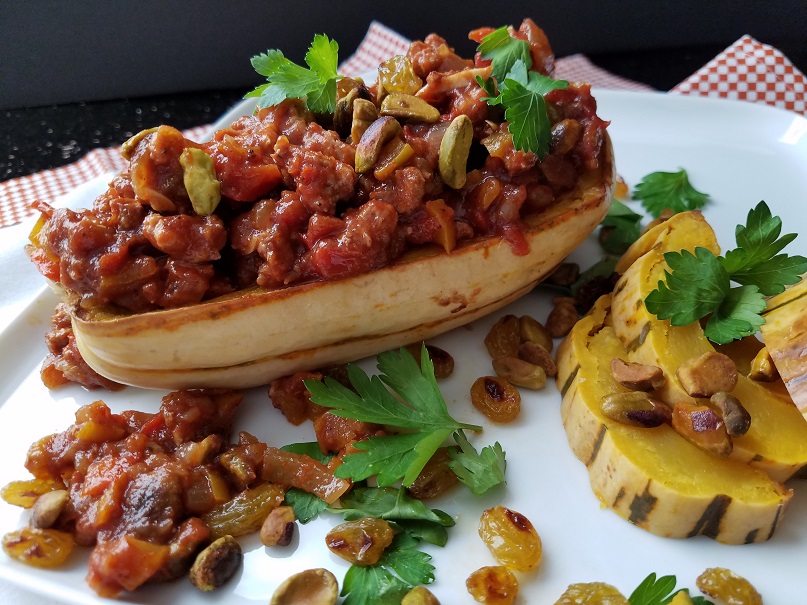
This recipe is adapted from Aarti Sequeira. Okay chefs, you have ground turkey, pistachio nuts, raisins, garam masala*, and tomato sauce… Your time starts now! Enjoy!

Ingredients

Sauce:
1/2 tablespoon extra-virgin or light olive oil
1 tablespoon minced ginger or 2 tsp. dry ginger
2 cloves garlic, minced
2 teaspoons garam masala*
½ teaspoon cumin (optional)
1 teaspoon paprika
¼ to 1 teaspoon ground red pepper (start with ¼ t. then add more to taste)
1 (15-ounce) can tomato sauce
1 cup water
½ to ¾ can tomato paste

Turkey:
2 tablespoons extra-virgin or light olive oil
¼ to 1/3 cup white or black raisins
¼ to 1/3 cup shelled pistachios
1 large white onion, finely diced (about 1 cup)
1 red bell pepper, seeds and membrane removed, finely diced
1 yellow bell pepper, seeds and membrane removed, finely diced
1 teaspoon kosher salt
1 pound ground turkey (I use white meat only and it’s okay if it’s a little over 1lb.)
1 to 2 teaspoons honey
Small handful chopped fresh cilantro or parsley
4 to 6 hamburger buns
optional: ½ roasted squash or brown rice

Begin by making the sauce:
Warm the oil in a medium saucepan over medium heat, until it shimmers. Add the ginger and garlic. Sauté until the ginger and garlic become fragrant, this takes less than a minute so stand and watch it. Add the garam masala and paprika and sauté for 30 seconds. By adding spices to oil, it deepens the flavor. Stir in the tomato sauce and water. Bring to a boil, and then reduce the heat and simmer, uncovered, until thickened, about 15 minutes.

While the sauce is cooking, prepare the turkey:
In large skillet, warm 2 teaspoons of oil. When shimmering, add the pistachios and raisins. Cook until the raisins swell up and the pistachios toast slightly. Remove from the pan and set aside on a plate lined with paper towel.

Return the pan to medium heat, add 1 ½ tablespoons of oil, stir in the onions and bell pepper; saute until softened and starting to brown. Stir in the turkey, breaking up the big lumps. Cook about 5 minutes or the turkey is opaque and cooked through.

Your sauce should be ready at this point. It’s at this point I add a little tomato paste to thicken. Add in the red pepper to taste. Pour the sauce into the skillet with the turkey. Stir and bring to a boil, then lower the heat and simmer until the mixture has thickened slightly, about 10 minutes.

Once the turkey is cooked and the sauce has thickened a little, add the honey, pistachios and raisins. Stir through and taste for final seasoning. Before serving, garnish with fresh cilantro or parsley.

Toast the buns, fill with the turkey mixture and serve and eat with your hands! Oye I can’t believe I’m telling you to eat with your hands… enjoy!
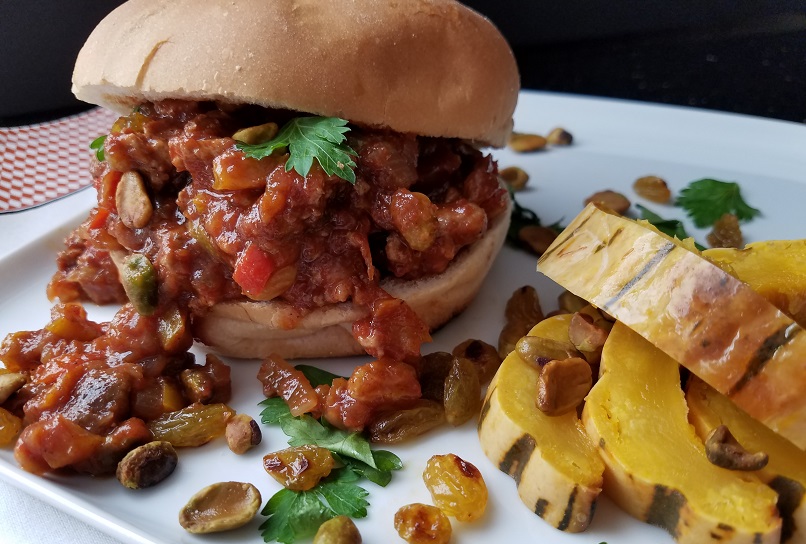
*Garam masala is an Indian spice containing cardamom, cinnamon, cloves, cumin, black pepper and cardamom. I use a brand from Whole Foods, it’s a company called Fronteir Co-op. There are various brands and can be found in most grocery stores.

Pumpkin Pancakes with Maple Yogurt Cream and Pumpkin Seed Brittle


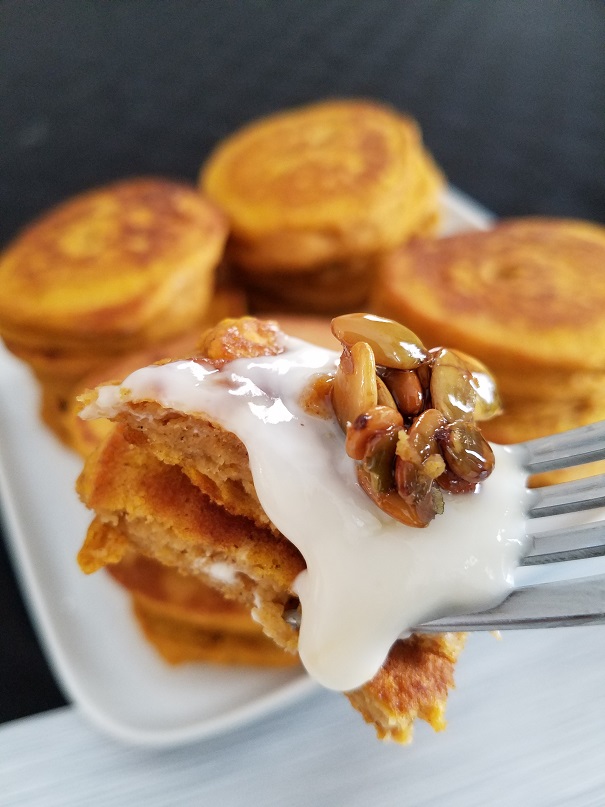
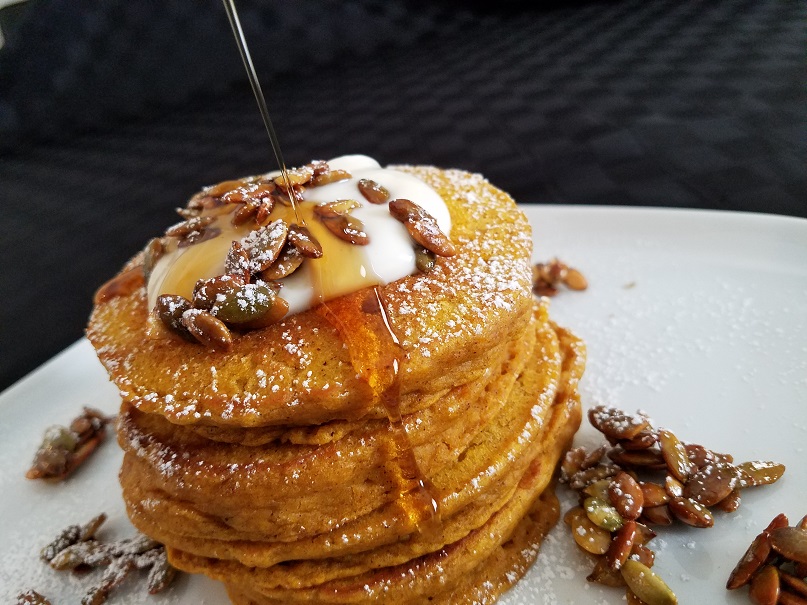
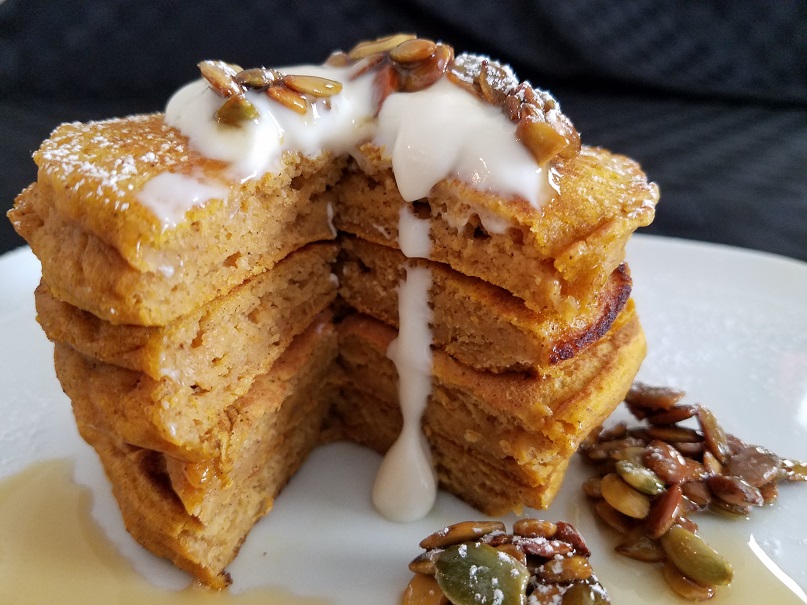
As if I even need a reason, one of my favorite things about these pancakes beside the obvious (hello – they are PANCAKES!), is they use a whole can of pumpkin puree! No smidgen of pumpkin left behind in the fridge for weeks until it’s unrecognizable. Despite all of your good intentions to make something spectacular with ¼ cup of pumpkin, it always goes unused – but not anymore! Topping them with a maple yogurt cream (of course you could use a maple whipped cream too – I won’t tell) and a pumpkin seed brittle puts them over the top. They are so light, fluffy, and delicious you will want them every day of the week.

So why did I decide to make them? Yesterday morning I looked in my pantry and found I had 6 cans of pumpkin, which for some reason have no memory of purchasing! There must have been an after Thanksgiving sale, or like rabbits – they are just multiplying. Nevertheless, I was extremely happy to find them. Gone are the crisp days of autumn, when everything was made with pumpkin and I miss that. Plus, pumpkin has so many health benefits. They are rich in vitamin A, fiber, beta-carotene, have more potassium than bananas, and some studies say they keep your skin looking young, In addition, the pumpkin seeds may help elevate your mood – what’s not to love about that? Maybe I should call these happy pancakes – they did make me happy!

Years ago, I came up with a basic pancake mix which has just a few ingredients. I have never liked using pancake mix from a box; it contains so much sugar and salt. I took that recipe and tweaked it by adding pumpkin and spices to it plus a healthy addition of yogurt for a little extra protein. They are ready in less than 30 minutes start to finish – which is a plus. If I plan ahead and measure out my dry ingredients the night before, when I wake up in the morning, I’m that much closer to eating these mouthwatering, and healthy pancakes. Let me know what you think. Enjoy!

This recipe makes 20 delicious 4” pancakes or 16 delicious 5” pancakes

Ingredients
2 ½ cups all-purpose flour
1 tablespoon baking powder
½ teaspoon baking soda
2 teaspoons pumpkin pie spice
2 teaspoons cinnamon
1 ½ teaspoons salt
½ teaspoon ginger
1 ¾ cups regular milk at room temperature (I used almond milk*)
1 – 15 ounce can pumpkin puree (I used Libby’s)
2 extra-large eggs (at room temperature)
¼ cup fat free vanilla Greek yogurt (can be omitted to be dairy free)
3 tablespoons real maple syrup (honey or sugar would work too)
2 tablespoons of unsalted butter melted (or sub a healthy oil to make them non-dairy)
2 tablespoons of unsalted butter to butter the griddle (or spray oil)
2 teaspoons vanilla extract

Toppings:
Maple syrup spiked Greek yogurt cream
½ cup vanilla fat free Greek yogurt
1 tablespoon real maple syrup

Pumpkin seed brittle
½ cup pumpkin seeds (also called pepita seeds)
1 tablespoon maple syrup
pinch of salt

Directions

Before prepping your ingredients, heat a non-stick griddle or large frying pan on medium heat.

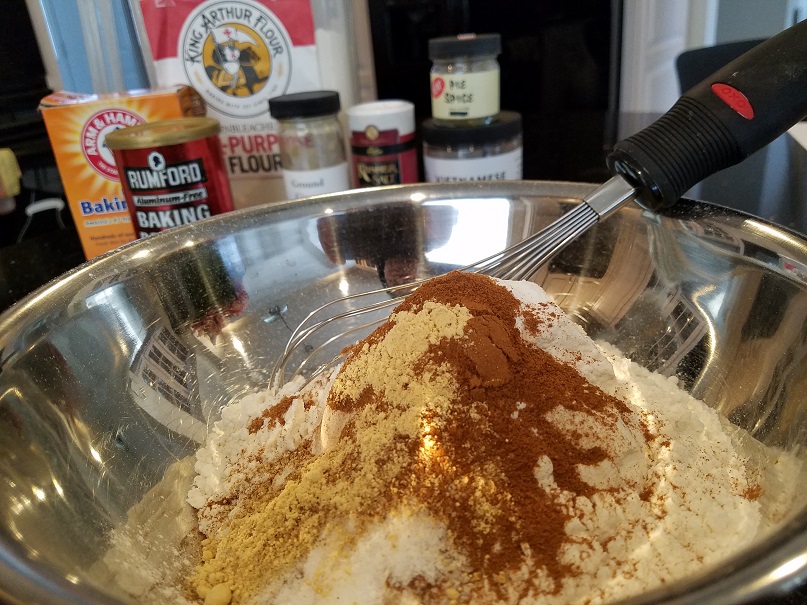
In a medium size bowl add all the dry ingredients, whisk together and set aside.

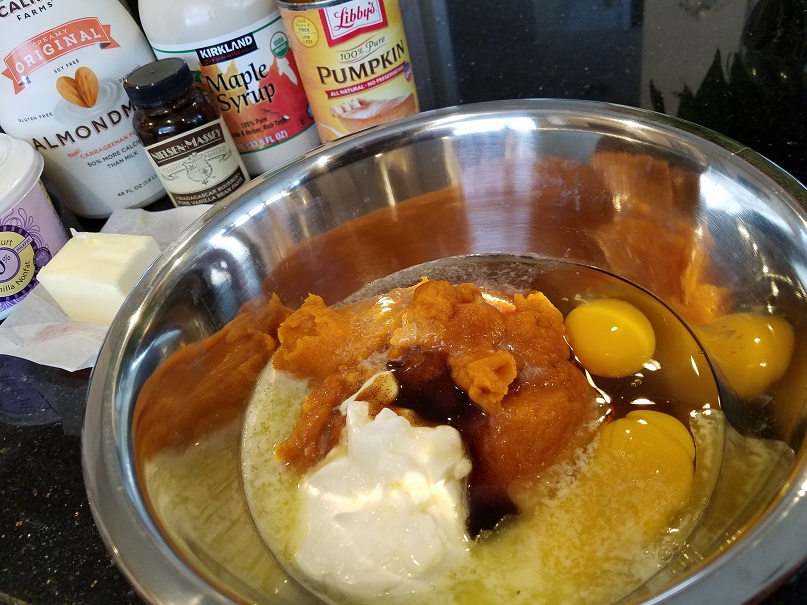
In a larger bowl, add the wet ingredients and mix until well blended. One notable tip, when using a spoon or spatula, make sure not to use one which is clear or white. The pumpkin will turn it orange. I learned this the hard way!

Add the dry ingredients into the wet about 1 cup at a time until combined. Then let the mixture sit for a couple of minutes. Butter or spray your pan and pour the batter onto the hot griddle. So they come out the same size, you can use a measuring cup or I like to use a large ice cream scoop (aka a disher). Depending on the size of the pancake you want, use a 1/3 cup for a 4” pancake and ½ cup for a 5” pancake. I think I have every size scoop and some doubles to keep one parve and one dairy. They are the best kitchen investment you can make.

The pancakes are ready to flip when they brown slightly around the edges and you see bubbles starting to form. They are pretty thick and may brown before they bubble so keep an eye on them. It should take about 2 or 3 minutes per side. Flip, plate, top with the yogurt and brittle and enjoy!

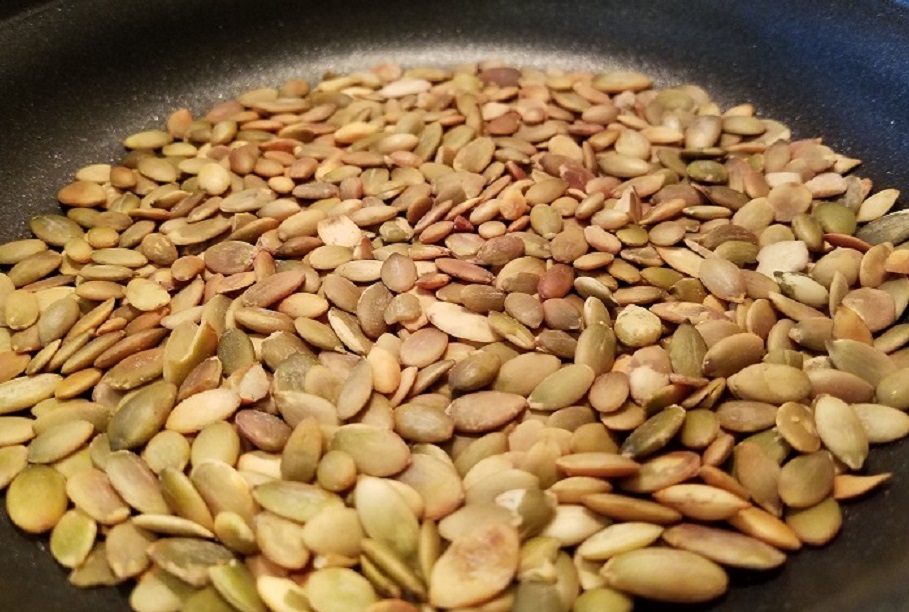
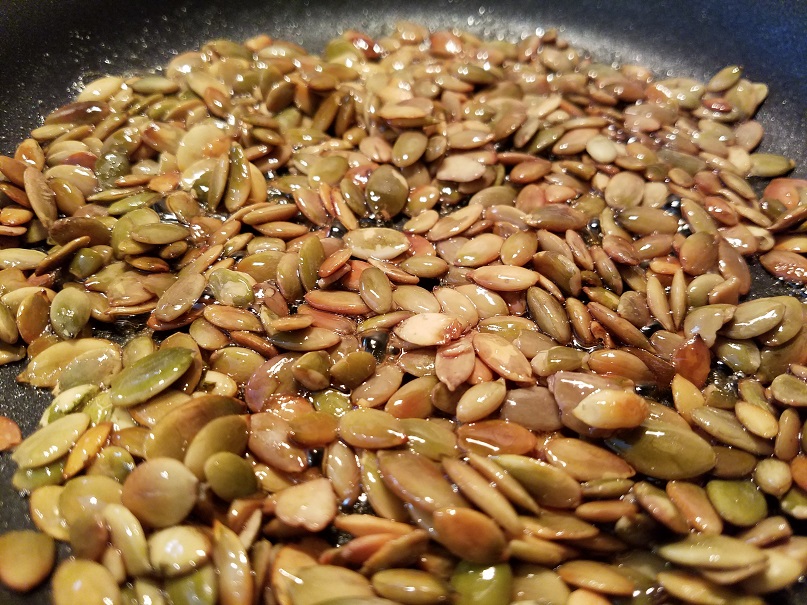
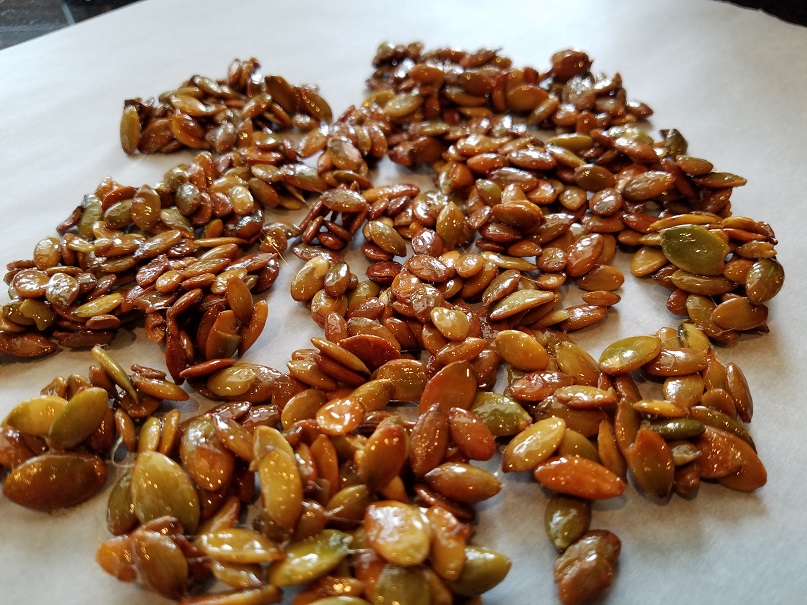
For the yogurt topping, mix together ½ cup plain nonfat Greek yogurt. For the brittle, place the pumpkin seeds in an 8” frying pan on medium/low heat. Stir them around until they toast lightly about 4 minutes. Add the pinch of salt, maple syrup and cook until the liquid evaporates, about 2 minutes. Pour them onto parchment paper to cool.

*I have made these pancakes so many times and tried different milks, they all work well. I generally use almond milk as I did with this recipe.

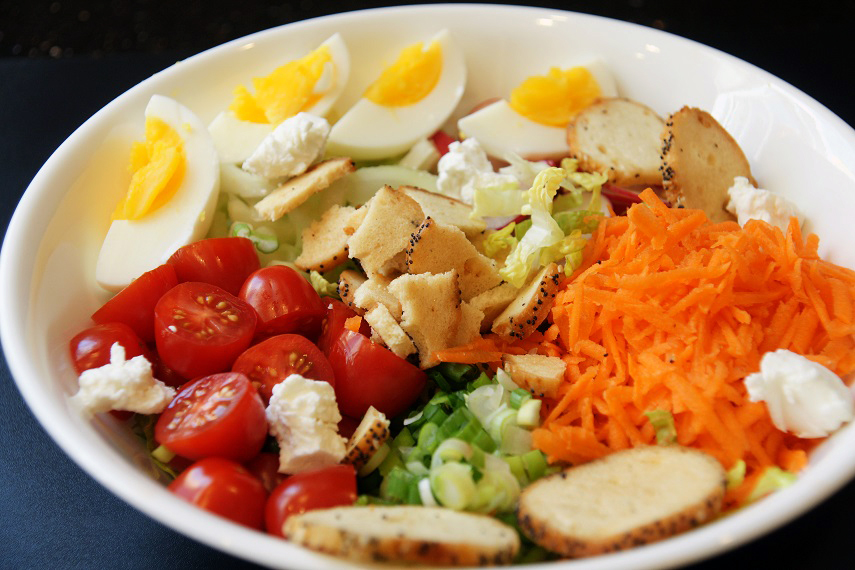
How about an Everything Bagel Salad to get you through the week?


For days when you are missing your weekend bagel, how about an everything bagel salad to get you through the week? It’s getting close to the weekend and you’re craving an everything bagel with cream cheese. What’s a girl to do? Turn it into a salad of course! Why an everything bagel salad? There are a few reasons: I love everything bagels, I love salads filled with everything but the kitchen sink, it gets me ready for the weekend without all the guilt of a bagel on a weekday and I happen to have a jar of everything bagel seasoning in my house impatiently waiting to be sprinkled on EVERYTHING!

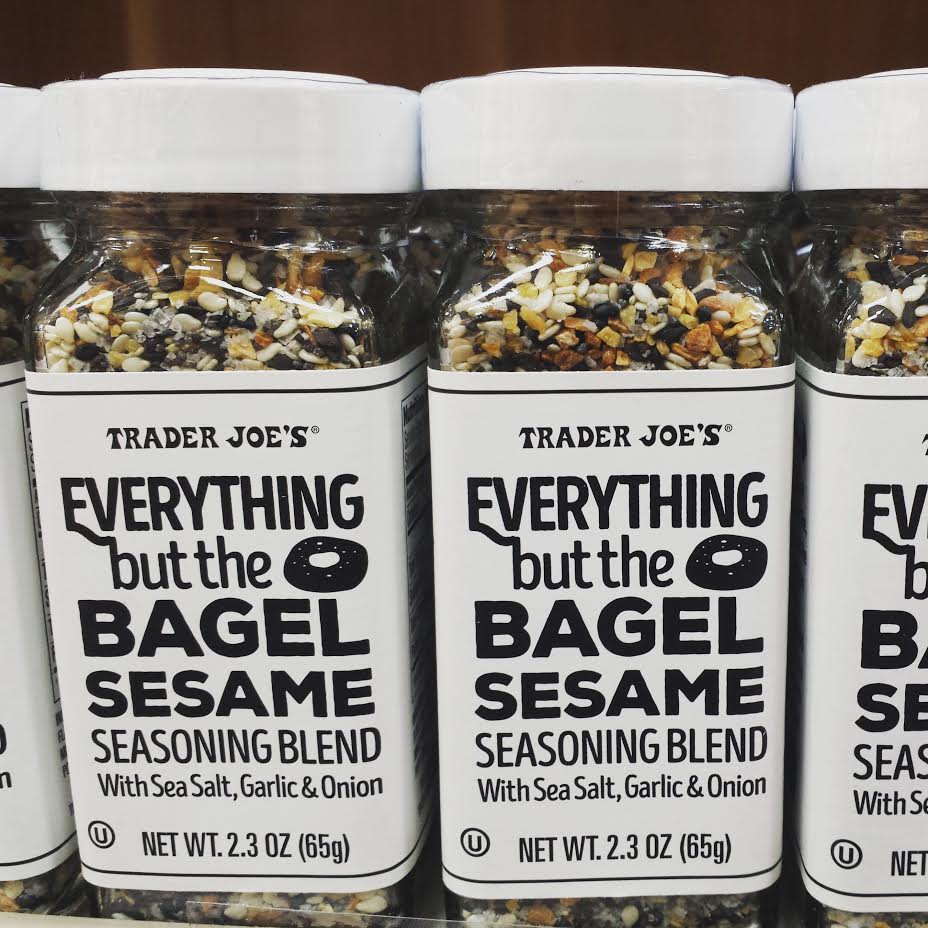
Here is how it all started… I was in Trader Joe’s a couple of weeks ago scanning their new food section for a great new find. If you are a Trader Joe’s junkie like me, you totally get this. There on the shelf was a jar of Everything but the Bagel Sesame Seasoning Blend (try to say that 5 times fast!). First of all, the label was adorable and really caught my eye. Second, I don’t know why I got so excited, but I did; ideas were flooding through my head on what to use it on. I bought 2 jars and posted a photo on Instagram immediately proclaiming my excitement for this new and wonderful treasure I found. Since then, I have topped challah rolls with it, used it on salmon before grilling, sprinkled it on green beans and of course my husband added it as a booster to his already everything bagel with lox and cream cheese! Ooh, I just thought of how great it would be on avocado toast – I’m so going to have to try that!


Not familiar with the everything bagel (click here to find out more)? The only thing you need to know about an everything bagel is it is the quintessential NY bagel. Sesame seeds, poppy seeds, minced onion, minced garlic and coarse kosher salt – that’s it. Five simple ingredients become a game changer to the average bagel; in this case the average salad. There must be a lot of fans out there for type of bagel since it has its own jar of seasoning mix on the shelf. I found it at Trader Joe’s, but King Arthur also has a great mix you can buy online. I’ll also share my recipe at the end so you can make your own at home. Every now and then you will come across an everything bagel with caraway seeds – I’m not a fan and think it should stay in rye bread where it belongs!

Here’s my favorite way to eat a bagel… Unless it’s fresh and hot out of the oven (which only happens in NY) I lightly toast it and then scoop it so there is less bread and you can add more toppings. Then of course there is the cream cheese, but not just any kind of cream cheese, for me it has to be vegetable cream cheese (follow this link for my recipe). Lox is a perfect addition and a couple of thick slices of a crisp tomato. Is your mouth watering yet?


Now for the salad… I love a really good salad and I’m hooked on making salads fun and interesting. For me, a salad is at its best when there are a lot of goodies in them other than an overwhelming amount of lettuce. I like to think of the lettuce as the bread or bagel in this case, which holds a sandwich together. The lettuce will be the anchor here.

When I first set out to make the salad I thought of all the components from toppings to the base.  I knew the calories and carbs would be a fraction of what you get from a bagel, plus I wanted to keep all of the satisfaction. The fun of it is you can customize it to what you like on your bagel i.e. salad! If you love whitefish, buy smoked whitefish or smoked trout and top your salad with that. If you like capers, hard-boiled eggs, and onions, throw them in too.


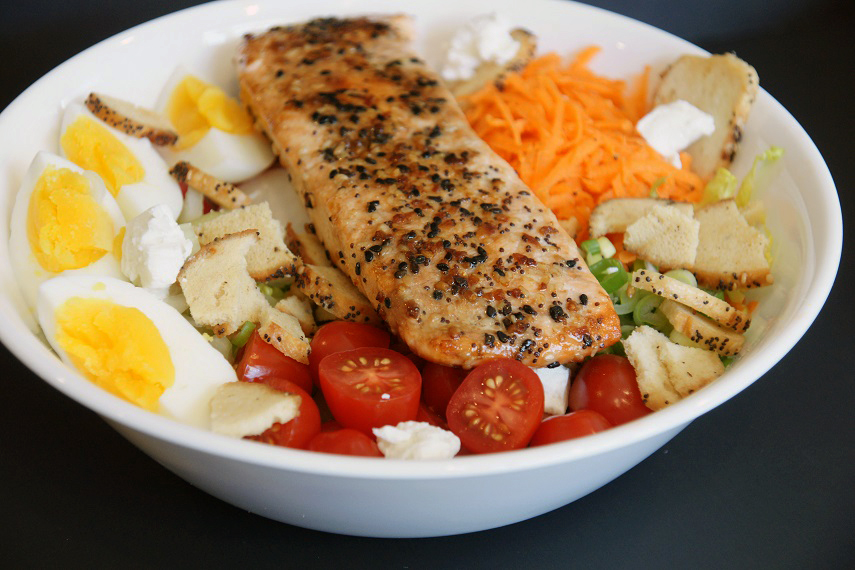
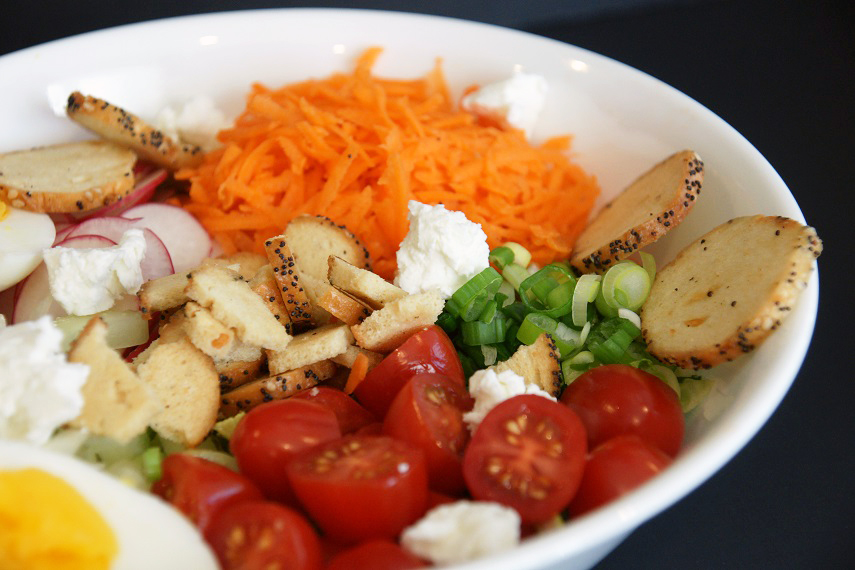
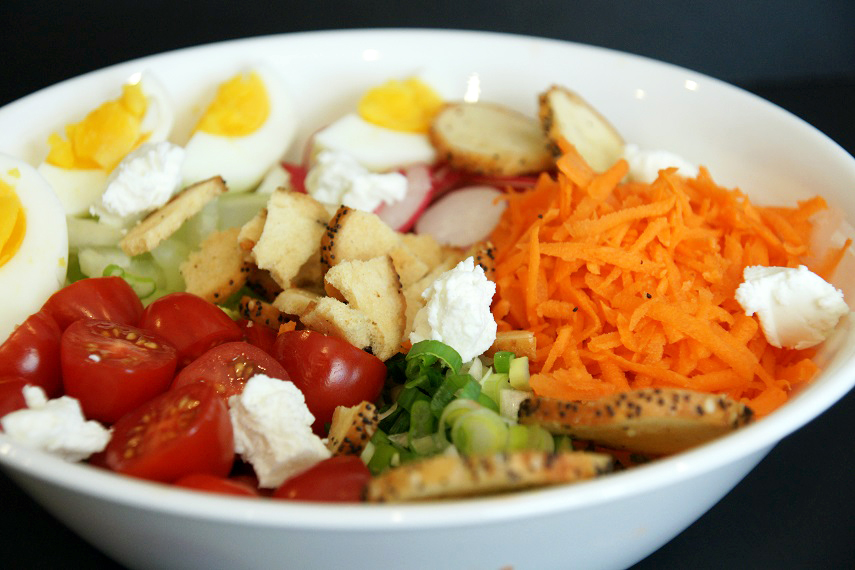
For this salad, I deconstructed the vegetable cream cheese and made the ingredients the toppings: radishes, carrots, and scallions. Of course, I had to include salmon in some way but didn’t think lox was the way to go, but if you try it, let me know how it is. I’m more of a baked smoked salmon girl anyway, which is difficult to find in Columbus. I decided on a piece of fresh salmon. I topped it with everything seasoning then seared it in a pan. Hard-boiled eggs also make an appearance in my salad for a few reasons: I love them, they are perfect on a bagel, and they go great in a salad!

It’s a very quick salad to put together as well. As the salmon was cooking, I assembled the other ingredients. I shredded some romaine lettuce, crushed up some everything bagel chips, added some goat cheese for that cream cheese texture and really good flavor. It was all coming together and I couldn’t be happier.

There you have it, a salad to get you ready for the weekend and for you diehards, a salad you can bring to work on Monday. Enjoy!

Ingredients for one salad
1 ½ cups shredded romaine lettuce
8 cherry tomatoes cut in half
1 carrot grated (½ cup)
1 to 2 perfect hard-boiled eggs cut into quarters
2 to 3 radishes sliced very thin
2 scallions sliced into thin rounds
1 ounce goat cheese
8 everything bagel chips broken into pieces
Dill (optional)
4 ounce salmon filet
everything bagel seasoning

Lowfat ranch dressing of your choice

Directions
In a medium bowl, combine the shredded romaine and next 8 ingredients. Arrange it nicely in the bowl by layering it, or placing the vegetables together.

For the salmon, rub it with about a teaspoon of olive oil, sprinkle the everything seasoning on both side then place it in a hot pan on medium heat. Cook about 4 to 5 minutes per side or until your desired doneness. Then add the cooked salmon on top of the salad.

For the salad dressing, I used a package of Concord Foods Ranch dip (which I find in the produce area of my grocery) mixed with a container of Breakstone’s reduced fat sour cream (nonfat plain Greek yogurt would work as well) plus one tablespoon of Hellman’s mayonnaise. Then I add water until is pour-able but not too thin. I am always on the lookout for a good ranch dressing in a bottle, but they all have msg in them. I like this brand because it does not contain monosodium glutamate (msg) and I can use a very low fat base. And yes, I do know this is a lot of dressing for one salad, but I think you’ll be making it again and again, so you might as well have dressing on hand! Of course, you can buy any kind of creamy dressing you like for this. Pour dressing over the salad and serve immediately.

How to make your own everything bagel seasoning (feel free to play around with this ratio)
1 tablespoon white sesame seeds
1 tablespoon black sesame seeds*
2 tablespoon poppy seeds
1 tablespoon minced dried onion
1 tablespoon minced dried garlic
1 to 2 teaspoons coarse kosher salt (this is optional if you don’t like salt, omit)

Mix it all together and store in a small jar until you are ready to use it.

*Use 2 tablespoons of white sesame seeds   if you can’t find, or don’t want to use the black.


hamantashen throw down!


Have you ever had a hamantashen throw down? I have! Every year in preparation for Purim, I have a throw down with a friend of mine. The only difference is there is no winner – just a really good time and delicious hamantashen to eat! Every year, my friend Marcy and I get together to bake hamantashen for Purim. Hundreds of hamantashen in fact! This is just one of those amazing recipes.

Hamantashen are the triangular cookies we eat during the holiday Purim.  Purim is a fun Jewish holiday which includes dressing up in costume, carnivals and drinking quite a bit! FYI, the drinking is so we can no longer tell the difference between good and evil – not such a bad thing once a year! As with all Jewish holidays, there is a retelling of the story of why we are celebrating and we always have very traditional and symbolic foods we eat. For Purim, hamantashen play a staring role. Let me set the scene… 6 different fillings on the counter, 5 dough recipes all chilled overnight and wrapped tight in plastic wrap, 4 fun hours of baking, 3 too many delicious hamantashen eaten which gave me a bellyache, 2 friends happily talking the morning away, and finally 1 house that smelled absolutely delicious – and still does! Did I forget to mention approximately 200 hamantashen were made?

Mine were baked, packed up and shipped out yesterday or handed out to local friends. Hers were frozen and will be baked today then brought to Connecticut for some very lucky people! Among the varieties: a cream cheese dough reminiscent of rugalach, a traditional dough, a secret recipe dough, a chocolate dough, and finally a new one I tried from the 2nd Avenue Deli Cookbook which calls for almond flour. I almost said my new favorite but then deleted it. Like my mother always said “I have ten fingers and I love them all the same – don’t ask me to choose!” That is how I feel about most hamantashen recipes I’ve made.
I’m not sure if I ever mentioned this before or not, but mother had some kind of obsession with hamantashen recipes. Not necessarily baking them – collecting them! For whatever reason, she included about 3 of them in the little 15 page handwritten cookbook she made me when I got married. The crazy thing is while she was an avid baker, I don’t remember her ever baking hamantashen when I was growing up except for the time with the sisterhood from our Temple. So it was very surprising she added so many into my book. This being said, I guess it should be no surprise I have inherited her obsession. I never really thought of it like that, but clearly after reading my own words, what else would you call it? The only difference is I don’t write about them and collect them, I actually bake them!

Today I’m sharing Carole Walter’s recipe which my friend Marcy brought with her. Oddly enough is extremely similar to my mother’s except my mom used shortening (which is exactly why I know she never made them – she never used shortening!) and she always baked with jumbo eggs. Carole uses butter in her recipe and large eggs. The preparation is a little different as well. Sorry mom, but Carole is the winner in this throw down not only because I’m not a fan of shortening – because I don’t think my mom ever made them! However, I do think my mom would approve and besides, there is always room for one more hamantashen in your life – and in my mother’s case, one more recipe to add to the list! I hope you try this recipe which is adapted from Carole Walter’s cookbook simply called Great Cookies! The name says it all, they are great cookies and very delicious, with a nice bit of crunch on the outside and soft on the inside. Whatever filling you choose… Enjoy!

Ingredients
3 cups all-purpose flour
1 cup sugar
2 teaspoons baking powder
¼ teaspoon kosher salt (I would add one tsp. like my mom next time)
1 cup (1 ½ sticks) cold unsalted butter or margarine cut into cubes
2 large eggs
2 large egg yolks
1 teaspoon pure vanilla extract
sanding sugar (optional)
Egg wash*
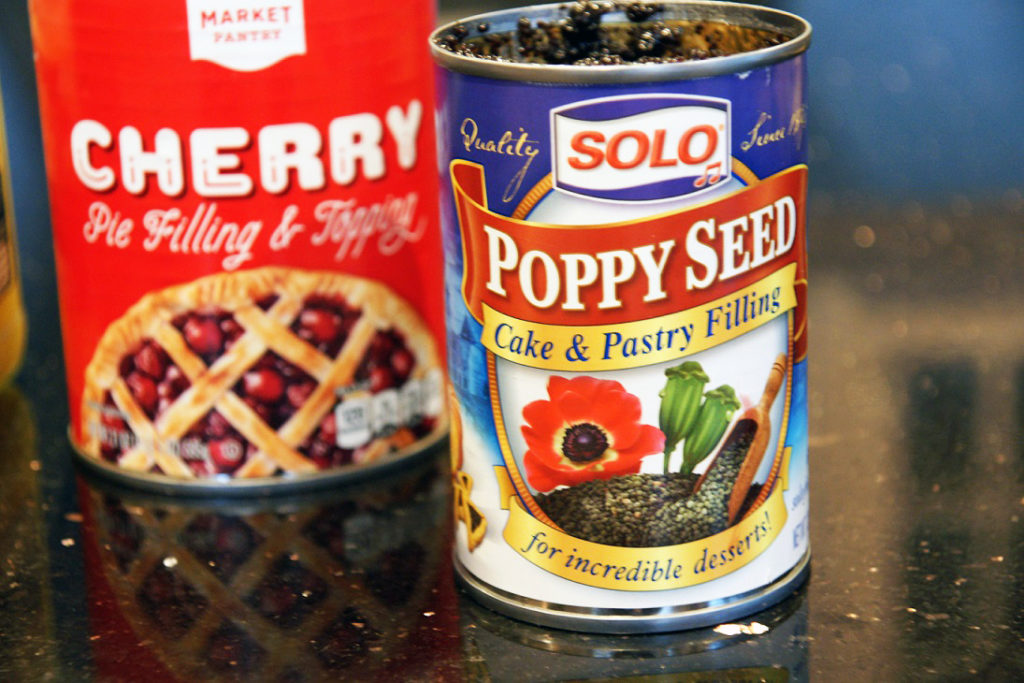
Fillings of your choice (I used cherry pie filling, lemon curd, and poppy seed)

This recipe makes 40 – 2” cookies


dough

Place the flour, sugar, baking powder and salt into the bowl of a food processor fitted with a steel blade and pulse two or three times to combine. Add the butter and pulse five times then process 5 seconds to form meal like crumbs.

Place the eggs, egg yolks, and vanilla in a small bowl and mix with a fork to combine. Pour the mixture into the processor and pulse four or five times, then process until the dough begins to clump together. Turn out onto a lightly floured surface and with floured hands, form into two disks, wrap with plastic, and refrigerate for at least 1 hour, or up to 3 days. (This dough may be frozen for up to 4 months)

When you are ready to bake, position the racks to the upper and lower 1/3 of the oven. Line cookie sheets with parchment paper and set aside. Preheat the oven to 350 degrees.

Roll the dough to a thickness of about 3/16”. My trick is to use paint sticks you get at the hardware store. I cover them with plastic wrap and use them as guides. I like that better than the rings you can put on your rolling pin. Using a 3” round cookie cutter, cut circles of dough and place them on the cookie sheets.

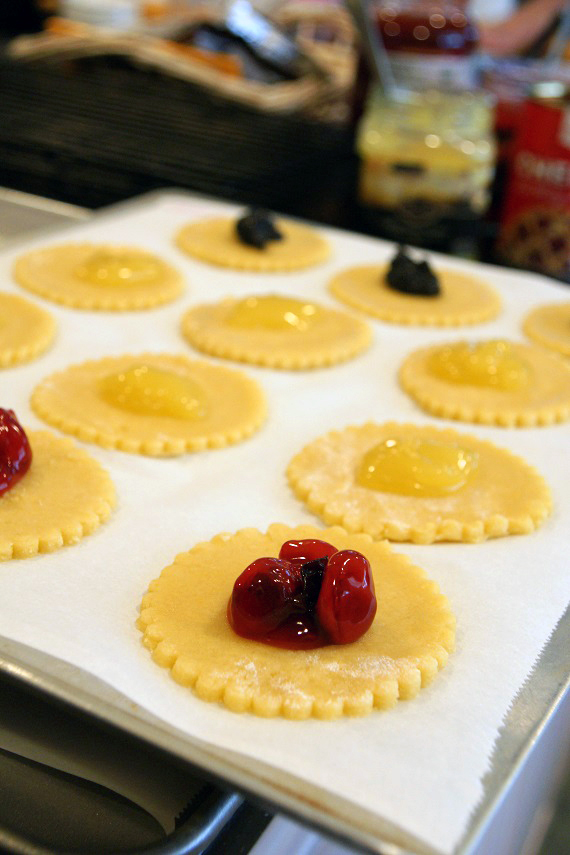
When all of the dough has been cut place about 1 ½ teaspoon of filling in the center of the circle. Brush the perimeter with the egg wash or a little water. To fold or to pinch? That is the question! Now you can either use the pinch method as I do and pinch 3 corners together, or use the folding method where you flap one side, then the next two till you form a triangle.


Brush the tops of the cookies with the egg wash. I sprinkled mine with some sanding sugar for that extra sparkle and crunch. Bake the hamantashen for 15 to 18 minutes or until the cookies are golden brown. To ensure even browning, rotate the pans top to bottom and front to back. When done, remove from the oven and let them rest for 2 to 3 minutes on the cookie sheet then remove to a wire rack.

Store in an airtight container with wax paper between layers for up to 3 days. These cookies may be frozen.

*When I make an egg wash I use the whole egg and put in a pinch of salt, a pinch of sugar, and a splash of water. Carole uses egg whites only. Either will work fine.

Craving Comfort Food? Prescription: Ratner’s Potato Soup


If you are craving comfort food, my Prescription: Ratner’s Potato soup! It may not seem like good medicine, but I promise it is.

Last week was filled with ups and downs for me. It was bookended by two grandbabies being born to two different friends both named Lisa! Monday, I lost my driver’s license (not a big problem in the scheme of things, just a nuisance!) Tuesday, my coworker left work and headed to see her closest friend who is in hospice. I was out of sorts the rest of the day thinking about and praying for her. Wednesday, a dear friend of mine lost her father. Thursday, after four cold and very grey days, I tried to write, but realized I was just blocked and couldn’t. The bright spot to my week was seeing photos of two beautiful baby boys! Of course, I forgot to get a new license!

Friday, I went to the BMV (Bureau of Motor Vehicles) with an envelope containing my birth certificate, passport, social security card, and marriage license, everything to prove who I am. While sitting there 20 minutes or so, I leafed through my identity envelope, as I like to call it, and what do you think was wedged in my passport? My driver’s license – I had it all along! What it was doing in my passport is an entirely different story for another time. The good news is I caught it before waiting another half hour and being embarrassed at the desk when they called number 47!

I got into my car and said out loud… REALLY! What I knew for sure, is I needed something comforting for dinner and I knew just the prescription: Ratner’s potato soup! The only problem, Ratners was a restaurant in NYC that is now closed, and while they use to sell it in the freezer section of the grocery, they no longer do.

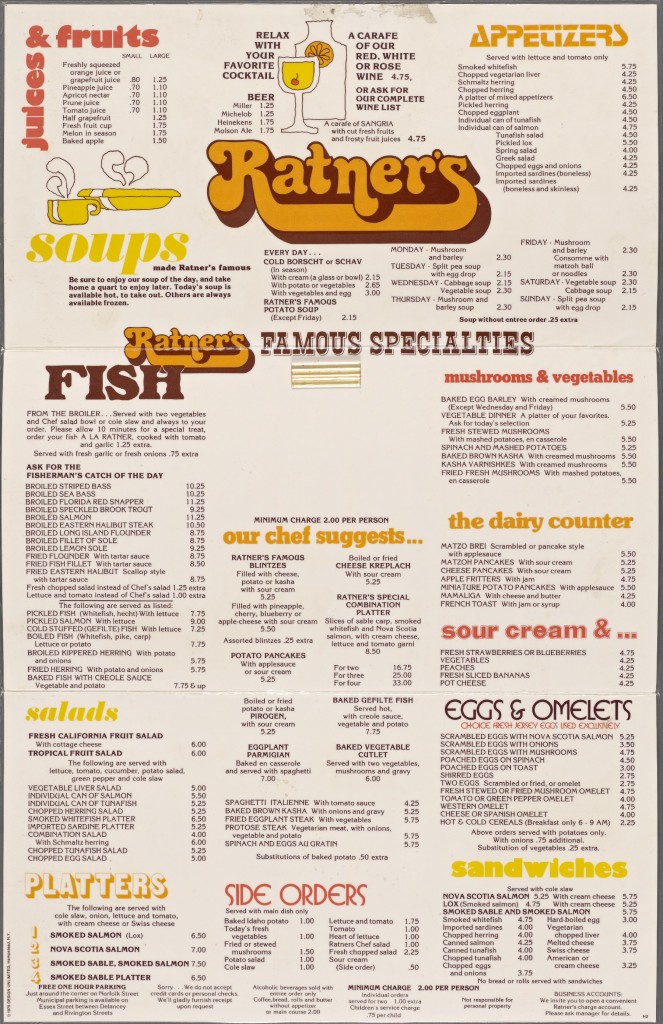
Now for the good news… I have the Ratner’s Cookbook and I can share it with you! Ratner’s was a Kosher Dairy restaurant on the Lower East Side of Manhattan for almost 100 years (97 to be exact!). They had the best everything and their soups, memorable and amazing.

To read more about the restaurant, click on the link http://unofficialmadmencookbook.com/blog/ratners-kosher-restaurant-the-harmatz-family-shares-memories-of-the-mad-men-era-a-recipe-and-giveaway/

SONY DSC

My recipe is adapted from The World Famous Ratner’s Meatless Cookbook by Judith Gethers and Elizabeth Lefft. I changed things to make it healthier and a little simpler without losing anything in translation. For example, I didn’t think the soup needed 1/2 cup of butter so I added a couple of tablespoons just to give it flavor. It is the only potato soup I have ever had, and in my opinion the best. The only thing missing from my dinner was an onion roll! For those of you who may have been to Ratners, you remember their delicious onion rolls! I will be trying to make those very soon, and will share them with you! Until then, enjoy this delicious and comforting potato soup.

Ingredients

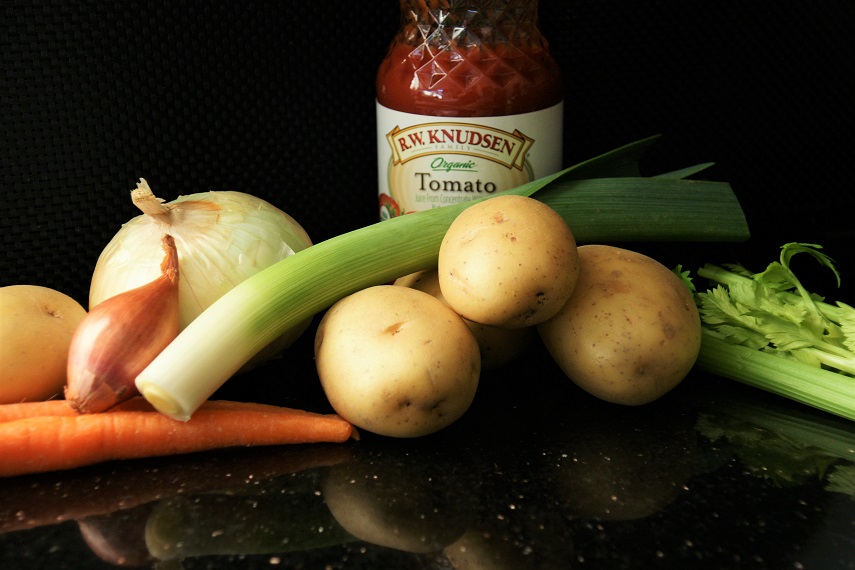
6 to 8  potatoes, peeled and cut into 1″ pieces – I used Yukon gold (about 8 cups)
3 or 4 onions chopped to equal 3 cups
1 leek white and light green parts only to equal
1 cup 3 to 4 tablespoons light olive oil (evoo is fine too)
1/2 cup diced carrots
1/2 cup chopped celery
1/2 cup chopped green pepper
1/2 cup chopped parsley
1/2 cup tomato juice
1 quart water
1 quart vegetable stock* (look for a clear vegetable broth, one without tomatoes)
1 quart water
2 teaspoons salt (original recipe 2 tablespoons salt – OY, can you feel your blood pressure rising?)
1/2 cup caramelized onions (made from the onions above)
1 tablespoon chopped dill
2 tablespoons of unsalted butter
1/4 teaspoon white pepper (black is fine too)
Fried onions (optional)

Directions
In a large frying pan, add 1 tablespoon of olive oil, a pinch of salt, and one cup of the diced onions. Cover and leave on medium heat for 15 minutes. After 15 minutes, uncover and keep cooking while preparing the rest of the soup. You may need to add another tablespoon of olive oil. The onions should not sauté dry. You want to break down the onions until they are soft, falling apart and golden brown. This step is to take the place of the baked onions* called for in the original recipe.

In a stock pot (Ratner’s called it a kettle!) add the remaining 2 cups of onions and two tablespoons of olive oil. Sauté until translucent then add the leeks. When the onions just start to brown, add the potatoes, carrots, celery, green pepper, parsley, tomato juice, vegetable stock, water and salt. Bring to a boil, lower heat and simmer, covered for 40 minutes.

The original recipe calls for blending the soup at this point. I remember the soup having some potato pieces in it and wanted that texture. With a slotted spoon, I took out about 2 cups of potatoes and set them aside. Stir in the caramelized onions, dill and pepper, blend thoroughly. I used a hand held stick blender for this. Then I added the potatoes back in to the soup. Add two tablespoons of butter, allow to melt and stir well. Finally taste the soup and check for seasoning. You may like more salt or pepper so feel free to add it a pinch at a time.

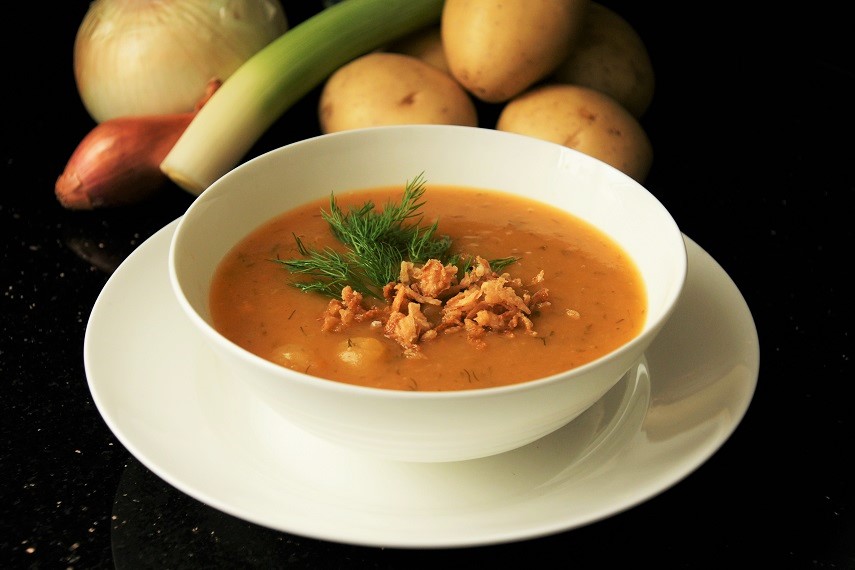
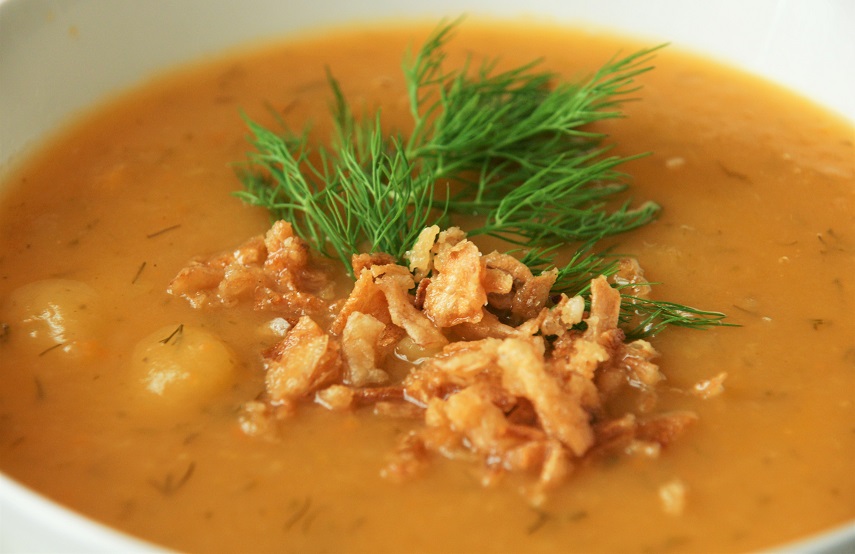
I served it with a sprinkle of fried onions on the top. It added a great textural crunch and for me, reminiscent of Ratner’s delicious onion rolls they served alongside! Enjoy!

Serves 10

SONY DSC

* The original recipe called for 2 quarts of water and no stock. I used a quart of vegetable stock for flavor since I cut the salt down from 2 tablespoons to 2 teaspoons, I felt it needed something more than water.

**BAKED ONIONS… I chose to use caramelized onions for a couple of reasons. First, the amount of butter added, second, I like the taste of caramelized onions and thought they would be a rich compliment to the soup. The original recipe called for ½ cup baked onions) If you would like to try it, the recipe is as follows:
1 cup clarified butter
3 lbs onions, peeled and sliced
Preheat oven to 350F. Stir butter into onions in a 9 x 13 baking pan. Bake for 1 1/2 hours, or until golden brown in color. Stir occasionally. Cool and refrigerate till needed. May be stored in refrigerator up to 2 weeks.

Photo of the menu compliments of The New York Public Library