Scenes from a Holiday Table

SONY DSC

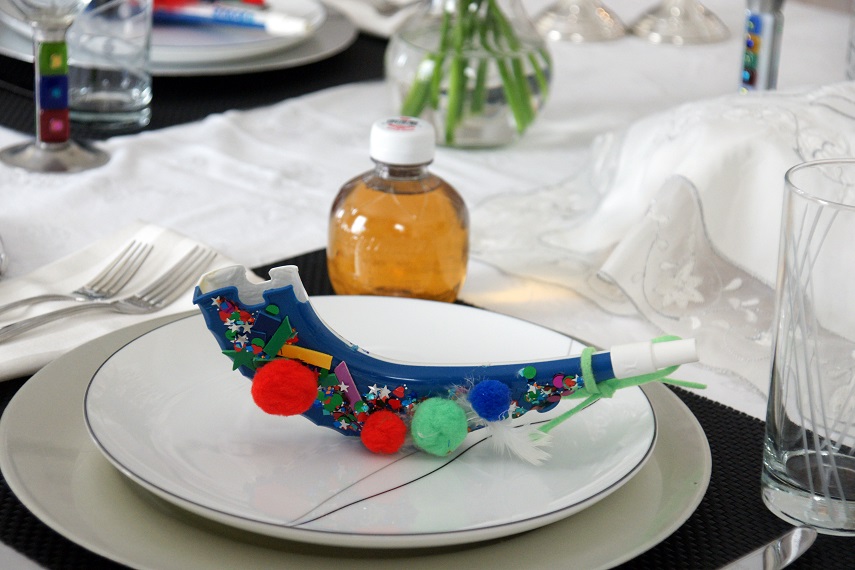
Autumn brings the beginning of a new school year, cooler weather, apple picking, and foliage rich in beautiful hues of red, orange and yellow as the leaves begin to change color. It’s my favorite season and the one I missed most when growing up in Florida. The season also brings a new year for the Jewish people filled with traditional food, and hopes for a sweet new year. The past couple of weeks have been filled with holidays, family, friends and a lot of food! There was what seemed to be endless cooking going on in my kitchen, and a lot of eating around the table. I had a checklist of all that needed to be accomplished. Plan menu – check! Purchase groceries – check! Bake apple cake – check! Braid the challah – check! Make holiday boxes for college students – check!

SONY DSC

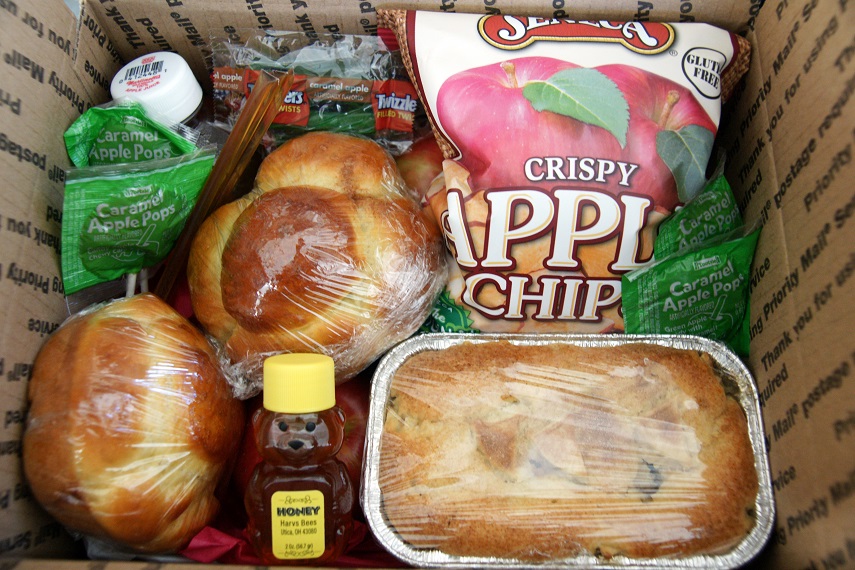
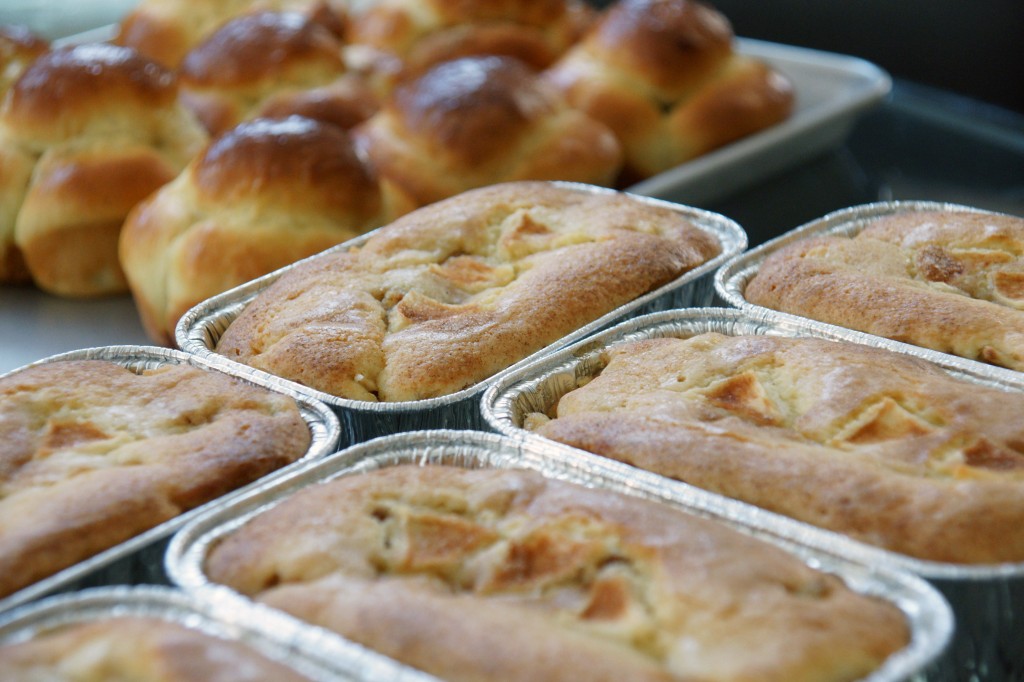
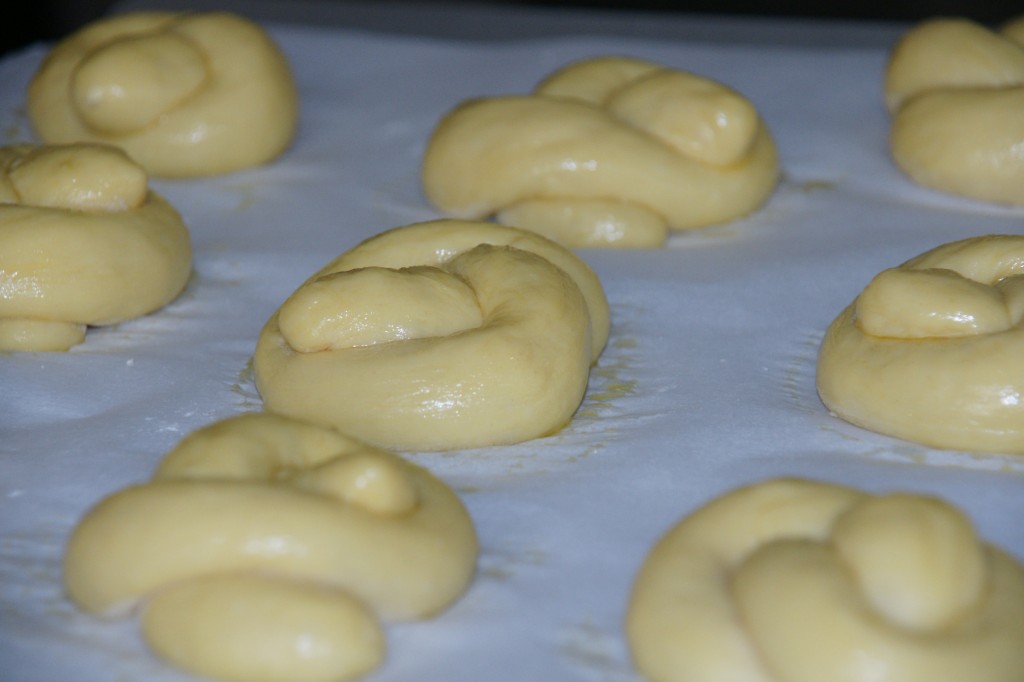
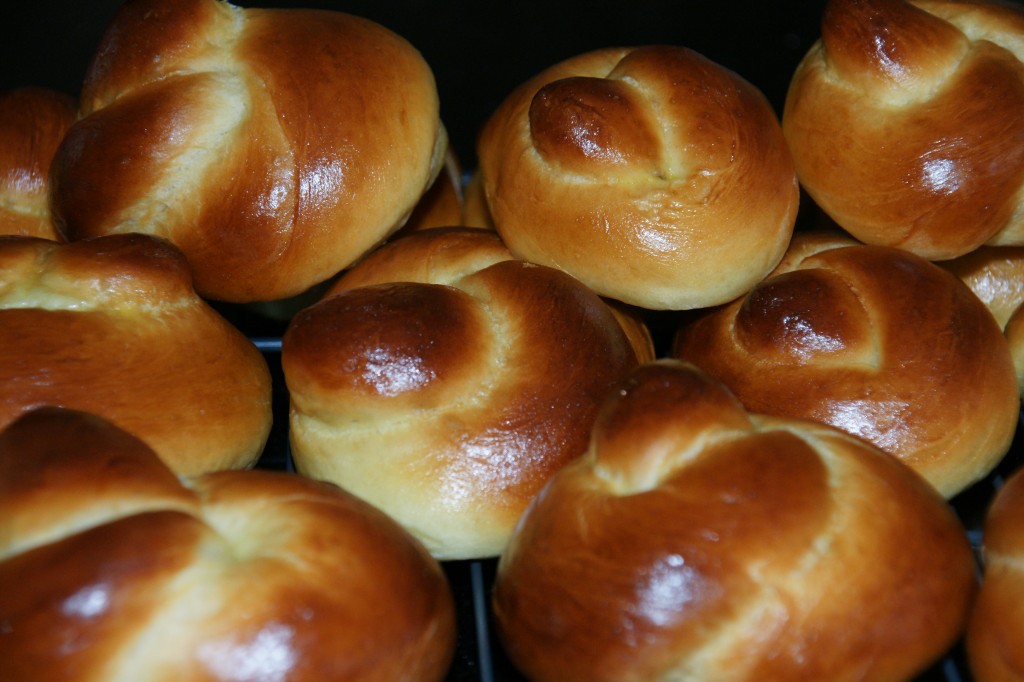
I put together holiday boxes which were mailed to college kids in the middle of September. They included mini apple cakes, challah rolls, small honey bears, candy and apples. It’s a little taste of home for the holidays. I started making them last year for my son and niece and this year was a little late in advertising, but still managed to sell a few making an even dozen to be sent off as far away as Arizona, New York, Texas, Virginia, Indiana, and here in Ohio. For upcoming holidays I’m working on adding a link to the side of my website for ordering.

SONY DSC

The holidays also bring my in-laws to town. It’s great having them join us every year. We really look forward to their visit and spending time with them. After the holiday is celebrated, we then carry out our traditional apple picking excursion, yes – I went apple picking again! This time we picked golden delicious and Jonathan apples. Both fantastic and extremely  different from one another, yet both perfect for dipping into honey! Of course I can’t leave the farm without apple salsa, which gets opened immediately when we get home! As for my mother-in-law, her visit isn’t complete until she goes home with a wagon filled with butternut squash, which she will turn into a delicious and creamy golden soup!

SONY DSC

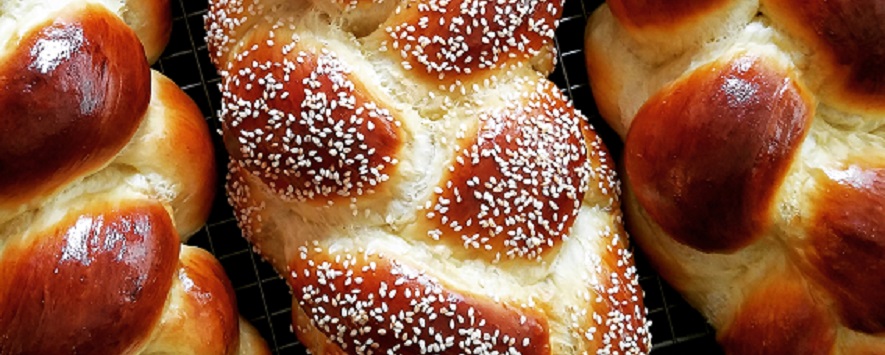
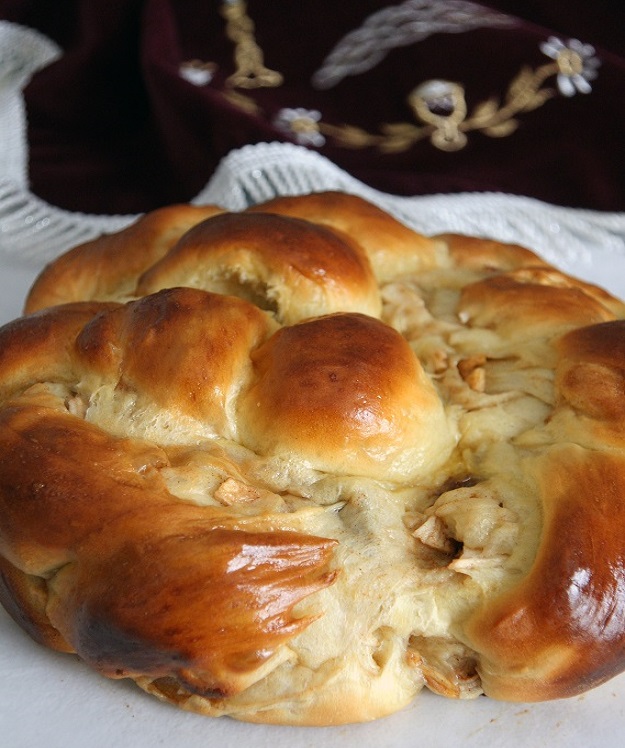
During the holiday, it is customary to have raisin challah that is round, which symbolizes the circle of life and changing seasons. I thought I would try adding chopped apples instead of raisins this time, and it was the best challah I have ever made! It tasted like cake but, hey, it’s the holiday so what’s a little cake with your meal? Plus, it’s customary to have a sweet challah on the holiday. Okay, now that I justified it, we can move on!
SONY DSC

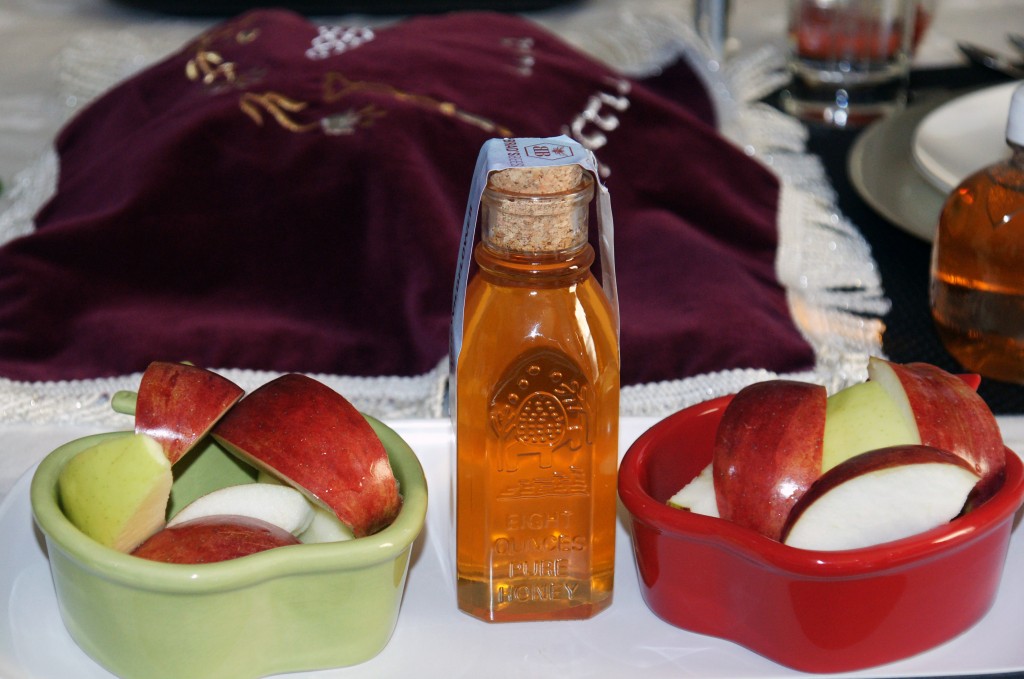
Bread and apples are dipped into delicious golden honey, to insure a sweet year ahead. This year I found beautifully packaged honey at a local farmer’s market. The honey is from a local beekeeper named Brad from Brad’s Bees which graced our table in a beautiful vintage jar and the taste was amazing! I purchased their summer wildflower honey which is a premium light honey derived from various wildflowers here in Columbus. Wildflower honey will vary in taste from year to year. This must be an exceptionally good year as it was sweet and mild with a beautiful amber color. What a great way to start off the holiday!

SONY DSC

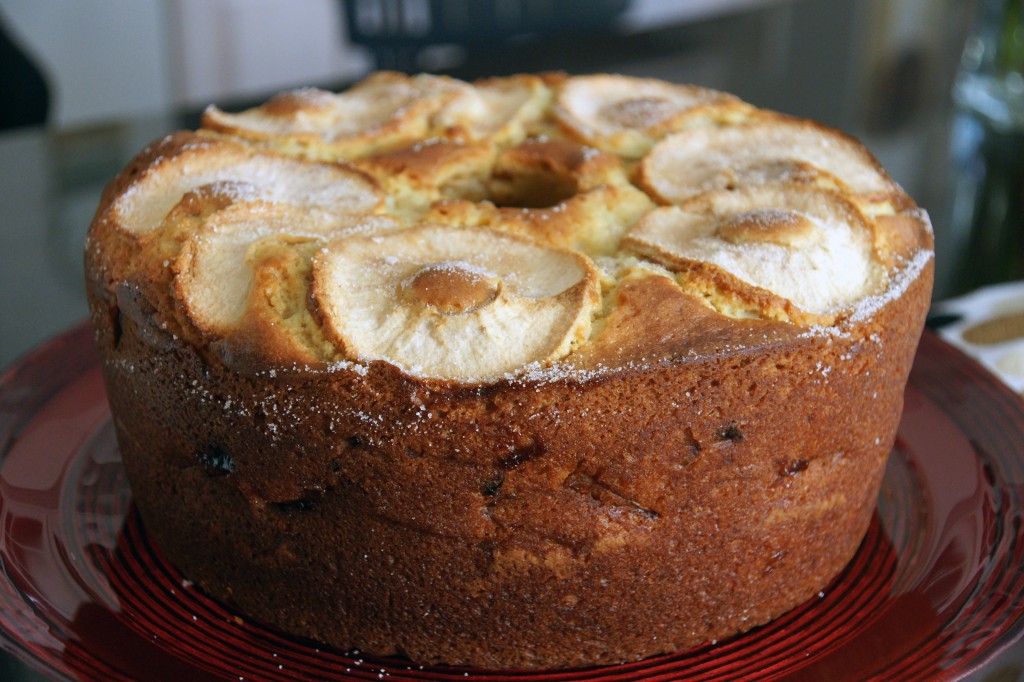
Finally apple cake finished off our meal, which is a good thing since I must have 50 pounds of apples in my house! All-in-all, it was a wonderfully delicious holiday! The next few weeks will be filled with more holiday food adventures I look forward to sharing with you! L’Shana Tova… wishing you a good year!

How to Caramelize Onions

Caramelized onions (also called smothered or fried onions) are a favorite in our family. My nephew loves them on a turkey burger (as do I) and my son Ethan loves them on anything – even pizza! They are great to top a burger or fish, the base for so many recipes, and the type of onions you need for a LEO (lox, eggs, and onions) or my mothers famous potatoes, eggs and onions! If you have never tried them, you must. When the onions cook down they release all of their natural sugars and become soft, silky and sweet.

I found this recipe in the Arthur Schwartz cookbook Jewish Home Cooking a few years ago and have been using it ever since. It makes it very simple and works well every time. I modified it a little as per how I make them according to his recipe. Caramelized onions are a part of so many of my recipes that it’s a must to include in my blog. This is a guide on how to make them so adjust the amounts according to each individual recipe. Enjoy!

SONY DSC
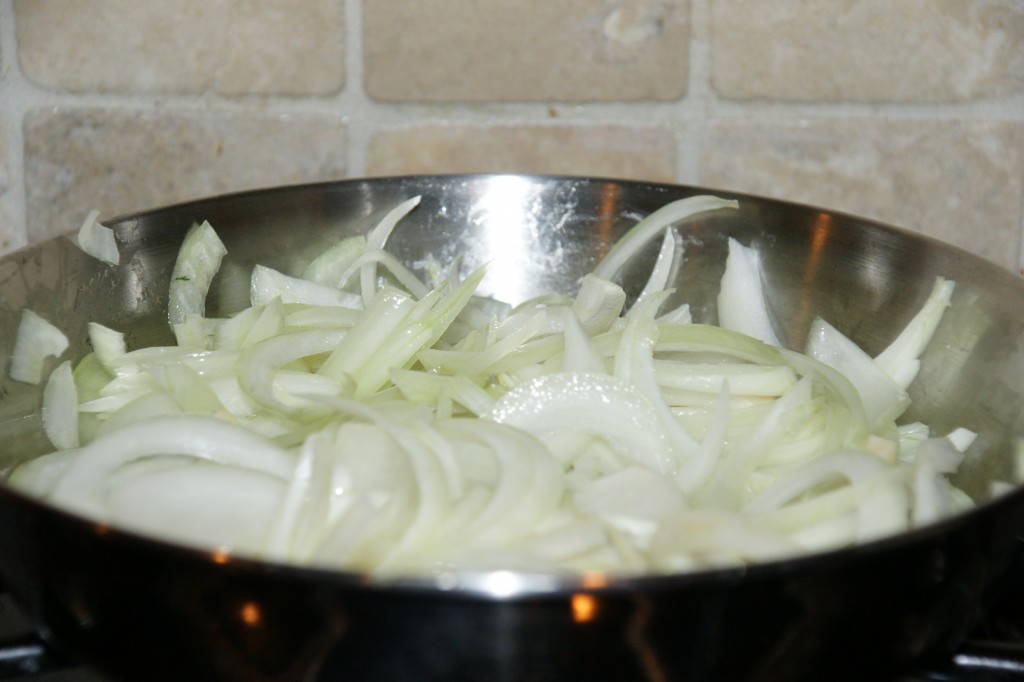
This is what they look like when they get into their olive oil bath getting ready for a shvitz*!

First either chop or slice the onions according to the recipe instructions that call for caramelized onions. Add enough oil to cover the bottom of a covered skillet or sauté pan. You can use any oil you like, just make sure it has a high smoke point such as: olive, canola, safflower, sunflower, grape-seed, or vegetable. There is a new oil out on the market I’m in love with… avocado oil, but it’s too expensive to fry onions in! I always use olive oil, choosing it for heart health and the taste.

Use a pan large enough to comfortably hold the onions. A 10-inch pan will hold up to 2 pounds of onions or 6 cups (that’s about 3 to 4 really large onions) and will require about 3 tablespoons of oil. Heat the oil over medium high heat.

Add the onions and toss in the hot oil; cover the pan, decrease the heat to medium and let the onions sweat for 10 minutes, tossing them every 5 minutes. After about 10 to 15 minutes, you can add in 3 cloves of minced garlic and a pinch of salt. Original smothered onions do not have garlic added, I just like the taste but you can omit if you’d prefer. Stir and cover for 5 minutes. Uncover the pan and stir the onions, they will have begun to brown.

SONY DSC
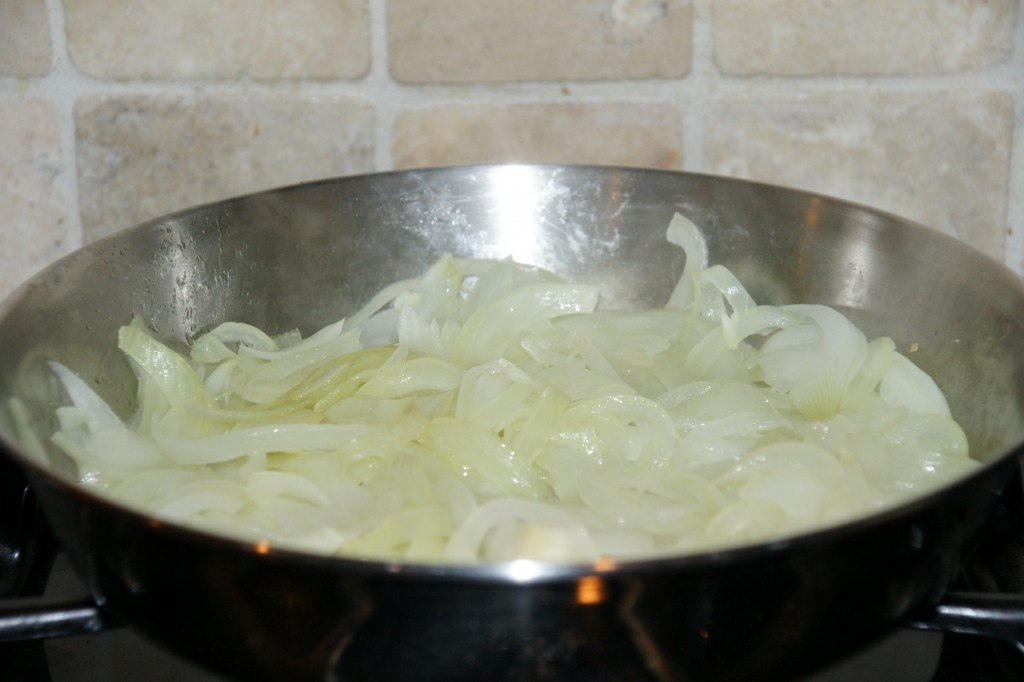
Here they are right before I add in the minced garlic. The onions have decreased in volume by half.

Increase the heat to medium-high and continue to fry the onions uncovered for at least 20 minutes more for browned onions. Continue to stir the onions every 5 minutes as they cook, scraping up the bits on the bottom of the pan. (It’s good to use a straight-edged wooden spoon or spatula for this.) The onions may need more frequent stirring as they brown. If you like them darker cook for another 5 to 10 minutes. At this point you can add a pinch of black pepper and a pinch of salt. They can be stored in the refrigerator, tightly covered for a couple of weeks.

It may seem like a lot of work, but it’s not really. Like with anything you’re cooking on the stove top, you have to keep an eye on it and stir occasionally. Total cooking time is about 35 – 40 minutes but they can be cooking while you are doing other things, or made ahead.

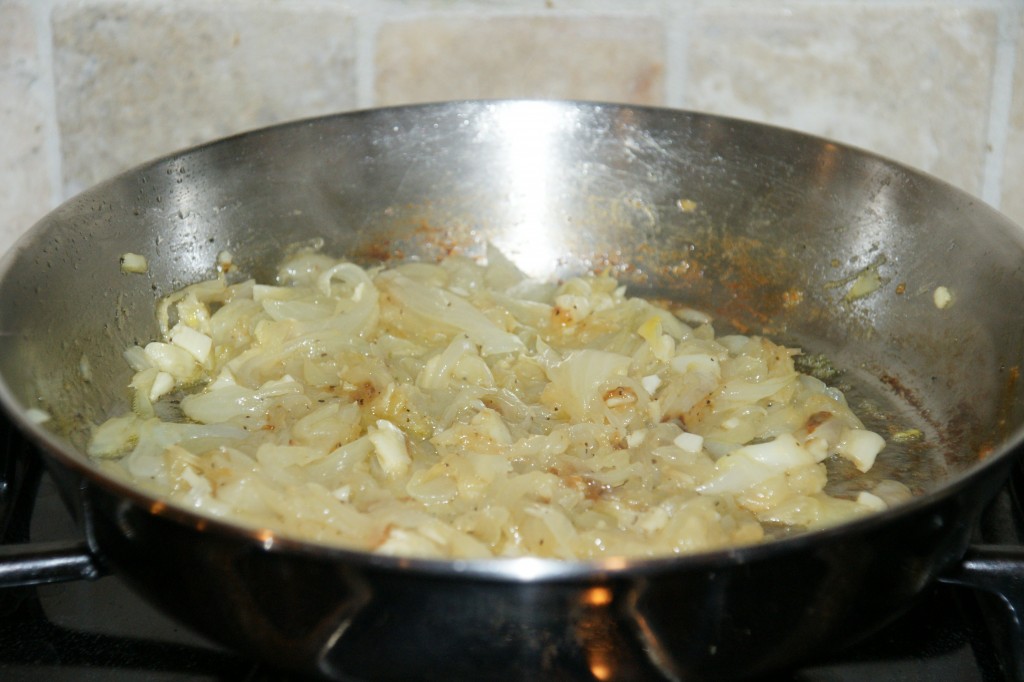
Here they are getting all sweet and golden brown. They are great now but can brown a little longer.
Now they are about 1/4 of the volume you started with. They are sweet and golden brown. Depending on the recipe, you can stop here or cook them a little longer if you want them to brown more.

*What is a shvitz you ask? It is the Yiddish word meaning to sweat. It is used interchangeably with how you feel when you’re hot, or if you want to take a steam bath! Right now it’s so hot in my house I’m going to turn the thermostat down before I shvitz to death!

My Friday Ritual… Challah for Shabbos

SONY DSC

It seems fitting my first post would be a recipe for challah. I bake challah most every Friday. It is a ritual that has become such a special time for me and I look forward to it every week. I wake up early and while the coffee is brewing I mix all of the ingredients to make this delicious traditional bread for Shabbos. There is something wonderful and magical about baking bread especially for Shabbos. It’s a time for ending the week and renewal for the next. What better way to do both with a nice warm piece of homemade bread?

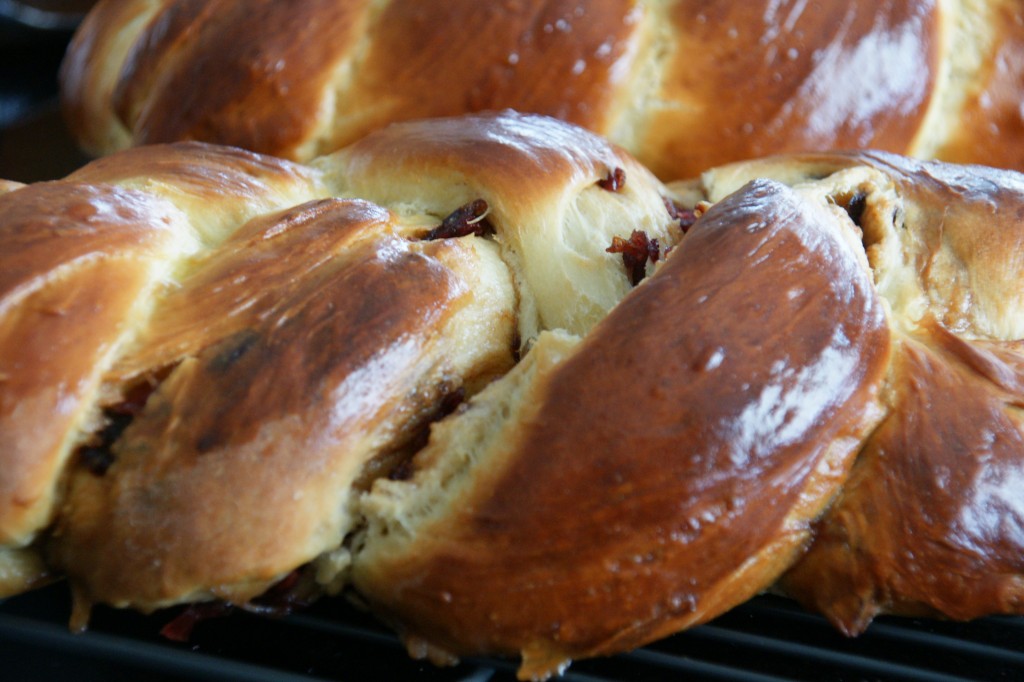
Most Fridays, I make a plain sweet challah. But every now and then I change it up a little. Today I decided to make it with cinnamon sugar and cranberries. You can see the cranberries wanting to bust out of the bread and scream “hello, look at me” and you can’t resist! It takes a lot of willpower not to want to tear a piece off straight from the oven. Sometimes I make myself a little treat and make a couple of small rolls so I can enjoy them with my lunch.

SONY DSC

SONY DSC

I started baking challah about 9 years ago soon after I moved to Ohio; in all honesty it was survival. There was no good challah here. Not even a good bakery. My sister Francine would ship me a box of them from New York and I would put them in the freezer. If I went back for a visit, the car ride home was usually unbearable as the aroma of the breads filled the car. It was loaded with as many challahs as the car could hold. Then one day, I was taking a Torah study class and the Rabbi’s wife taught us how to make challah. She didn’t really have a written recipe, so like I had done for so many years with my mother, I stood next to her and wrote everything down. When I got home, I typed it up for myself and the other girls. That night, my family couldn’t believe I baked bread! I have to be honest, I couldn’t believe it either.

It became one of those recipes everyone wanted a copy of. Then after sharing it with dozens of people, I lost my challah mojo. When they baked, they came out cracked on top and sometimes baked uneven. I thought it might be a problem with my oven so I had it checked – oven was fine. I emailed Marcy Goldman (a wonderful baker and cookbook author) who advised me as to why she thought this might be happening. She questioned my rise time and whether or not I changed any ingredients. I was letting it rise the same but had changed my yeast. I tried it again and still wasn’t the same. What I realized since is when something is successful, leave well enough alone. If you have a chance to pick up her book A Treasury of Jewish Baking, do so – it’s filled with amazing and delicious recipes!

Then I reached out to a good friend of mine (also named Marcy!) who also bakes challah every Friday night and are absolutely delicious! We baked together and it was bashert (Yiddish for meant to be). She was using Marcy Goldman’s sweet challah recipe. Needless to say, they came out perfectly! Thank you Marcy and Marcy – I have been using this recipe ever since and getting rave reviews for it. Sometimes change is a good thing!

So here is my Splash! on Marcy Goldman’s Sweet Raisin Challah

2 tablespoons dry yeast (Fleishman’s active dry yeast)
1  3/4 cups warm water
1/2 teaspoon of sugar
3 eggs plus 2 egg yolks (at room temperature)
1/2 cup light olive oil (or other baking oil you choose)
1/3 cup sugar
1/3 cup honey
3 1/2 teaspoons kosher salt
6 to 7 cups bread flour
1  1/2 cups cranberries (optional)

egg wash: 1 egg, pinch of sugar, pinch of salt 1 teaspoon water (use in 2 steps)

In a 2 cup glass measuring cup or bowl add the warm water, yeast and sugar. Mix and then let stand for about 5 to 7 minutes for the yeast to bloom (becomes foamy on top).

In a large mixing bowl, add the eggs (at room temperature), sugar, honey (see my favorite things page for a tip), oil, and salt. Mix well. Combine the two liquid mixtures. Add the flour one cup at a time and mix. Once it becomes too difficult to mix with a spoon, I start to use my hands and mix the dough until it is smooth and elastic. I knead the dough right in the bowl but you can turn it out onto a floured board and knead it that way. Add flour as needed and knead only until the dough feels smooth about 12 turns or so.

Place the dough into a large lightly oiled bowl. Place plastic wrap over the bowl cover it with a towel and let the dough rise for about 1 to 1 1/2 hours in a warm place. Check on it in 1 hour. If it has doubled in size it’s ready to braid.

Line a couple of sheet pans with parchment paper and set aside. Punch the dough down and then turn it out onto a floured surface. Split it in half or into 3 pieces. In the past, I would make 2 very large challahs from this recipe but have recently started making 3 out of it. Making one challah at a time, take one piece of dough and split that into thirds. Roll each into snakes approximately 10″ to 12″ long. Put the snakes next to one another, connect them on one end and start to braid them. Place the challah onto a cookie sheet. Do the same with the other two pieces of dough. Place them on the cookie sheets leaving plenty of room between them. Brush with the egg wash and put in a warm spot for about 30 to 45 minutes. They will almost double in size.

Preheat the oven to 350 degrees

Brush the challahs again with the egg wash and place in the oven for 30 to 40 minutes or until golden brown on top.

This recipe will make 3 nice size challahs or two very large ones. Enjoy!