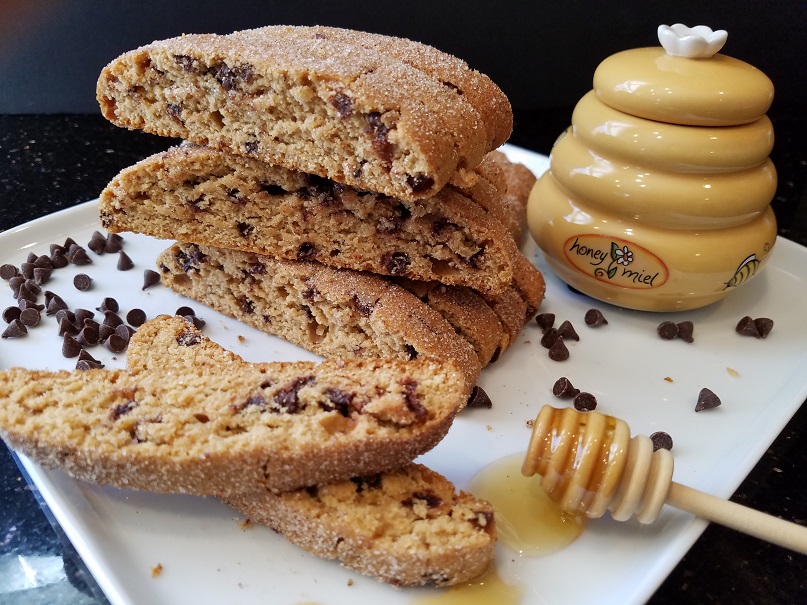
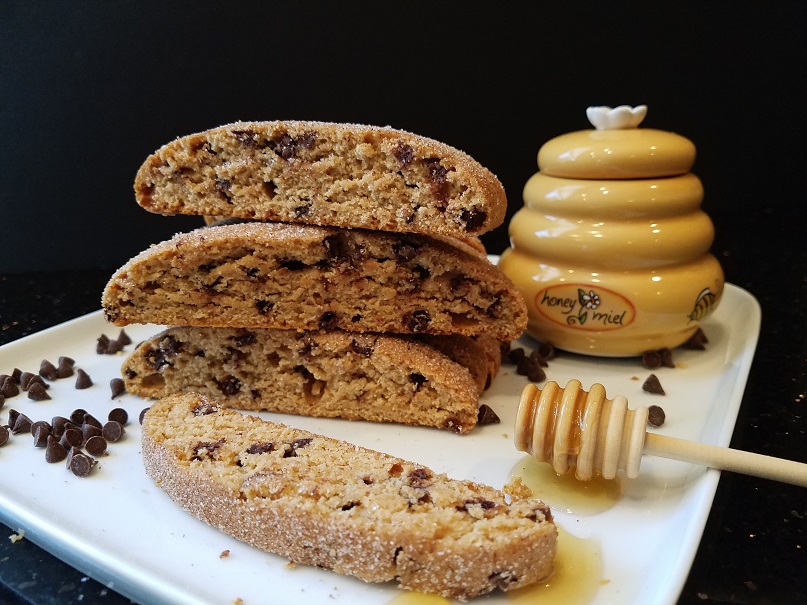
Honey Cake Biscotti/Mandel Bread with Chocolate Chips


Full disclosure, I spent more time trying to figure out the title for this post than I did baking the actual cookies! In the end, all I know is this Honey Cake Biscotti Mandel Bread with chocolate chips is super delicious!

I first saw this recipe in Paula Shoyer’s cookbook The Holiday Kosher Baker, and knew I had to try it. Paula calls them honey cake biscotti but after I tasted them, I felt the texture was really more like mandel bread. Just a quick mandel vs. biscotti clarification…  While most people are familiar with the more popular and sexy Italian biscotti made in a myriad of flavors which are crisp and dunked in coffee, the mandel is a traditional Jewish cookie and something your bubbe (a Jewish grandmother) enjoys with a glass of tea and bakes enough to share with everyone she knows – and I mean everyone! When you look at them side by side, they resemble each other and taste similar. The main difference is mandel is usually a little softer than, and not as dry as biscotti because it contains more oil. Biscotti are always twice baked whereas mandel can be sliced and served as a softer cookie or twice baked.
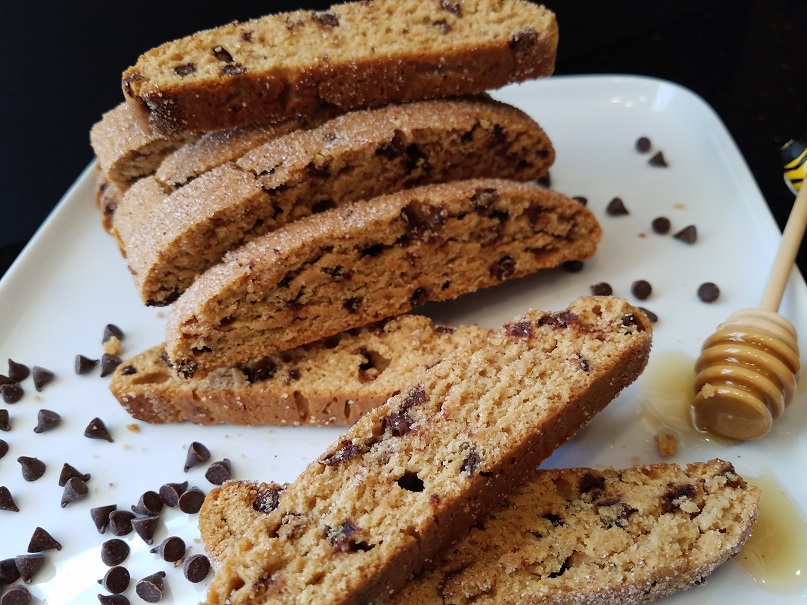
With the holidays quickly approaching, I’ve been spending time trying new recipes to share with family and friends (just like the bubbe!). I’m lucky to have a nice support system of taste testers! When I sent some to my son last week he said “I don’t know how you did it, but you somehow managed to make mandel bread taste just like honey cake.” I told him I couldn’t take all of the credit for that but thanked him just the same. I am really glad I tried this one; it’s a winner. They really taste like honey cake, it’s amazing! Thank you Paula Shoyer!

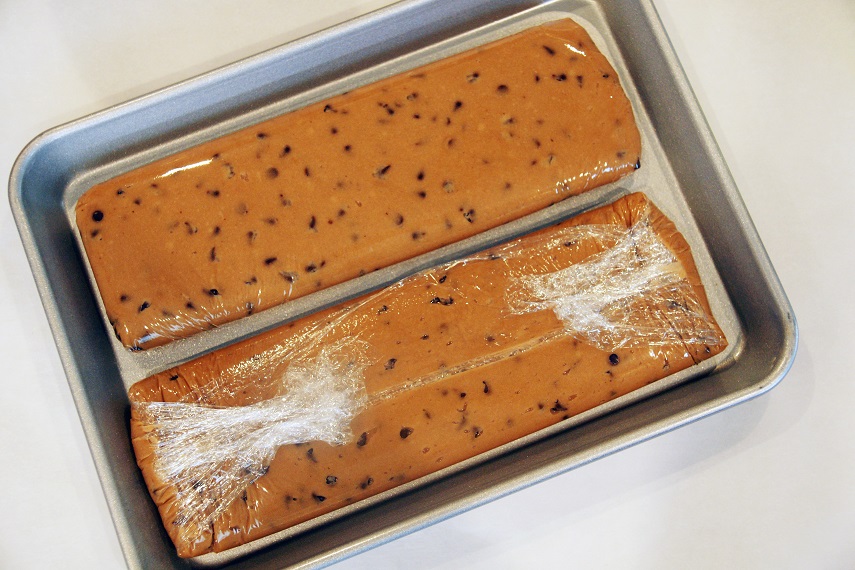
The original recipe calls for shaping them and baking them right away. I found the dough too loose so I put it in the refrigerator for an hour. This is how I prepare my mom’s recipe so I’m sure it’s just second nature for me to do it that way. You can also leave the dough in the bowl and place it in the fridge, then mold it into logs after you take it out. If it seems firm enough for you to skip the refrigerator, go for it and get it in the oven.

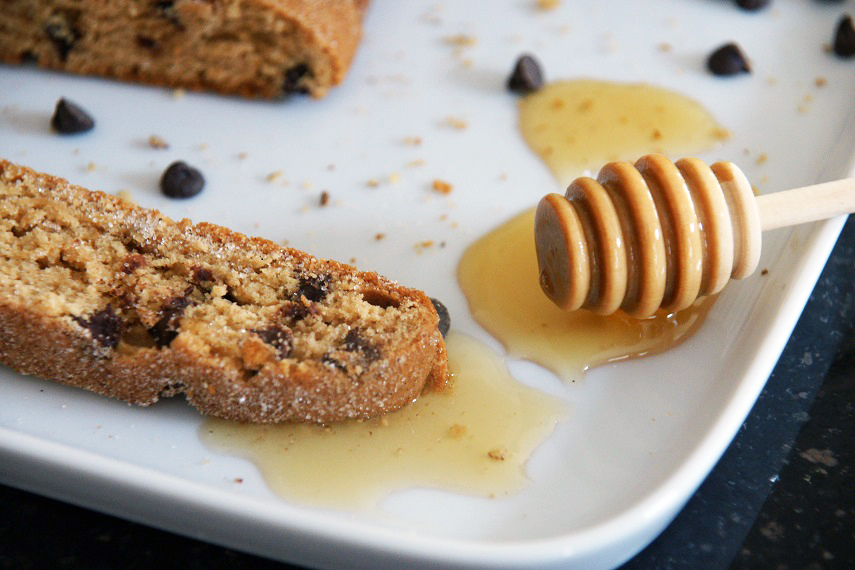
When baking with honey, here is a good tip… A trick to help the honey slide out of the measuring cup is to measure the oil first. Then when you put the honey in, it won’t stick to the glass. I love this trick! This is also good when using molasses, corn syrup or any other sticky liquid.

My mother’s mandel recipe has chocolate chips added, so I figured why not try adding chocolate chips in these – it was a good decision! Honey and chocolate are a nice marriage. You could also add white raisins and walnuts which are equally as delicious or leave them plain. This recipe is a great start to a sweet new year! Enjoy!

Ingredients:
3 cups plus 2 tablespoons all-purpose flour
½ teaspoon cinnamon*
½ teaspoon ground ginger
1/4 teaspoon allspice
1/4 teaspoon nutmeg (I like to grate it fresh)
1 teaspoon baking powder
1 teaspoon kosher salt
2 extra large eggs (at room temperature)
½ cup extra light extra light olive oil
½ cup honey
½ cup dark brown sugar
2 teaspoons vanilla extract
1/4 cup warm coffee (regular or decaf)
½ cup mini semisweet chocolate chips
Cinnamon sugar to sprinkle on top

Optional version: You can also make this with raisins and walnuts by using ½ cup white or black raisins and ½ cup chopped walnuts or make them plain. This recipe is adapted from Paula Shoyer’s Honey Cake Biscotti recipe.
Line a cookie sheet with parchment paper and set aside.

Mix all of the dry ingredients in a large bowl and sift together. In another bowl add the oil, honey, eggs, brown sugar and vanilla, coffee and whisk together well. Slowly add the wet ingredients to the dry and mix gently to incorporate. If using chips or other addition, add in at this time.

Divide the dough in half and shape it into a rectangular log about 10 to 12 inches long by 4 inches wide. I placed mine in plastic wrap which helped to mold them and put them in the fridge for an hour.
When ready to bake, preheat oven to 350 degrees.

Once the dough is chilled, place on the cookie sheet leaving 2 to 3 inches in between the loaves. Sprinkle with cinnamon sugar and bake for 30 – 35 minutes or until the loaves are set and a little browned on the bottom. Slide the parchment onto a cooling rack and let sit for 5 minutes. Place back on the cookie sheet and slice to the thickness you like. I like a thinner cookie so I sliced mine ½” but you could easily make them ¾ – 1” if you want them thicker like biscotti. If you want a softer mandel, don’t double bake them. If you want them crunchy, bake them a second time. Lower the temperature of the oven to 300. Place the cookies cut side down. Bake for 8 minutes take them out and turn them and bake them another 5 – 8 minutes until crisp. Let the cookies cool on the pan. Store them in an airtight container for up to five days or freeze for up to three months.

This recipe yields 30 to 40 pieces depending on the size you slice them.
*I first tried Vietnamese cinnamon at my mother-in-law’s house several years ago and have never used another cinnamon since! It is strong, rich and sweet, just the way cinnamon should taste. It has a higher oil content helping it disperse more thoroughly in baked goods. If you love the taste of cinnamon, you must try it! It’s a little more expensive than what you are currently buying, but well worth the money and a little goes a long way. I find it at spice shops, Sur La Table, and  specialty groceries. Here is a link to purchasing it online.  http://www.kingarthurflour.com/shop/items/vietnamese-cinnamon-3-oz

hamantashen throw down!


Have you ever had a hamantashen throw down? I have! Every year in preparation for Purim, I have a throw down with a friend of mine. The only difference is there is no winner – just a really good time and delicious hamantashen to eat! Every year, my friend Marcy and I get together to bake hamantashen for Purim. Hundreds of hamantashen in fact! This is just one of those amazing recipes.

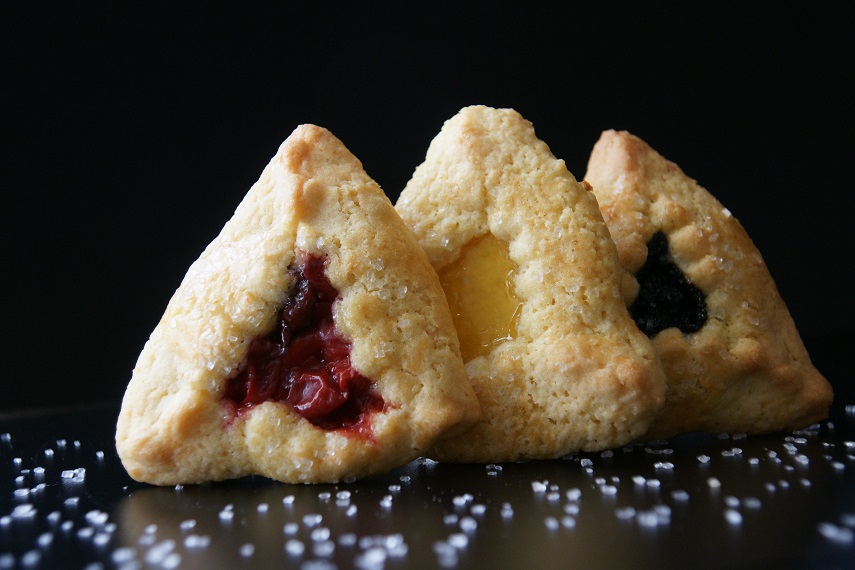
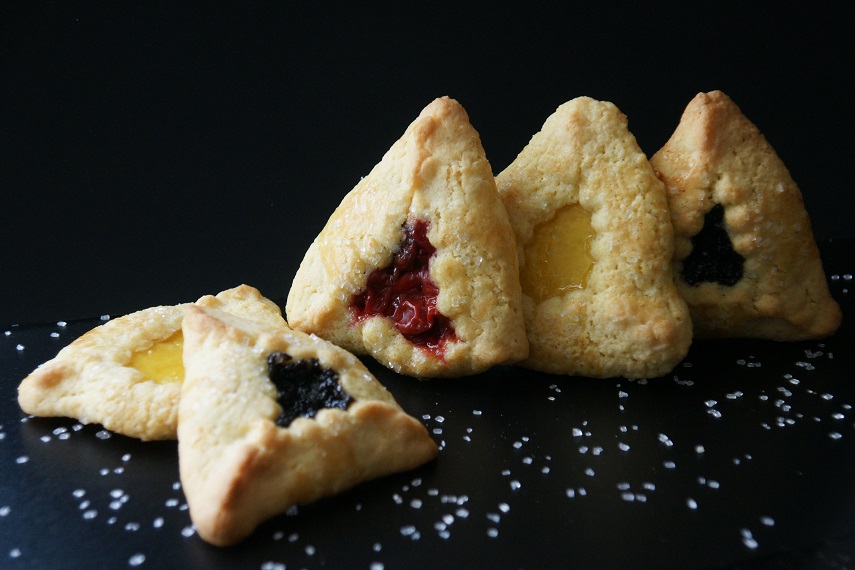
Hamantashen are the triangular cookies we eat during the holiday Purim.  Purim is a fun Jewish holiday which includes dressing up in costume, carnivals and drinking quite a bit! FYI, the drinking is so we can no longer tell the difference between good and evil – not such a bad thing once a year! As with all Jewish holidays, there is a retelling of the story of why we are celebrating and we always have very traditional and symbolic foods we eat. For Purim, hamantashen play a staring role. Let me set the scene… 6 different fillings on the counter, 5 dough recipes all chilled overnight and wrapped tight in plastic wrap, 4 fun hours of baking, 3 too many delicious hamantashen eaten which gave me a bellyache, 2 friends happily talking the morning away, and finally 1 house that smelled absolutely delicious – and still does! Did I forget to mention approximately 200 hamantashen were made?

Mine were baked, packed up and shipped out yesterday or handed out to local friends. Hers were frozen and will be baked today then brought to Connecticut for some very lucky people! Among the varieties: a cream cheese dough reminiscent of rugalach, a traditional dough, a secret recipe dough, a chocolate dough, and finally a new one I tried from the 2nd Avenue Deli Cookbook which calls for almond flour. I almost said my new favorite but then deleted it. Like my mother always said “I have ten fingers and I love them all the same – don’t ask me to choose!” That is how I feel about most hamantashen recipes I’ve made.
I’m not sure if I ever mentioned this before or not, but mother had some kind of obsession with hamantashen recipes. Not necessarily baking them – collecting them! For whatever reason, she included about 3 of them in the little 15 page handwritten cookbook she made me when I got married. The crazy thing is while she was an avid baker, I don’t remember her ever baking hamantashen when I was growing up except for the time with the sisterhood from our Temple. So it was very surprising she added so many into my book. This being said, I guess it should be no surprise I have inherited her obsession. I never really thought of it like that, but clearly after reading my own words, what else would you call it? The only difference is I don’t write about them and collect them, I actually bake them!

Today I’m sharing Carole Walter’s recipe which my friend Marcy brought with her. Oddly enough is extremely similar to my mother’s except my mom used shortening (which is exactly why I know she never made them – she never used shortening!) and she always baked with jumbo eggs. Carole uses butter in her recipe and large eggs. The preparation is a little different as well. Sorry mom, but Carole is the winner in this throw down not only because I’m not a fan of shortening – because I don’t think my mom ever made them! However, I do think my mom would approve and besides, there is always room for one more hamantashen in your life – and in my mother’s case, one more recipe to add to the list! I hope you try this recipe which is adapted from Carole Walter’s cookbook simply called Great Cookies! The name says it all, they are great cookies and very delicious, with a nice bit of crunch on the outside and soft on the inside. Whatever filling you choose… Enjoy!

Ingredients
3 cups all-purpose flour
1 cup sugar
2 teaspoons baking powder
¼ teaspoon kosher salt (I would add one tsp. like my mom next time)
1 cup (1 ½ sticks) cold unsalted butter or margarine cut into cubes
2 large eggs
2 large egg yolks
1 teaspoon pure vanilla extract
sanding sugar (optional)
Egg wash*
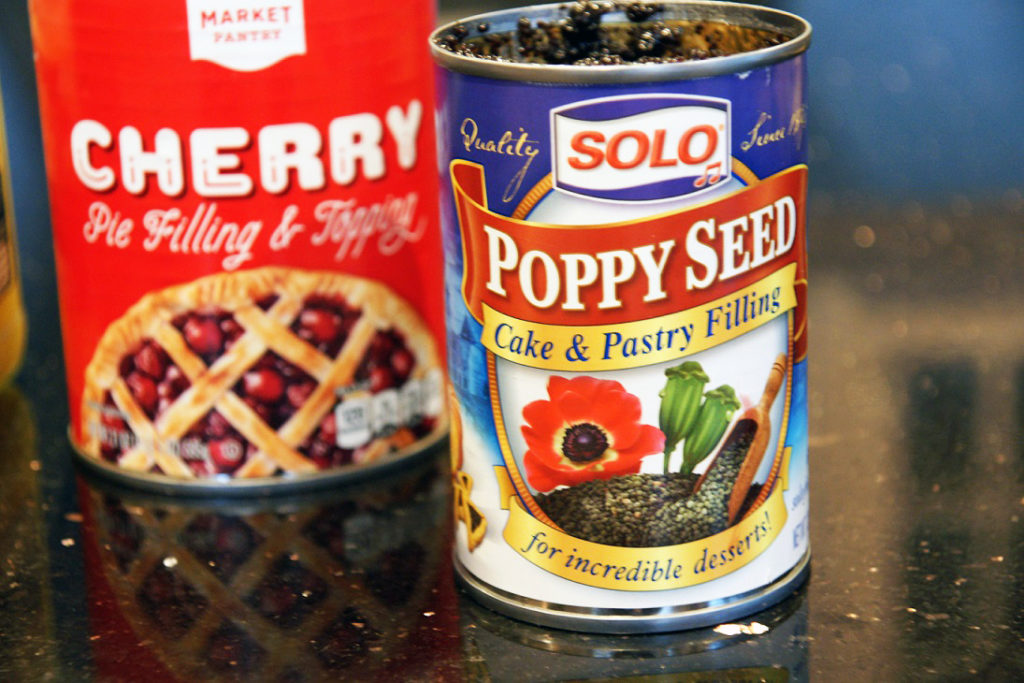
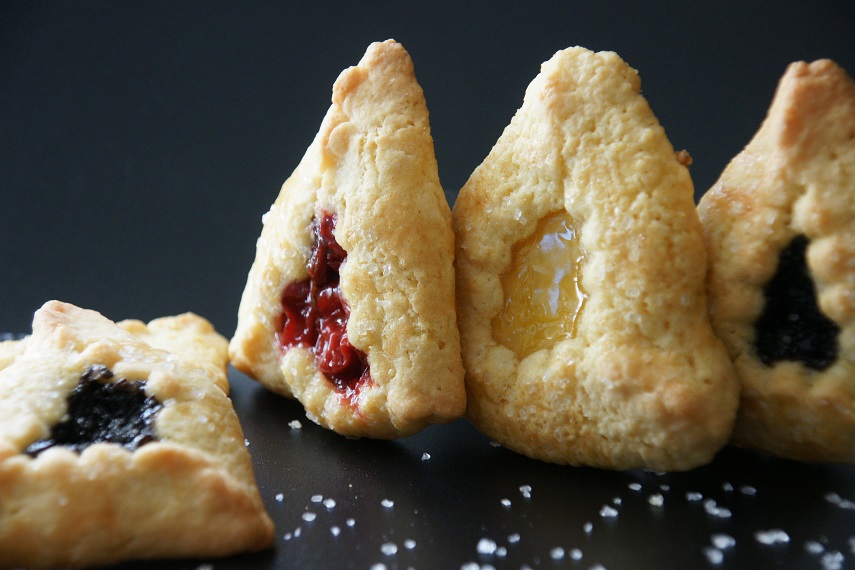
Fillings of your choice (I used cherry pie filling, lemon curd, and poppy seed)

This recipe makes 40 – 2” cookies


dough

Place the flour, sugar, baking powder and salt into the bowl of a food processor fitted with a steel blade and pulse two or three times to combine. Add the butter and pulse five times then process 5 seconds to form meal like crumbs.

Place the eggs, egg yolks, and vanilla in a small bowl and mix with a fork to combine. Pour the mixture into the processor and pulse four or five times, then process until the dough begins to clump together. Turn out onto a lightly floured surface and with floured hands, form into two disks, wrap with plastic, and refrigerate for at least 1 hour, or up to 3 days. (This dough may be frozen for up to 4 months)

When you are ready to bake, position the racks to the upper and lower 1/3 of the oven. Line cookie sheets with parchment paper and set aside. Preheat the oven to 350 degrees.

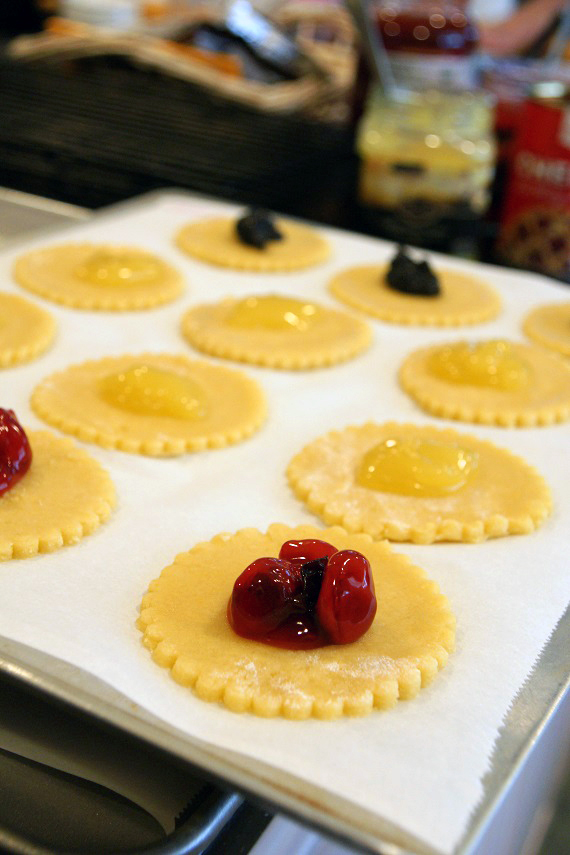
Roll the dough to a thickness of about 3/16”. My trick is to use paint sticks you get at the hardware store. I cover them with plastic wrap and use them as guides. I like that better than the rings you can put on your rolling pin. Using a 3” round cookie cutter, cut circles of dough and place them on the cookie sheets.

When all of the dough has been cut place about 1 ½ teaspoon of filling in the center of the circle. Brush the perimeter with the egg wash or a little water. To fold or to pinch? That is the question! Now you can either use the pinch method as I do and pinch 3 corners together, or use the folding method where you flap one side, then the next two till you form a triangle.


Brush the tops of the cookies with the egg wash. I sprinkled mine with some sanding sugar for that extra sparkle and crunch. Bake the hamantashen for 15 to 18 minutes or until the cookies are golden brown. To ensure even browning, rotate the pans top to bottom and front to back. When done, remove from the oven and let them rest for 2 to 3 minutes on the cookie sheet then remove to a wire rack.

Store in an airtight container with wax paper between layers for up to 3 days. These cookies may be frozen.

*When I make an egg wash I use the whole egg and put in a pinch of salt, a pinch of sugar, and a splash of water. Carole uses egg whites only. Either will work fine.

My Friday Ritual… Challah for Shabbos

SONY DSC

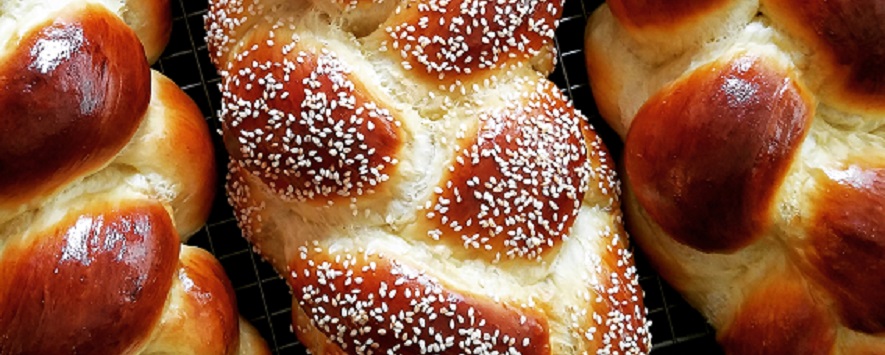
It seems fitting my first post would be a recipe for challah. I bake challah most every Friday. It is a ritual that has become such a special time for me and I look forward to it every week. I wake up early and while the coffee is brewing I mix all of the ingredients to make this delicious traditional bread for Shabbos. There is something wonderful and magical about baking bread especially for Shabbos. It’s a time for ending the week and renewal for the next. What better way to do both with a nice warm piece of homemade bread?

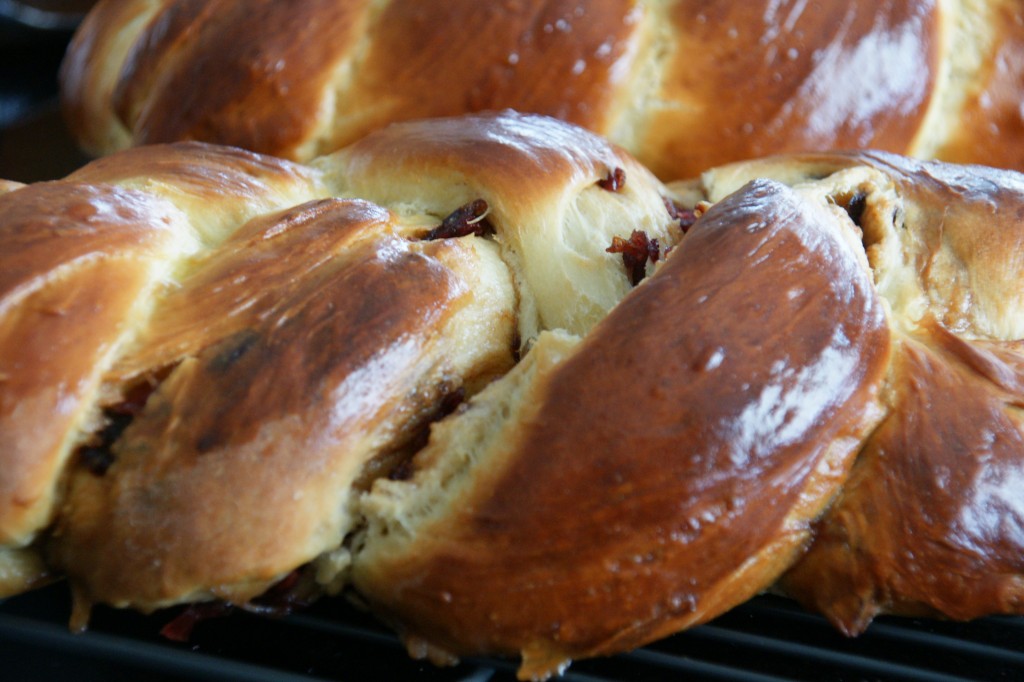
Most Fridays, I make a plain sweet challah. But every now and then I change it up a little. Today I decided to make it with cinnamon sugar and cranberries. You can see the cranberries wanting to bust out of the bread and scream “hello, look at me” and you can’t resist! It takes a lot of willpower not to want to tear a piece off straight from the oven. Sometimes I make myself a little treat and make a couple of small rolls so I can enjoy them with my lunch.

SONY DSC

SONY DSC

I started baking challah about 9 years ago soon after I moved to Ohio; in all honesty it was survival. There was no good challah here. Not even a good bakery. My sister Francine would ship me a box of them from New York and I would put them in the freezer. If I went back for a visit, the car ride home was usually unbearable as the aroma of the breads filled the car. It was loaded with as many challahs as the car could hold. Then one day, I was taking a Torah study class and the Rabbi’s wife taught us how to make challah. She didn’t really have a written recipe, so like I had done for so many years with my mother, I stood next to her and wrote everything down. When I got home, I typed it up for myself and the other girls. That night, my family couldn’t believe I baked bread! I have to be honest, I couldn’t believe it either.

It became one of those recipes everyone wanted a copy of. Then after sharing it with dozens of people, I lost my challah mojo. When they baked, they came out cracked on top and sometimes baked uneven. I thought it might be a problem with my oven so I had it checked – oven was fine. I emailed Marcy Goldman (a wonderful baker and cookbook author) who advised me as to why she thought this might be happening. She questioned my rise time and whether or not I changed any ingredients. I was letting it rise the same but had changed my yeast. I tried it again and still wasn’t the same. What I realized since is when something is successful, leave well enough alone. If you have a chance to pick up her book A Treasury of Jewish Baking, do so – it’s filled with amazing and delicious recipes!

Then I reached out to a good friend of mine (also named Marcy!) who also bakes challah every Friday night and are absolutely delicious! We baked together and it was bashert (Yiddish for meant to be). She was using Marcy Goldman’s sweet challah recipe. Needless to say, they came out perfectly! Thank you Marcy and Marcy – I have been using this recipe ever since and getting rave reviews for it. Sometimes change is a good thing!

So here is my Splash! on Marcy Goldman’s Sweet Raisin Challah

2 tablespoons dry yeast (Fleishman’s active dry yeast)
1  3/4 cups warm water
1/2 teaspoon of sugar
3 eggs plus 2 egg yolks (at room temperature)
1/2 cup light olive oil (or other baking oil you choose)
1/3 cup sugar
1/3 cup honey
3 1/2 teaspoons kosher salt
6 to 7 cups bread flour
1  1/2 cups cranberries (optional)

egg wash: 1 egg, pinch of sugar, pinch of salt 1 teaspoon water (use in 2 steps)

In a 2 cup glass measuring cup or bowl add the warm water, yeast and sugar. Mix and then let stand for about 5 to 7 minutes for the yeast to bloom (becomes foamy on top).

In a large mixing bowl, add the eggs (at room temperature), sugar, honey (see my favorite things page for a tip), oil, and salt. Mix well. Combine the two liquid mixtures. Add the flour one cup at a time and mix. Once it becomes too difficult to mix with a spoon, I start to use my hands and mix the dough until it is smooth and elastic. I knead the dough right in the bowl but you can turn it out onto a floured board and knead it that way. Add flour as needed and knead only until the dough feels smooth about 12 turns or so.

Place the dough into a large lightly oiled bowl. Place plastic wrap over the bowl cover it with a towel and let the dough rise for about 1 to 1 1/2 hours in a warm place. Check on it in 1 hour. If it has doubled in size it’s ready to braid.

Line a couple of sheet pans with parchment paper and set aside. Punch the dough down and then turn it out onto a floured surface. Split it in half or into 3 pieces. In the past, I would make 2 very large challahs from this recipe but have recently started making 3 out of it. Making one challah at a time, take one piece of dough and split that into thirds. Roll each into snakes approximately 10″ to 12″ long. Put the snakes next to one another, connect them on one end and start to braid them. Place the challah onto a cookie sheet. Do the same with the other two pieces of dough. Place them on the cookie sheets leaving plenty of room between them. Brush with the egg wash and put in a warm spot for about 30 to 45 minutes. They will almost double in size.

Preheat the oven to 350 degrees

Brush the challahs again with the egg wash and place in the oven for 30 to 40 minutes or until golden brown on top.

This recipe will make 3 nice size challahs or two very large ones. Enjoy!