Who am I trying to kid with that title? Sabich is my new favorite breakfast sandwich. It’s also my favorite lunch AND dinner sandwich – could I be as bold as to say a snack as well? I wouldn’t say I’m addicted, but today I started to feel like I might have a little problem. When searching on Google, I realized, I’m not alone. Words used to describe this sandwich are obsessed, devoted, hooked, can’t live without, and the best sandwich I ever ate! So don’t say I didn’t warn you.
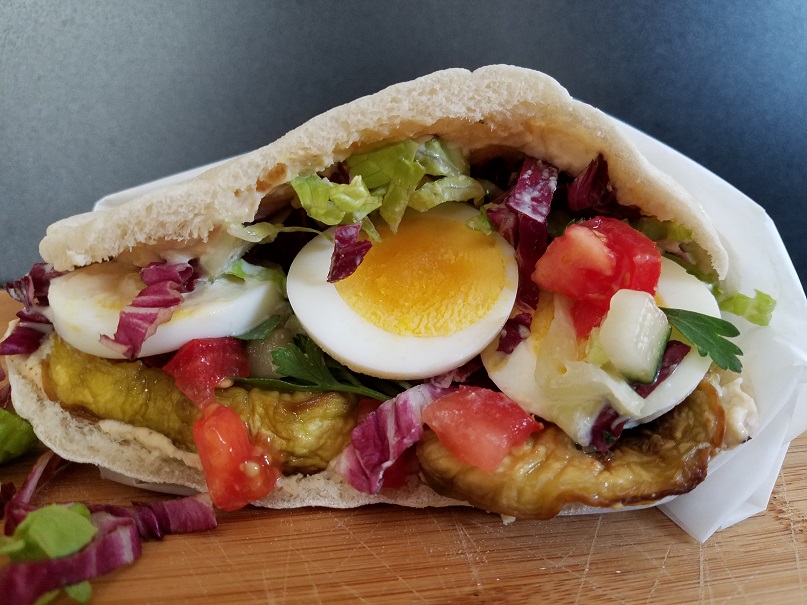
Until a couple of weeks ago I had never heard of it and then I watched the show Brunch at Bobby’s. His show was all about celebrating the breakfast sandwich. In addition to the usual eggs on a biscuit, he made a Sabich. As he listed the ingredients, I couldn’t figure out how this consortium of ingredients could possible go well together. Then I tried it, and after eating it three days in a row, I was sold!
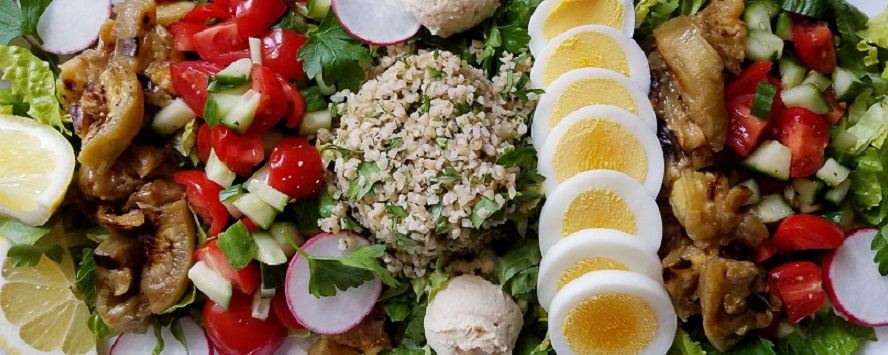
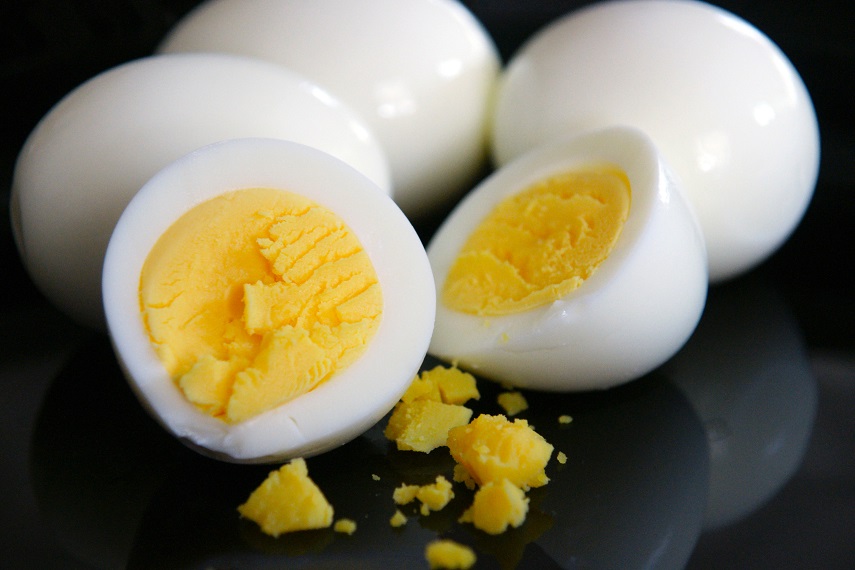
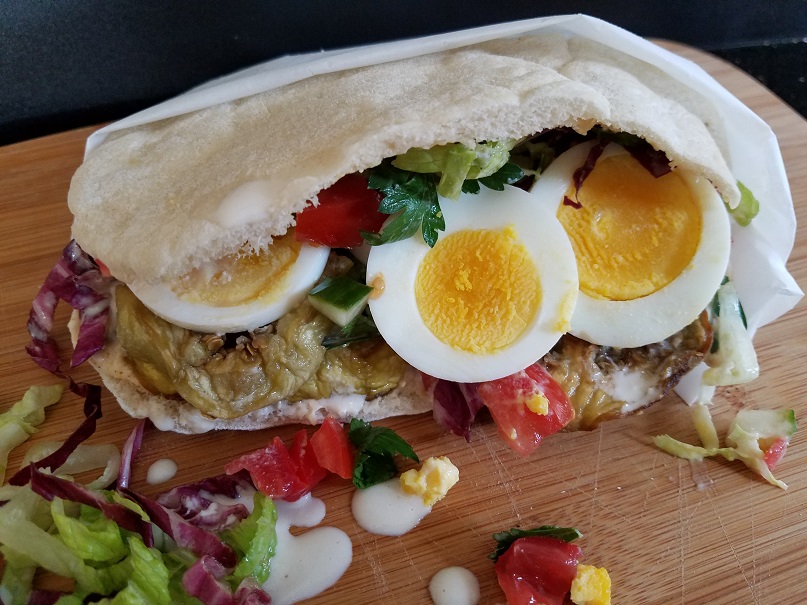
What is it you ask? It’s a Middle Eastern pita sandwich filled with fried eggplant, hard boiled eggs, hummus, Israeli salad, tahini, amba sauce (which is a pickled mango sauce), sometimes potatoes and pickles. If you like eggplant, this is for you. Actually, even if you don’t like eggplant, you’ll love this!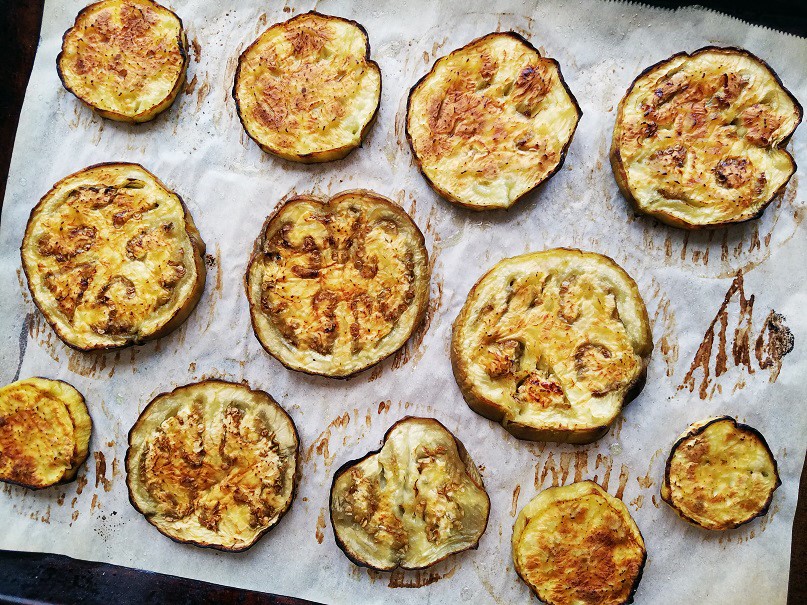
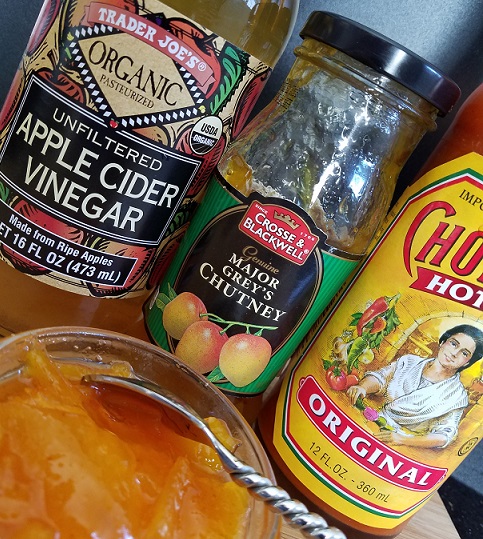
In all the recipes I found, the eggplant is fried, but Bobby roasted it instead and that sounded perfect to me. I think you get the same great taste without all the extra oil. He also used a mango hot sauce; I couldn’t find that or amba sauce with is traditionally used, so I subbed regular hot sauce and it was delicious. Reading that amba is similar to chutney (which is like a spicier savory cousin to jam), I bought Major Grey’s and ultimately ended up making a mock amba sauce which by the way, my husband really liked. If you like mango this is the way to go, if you are allergic like me – skip it!
I know it seems like a lot of ingredients, but if you plan correctly, the whole thing should only take about 30 to 40 minutes (less if make the components ahead of time). Here’s a quick snapshot… first put your eggplant in the oven. While that’s roasting, put the eggs in water to boil. Then while they are both cooking away, make the Israeli salad. To make things a little easier, I purchased ready-made hummus and tahini (total time saver).
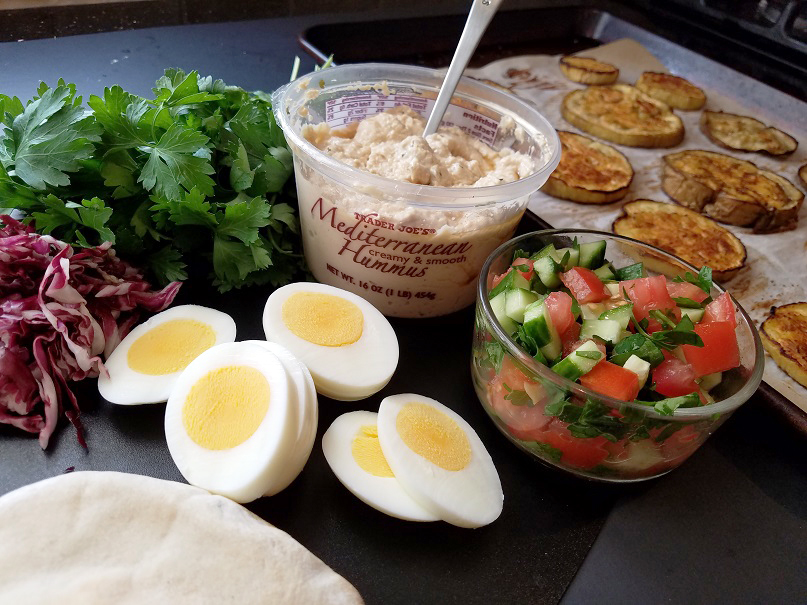
I promise it is so worth it. This sandwich is creamy from the eggplant and hummus, it’s crunchy from the Israeli salad, the eggs put it over the top with richness, the amba or hot sauce gives it a little tangy kick, and the warm pita just brings it all together. If you find like me you are in need of a sabich support group, just reach out… I’m here for you! Enjoy!
Ingredients
1 to 2 eggplants, peeled and sliced into ½ inch thick rounds (about 1 ¾ – 2 lbs.)*
2 tablespoons extra-virgin olive oil or olive oil spray (my fav is from Trader Joes)
4 large or extra-large hard-boiled eggs
Israeli salad, recipe follows
1 cup hummus
1 cup finely shredded red cabbage (I used romaine and radicchio)**
Tahini
My recipe for mock amba sauce or hot sauce or (optional)
if you can find true amba, go for it!
4 pita either white or whole wheat, warmed
salt and pepper
Israeli Salad
1 cup finely chopped tomato (approximately 2 tomatoes)
1 cup finely diced English cucumber
2 tablespoons freshly chopped parsley
2 tablespoons lemon juice
1/2 tablespoon extra-virgin olive oil
½ teaspoon Kosher salt
freshly ground pepper to taste
Mock Amba Sauce
2 tablespoons of Major Grey’s Chutney
1 tablespoon cider vinegar
A few dashes of hot sauce
Preparing the eggplant:
Preheat the oven to 425 degrees f. Place the eggplant slices on a sheet pan lined with parchment paper. Brush or spray the eggplant slices with olive oil and season with salt and pepper on both sides. Roast until golden brown and soft, about 30 minutes, turning after 15 minutes.
Preparing the eggs:
Put the eggs in a saucepan and cover with cold water by an inch. Bring to a boil and lower the heat to a simmer for 3 minutes. Turn the heat off, cover the pot and let it sit for 9 minutes. Drain immediately and cover with cold water and ice. Let it sit for a few minutes. Peel and thinly slice the eggs.
Israeli Salad:
Toss the diced tomatoes, cucumber, parsley, lemon juice, olive oil, salt and pepper in a medium bowl. Make sure to save the juice from the tomato and add that as well. Mix to combine.
Mock Amba Sauce:
I used 2 tablespoons of Major Grey’s Chutney. I mashed it with a fork to break up the larger mango pieces then added added 1 tablespoon of cider vinegar and a couple dashes of hot sauce (to your personal taste). You could also put it in a mini food processor.
To Assemble the Sabich:
Use the freshest pita you can find, it really makes a difference. Cut an opening at one end of the pita bread to make a pocket. Spread some of the hummus on the bottom of the pita (and the top if you like). Add the ingredients in layers. First, add a few slices of eggplant, then a couple tablespoons of the Israeli salad, on top of that the sliced eggs, some cabbage or lettuce, a few dashes of hot sauce or amba sauce, tahini and then open wide!
*When choosing eggplants, look for firm, smooth and uniform in color. If there are any brown or soft spots, you don’t want it! I like to buy thinner eggplants that are light in weight. The lighter the weight, the less seeds and the seeds are what makes them bitter.
** Bobby added cabbage which doesn’t really like me very much, I used romaine and radicchio instead. While they are not interchangeable, it gave the sandwich a beautiful color contrast and peppery bite to it. I thought it was a perfect substitution. Feel free to use shredded cabbage.
