Couldn’t we all use some World Peace Cookies this Valentine’s Day?
Every year I time things perfectly for Valentine’s Day. I make my famous sugar cookie dough, plan when I’ll be baking, spend the day baking and decorating the cookies and organize all of the packaging material ahead of time. Then I rush excitedly to the post office with more than a dozen boxes in tow all strapped to a luggage cart. Most of them for family and friends and usually a few extra for orders I get every year.
This year, things just didn’t come together for me. I didn’t have a plan. I never made the dough. The few orders I usually get fell though for various reasons. I had no packing material and on Friday night I tried to convince myself that it’s okay to skip a year. Then the guilt set in (Jewish mother’s guilt that is!). My boys are in college, how could I not send them cookies? So while watching a late night movie, I turned to my husband and said “okay, I’ll just make my mother’s thumb cookies and get them in the mail tomorrow.” They are the easiest cookie and they have a Hershey Kiss on top! What says I love you more than that? From a cookie perspective that is!
Now it’s Saturday. I wake up early and get caught up in a rerun of The Mary Tyler Moore Show (may her memory be a blessing). I laugh hysterically at the zaniness of the show (it was the Chuckles the Clown episode and if you have never seen it, you must). At 9:30am I decide I had better start baking knowing the post office closes at 2. As I head down the steps I’m now thinking if I end up with extra, I’ll put a few in a package for my niece and nephew; I always send them cookies too. But, are the thumb cookies enough? Amanda really loves chocolate… maybe I should make chocolate cookies also. I don’t know why I’m thinking this, but I am. I run upstairs and try to find a recipe I have for an easy cut out cookie. At this point, I still think I have time to make the batter, refrigerate the dough, roll them out, frost and decorate, pack them up, then pop them in the mail – all by 2pm. In the meantime, I put a pot of eggs on the stove to boil which are needed to make the thumb cookies.
Finally I start the cookies. I measure and sift the dry ingredients then I notice the recipe says must refrigerate for at least 3 hours. Somehow, I missed that part or maybe I thought by some magic I could still get all of this done. Most people might just scrap the whole thing, but not me! I grab Dorie Greenspan’s book Dorie’s Cookies and attempt to make her World Peace Cookies. It looks really easy, it’s a slice and bake and I can easily alter the ingredients I have already measured so it’s a perfect fit. I know what you are thinking, and yes, of course I know slice and bake cookies also need to be refrigerated! The recipe says it only needs a couple of hours in the freezer so I keep going.
The flour and cocoa needed for the 1st recipe was almost double that of Dories. I just had to add more cocoa powder to compensate for the world peace cookies. I cream the butter and then add the dry ingredients to the wet and think wow, this is so dry and crumbly – which she mentions in her recipe it might be. I look over the recipe again and now realize, I didn’t double the butter, or the sugar, or the vanilla!
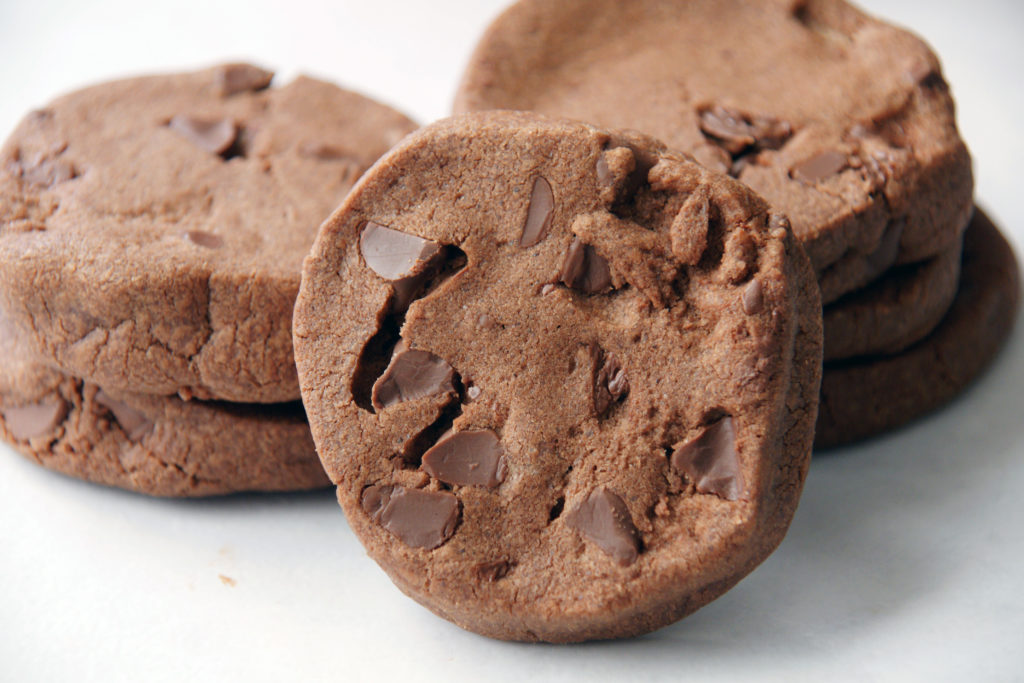
New plan… I put everything away and Sunday I happily baked cookies, decorated cookies and packaged them to mail first thing Monday morning. If the cookies make it by today, what a surprise! If they make it by Wednesday then that will be perfect, I think you guys know where I stand on greeting card holidays! So here they are, some of the most delicious chocolate cookies I have ever tasted (and pretty indestructible if you don’t mind me saying!). They are a little soft with a nice chew, terrific texture and full of chocolate chips throughout! World peace cookies for everyone… and Happy Valentine’s Day if you celebrate. For me, this is just another excuse to enjoy something chocolate! Enjoy!
Recipe is adapted from Dorie Greenspan’s book Dorie’s Cookies which is a fantastic book for anyone who likes to bake
Ingredients
1 ½ cups all-purpose flour
1/3 cup unsweetened cocoa powder (I used Hershey’s cocoa powder)
½ teaspoon baking soda
1 stick plus 3 tablespoons unsalted butter at room temperature
2/3 cup packed light brown sugar
¼ cup sugar
1 teaspoon kosher salt
1 teaspoon pure vanilla extract
5 ounces semisweet chocolate, chopped (I used Trader Joe’s semisweet chocolate chunks – already chopped)
Makes about 32 cookies
Sift the flour, cocoa and baking soda together and set aside.
I used a hand mixer and a large bowl to cream the butter and both sugars together on medium speed until soft, creamy and homogeneous, about 3 minutes. You can also use a stand mixer with a paddle attachment. Beat in the salt and vanilla. Turn off the mixer; add all the dry ingredients and pulse a few times to start blending. Mix on low and beat until the dough forms big, moist curds. Toss in the chocolate pieces and mix to incorporate. The original recipe claims the dough is unpredictable. Sometimes it’s crumbly; sometimes it comes together and cleans the sides of the bowl. Lucky for me!
Turn the dough out onto a work surface and gather it together, kneading it if necessary to bring it together. Divide it in half and shape the dough into logs that are 1 ½ inches in diameter. Don’t worry about the length – get the diameter right and the length with follow. Mine came out to about 9” long. Wrap them tight in wax paper or plastic wrap and freeze them for at least 2 hours, or refrigerate for at least 3 hours.
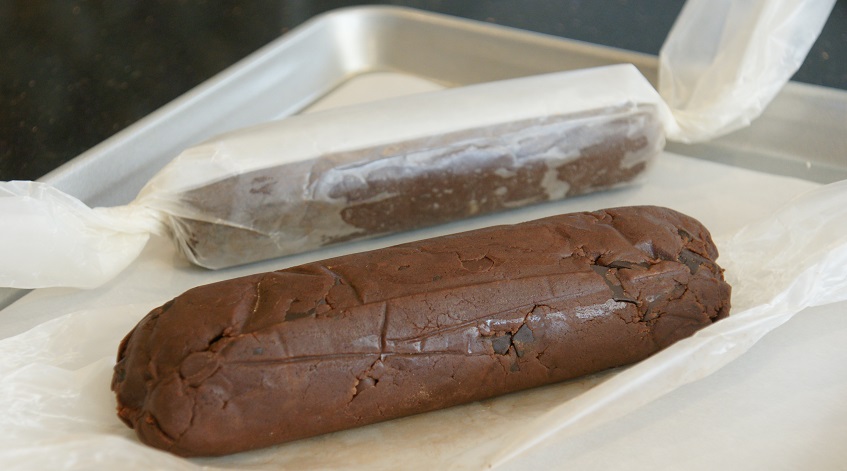
When you are ready to bake, place a rack in the center of your oven and preheat to 325 degrees. Line two baking sheets with parchment paper and set aside.
Working with one log at a time, and using a long, sharp knife, slice the dough into ½ inch thick rounds. I found it was much too difficult straight from the fridge so I left mine out for about 15 minutes. When I sliced them, they tended to crumble; Dorie says to just push them back together onto each cookie. It worked like a charm!
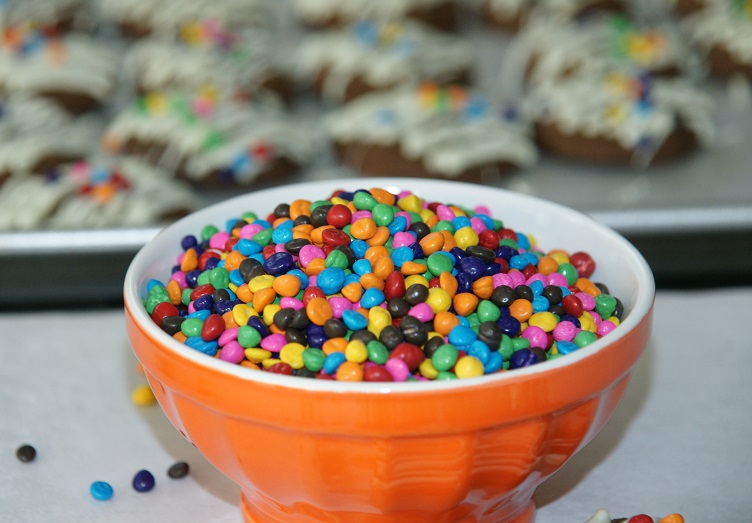
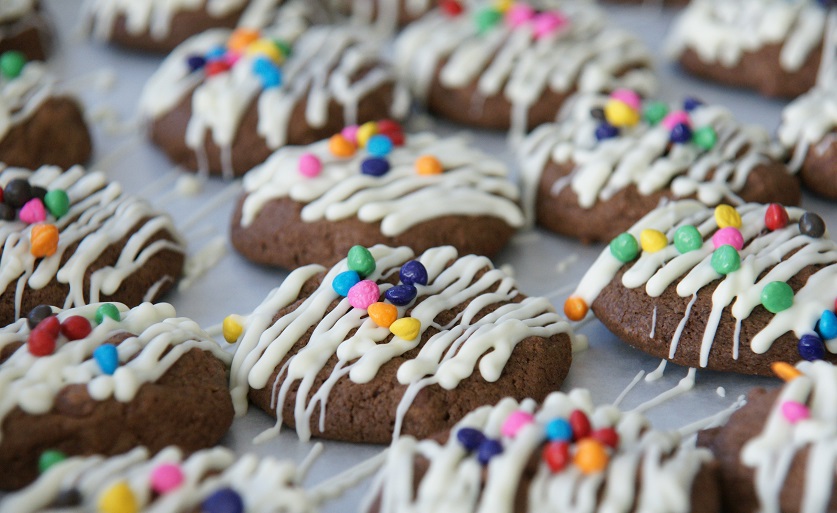
Bake the cookies for 12 minutes – don’t open the oven. When the timer rings, they won’t look done, nor will they be firm. That’s just the way they should be. Transfer the baking sheet to a cooling rack and let the cookies rest until they are just warm, at which point you can munch on them or let them reach room temperature. They are amazingly delicious as is. The texture is just perfect, a little chewy and densely chocolate! I decided to frost a few of the ones that did not come out as nicely and sprinkled them with Valentine decorations. World Peace out!


