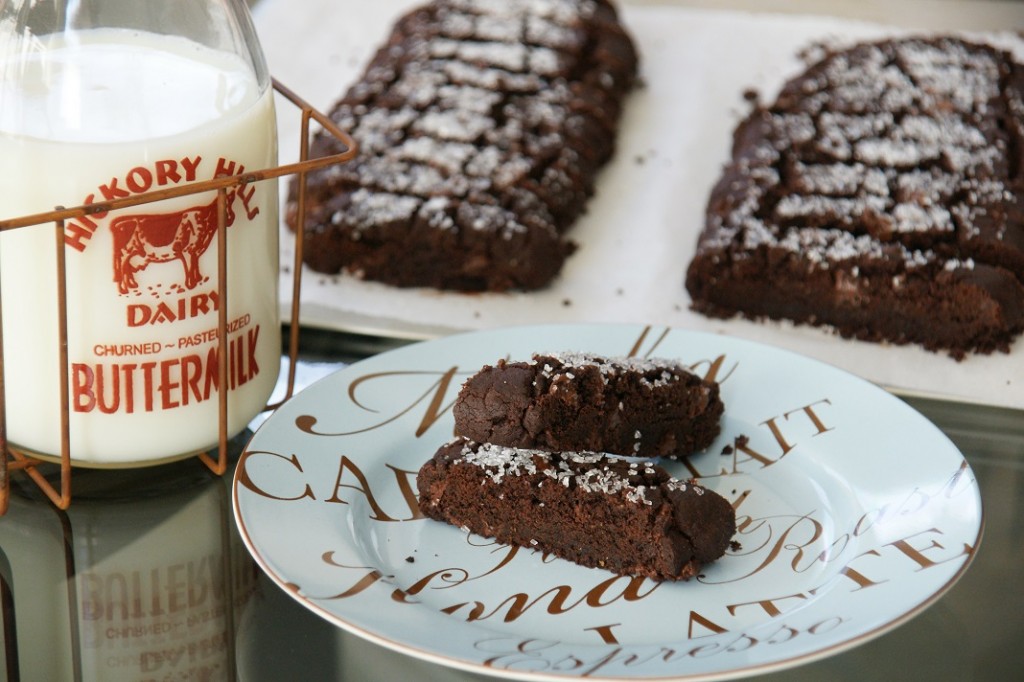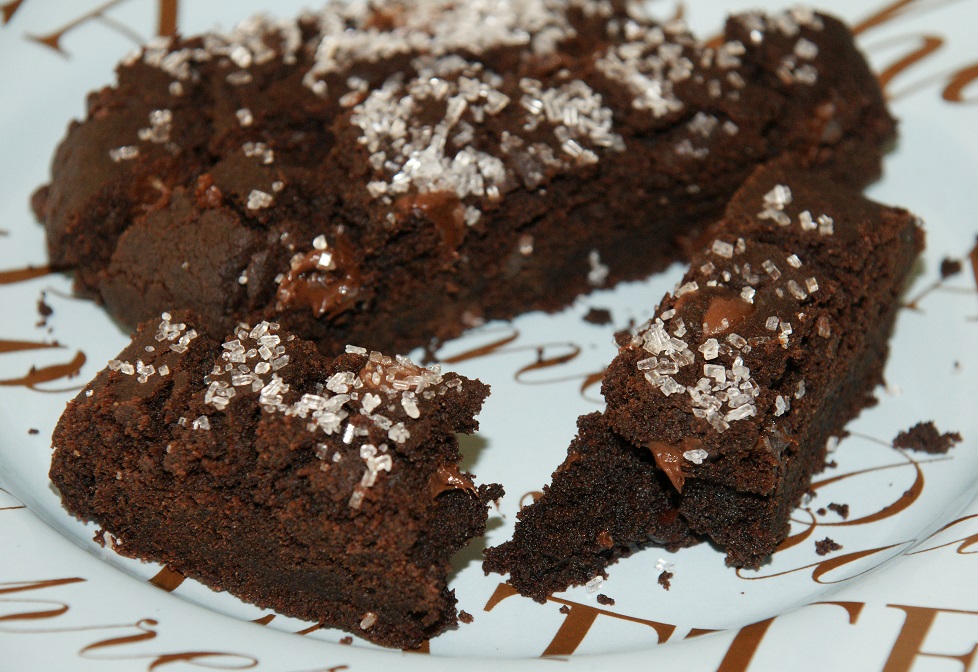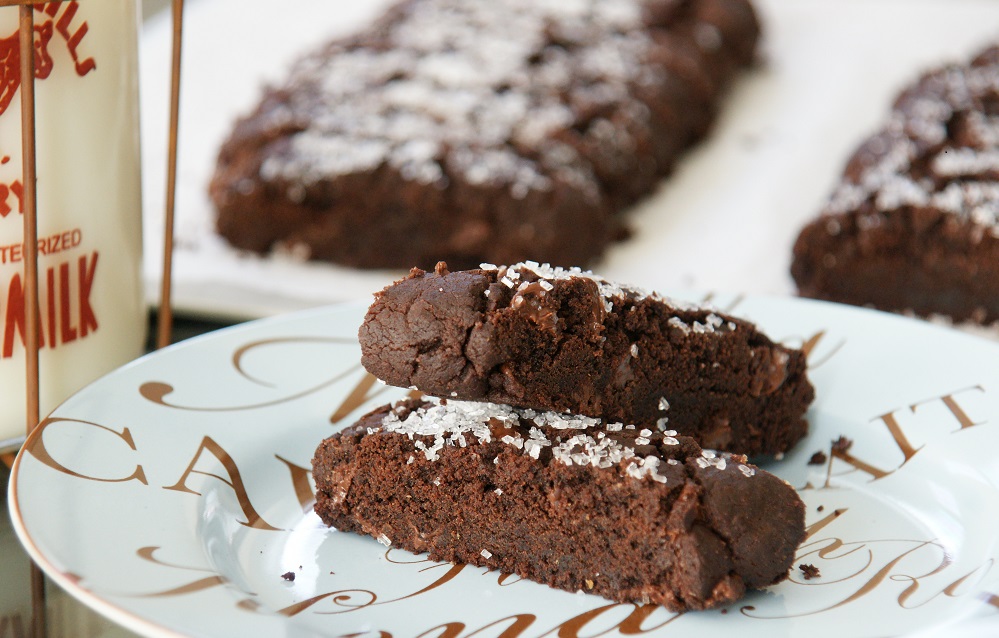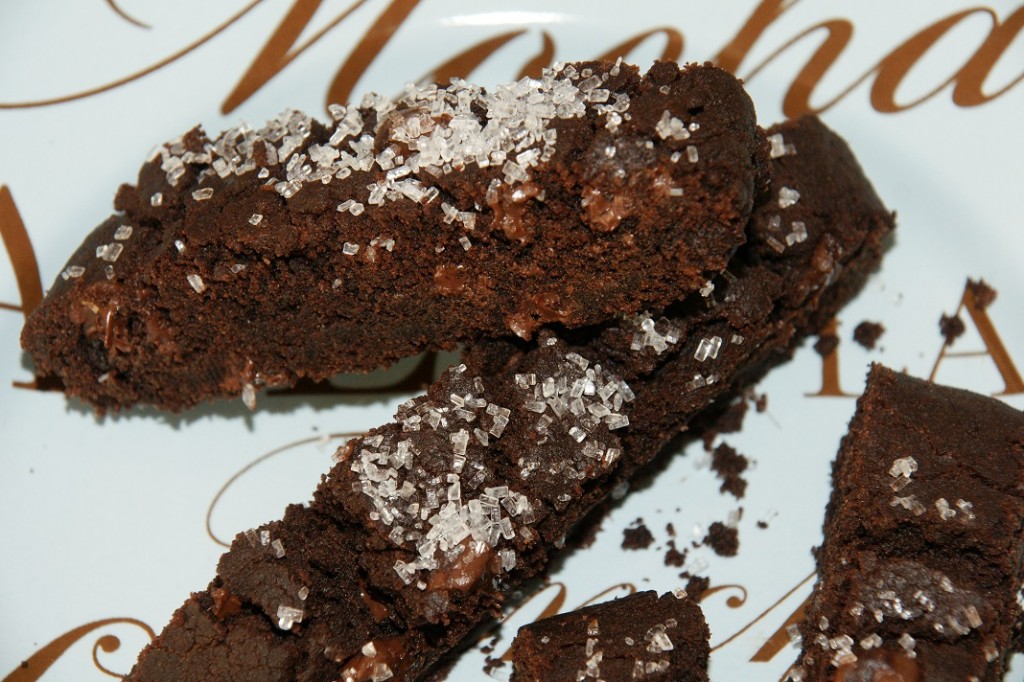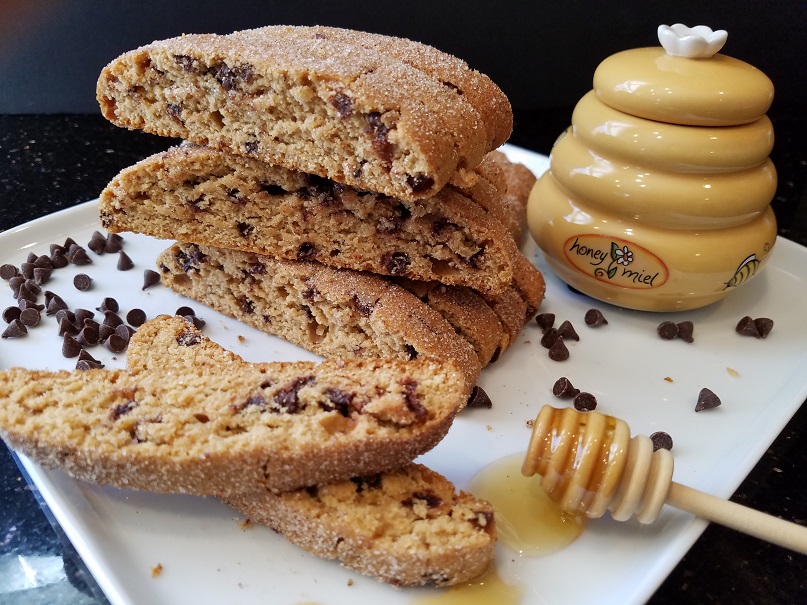
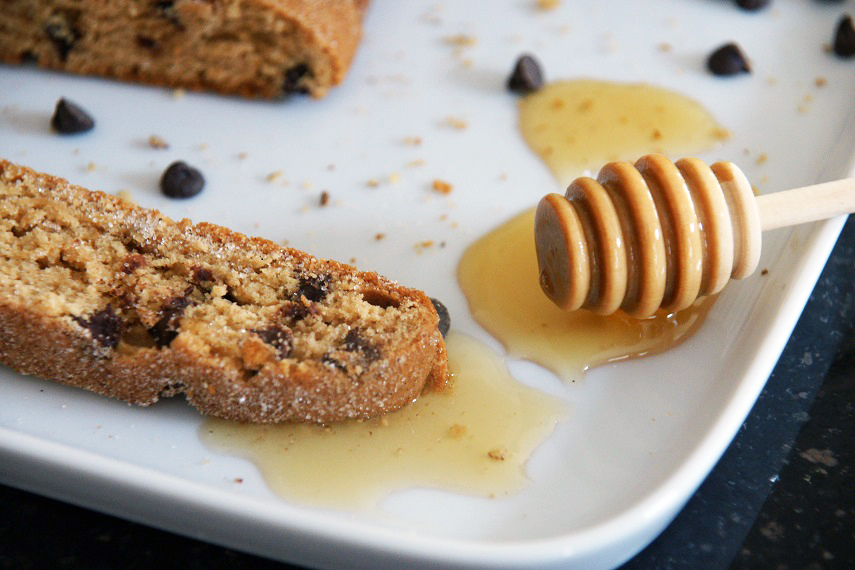
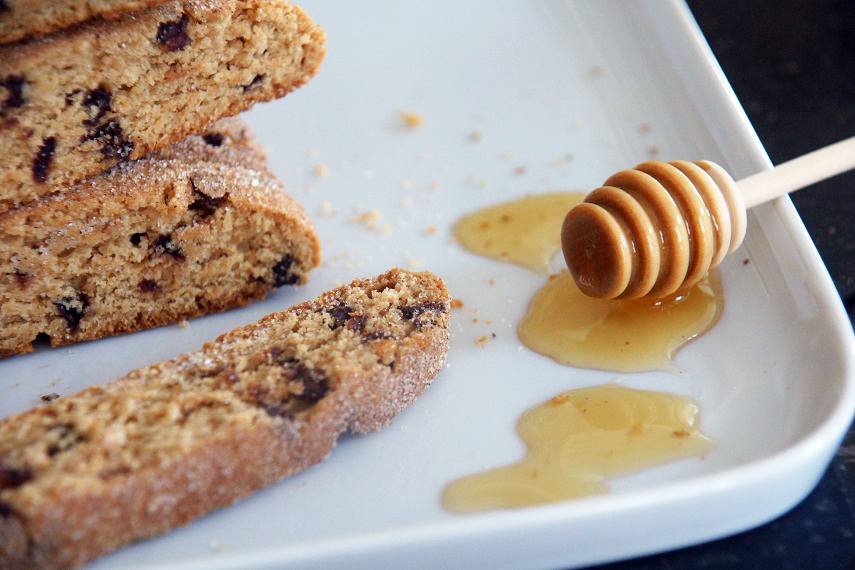
Full disclosure, I spent more time trying to figure out the title for this post than I did baking the actual cookies! In the end, all I know is this Honey Cake Biscotti Mandel Bread with chocolate chips is super delicious!
I first saw this recipe in Paula Shoyer’s cookbook The Holiday Kosher Baker, and knew I had to try it. Paula calls them honey cake biscotti but after I tasted them, I felt the texture was really more like mandel bread. Just a quick mandel vs. biscotti clarification… While most people are familiar with the more popular and sexy Italian biscotti made in a myriad of flavors which are crisp and dunked in coffee, the mandel is a traditional Jewish cookie and something your bubbe (a Jewish grandmother) enjoys with a glass of tea and bakes enough to share with everyone she knows – and I mean everyone! When you look at them side by side, they resemble each other and taste similar. The main difference is mandel is usually a little softer than, and not as dry as biscotti because it contains more oil. Biscotti are always twice baked whereas mandel can be sliced and served as a softer cookie or twice baked.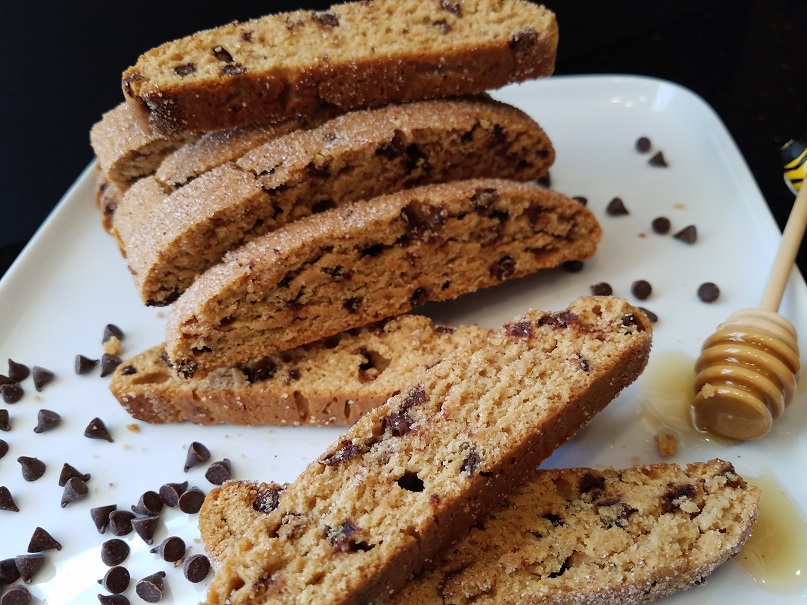
With the holidays quickly approaching, I’ve been spending time trying new recipes to share with family and friends (just like the bubbe!). I’m lucky to have a nice support system of taste testers! When I sent some to my son last week he said “I don’t know how you did it, but you somehow managed to make mandel bread taste just like honey cake.” I told him I couldn’t take all of the credit for that but thanked him just the same. I am really glad I tried this one; it’s a winner. They really taste like honey cake, it’s amazing! Thank you Paula Shoyer!
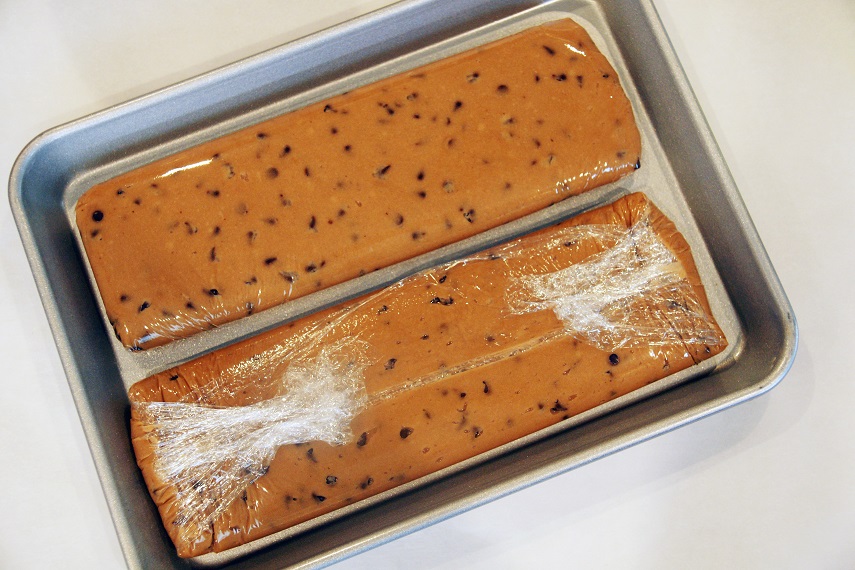
The original recipe calls for shaping them and baking them right away. I found the dough too loose so I put it in the refrigerator for an hour. This is how I prepare my mom’s recipe so I’m sure it’s just second nature for me to do it that way. You can also leave the dough in the bowl and place it in the fridge, then mold it into logs after you take it out. If it seems firm enough for you to skip the refrigerator, go for it and get it in the oven.
When baking with honey, here is a good tip… A trick to help the honey slide out of the measuring cup is to measure the oil first. Then when you put the honey in, it won’t stick to the glass. I love this trick! This is also good when using molasses, corn syrup or any other sticky liquid.
My mother’s mandel recipe has chocolate chips added, so I figured why not try adding chocolate chips in these – it was a good decision! Honey and chocolate are a nice marriage. You could also add white raisins and walnuts which are equally as delicious or leave them plain. This recipe is a great start to a sweet new year! Enjoy!
Ingredients:
3 cups plus 2 tablespoons all-purpose flour
½ teaspoon cinnamon*
½ teaspoon ground ginger
1/4 teaspoon allspice
1/4 teaspoon nutmeg (I like to grate it fresh)
1 teaspoon baking powder
1 teaspoon kosher salt
2 extra large eggs (at room temperature)
½ cup extra light extra light olive oil
½ cup honey
½ cup dark brown sugar
2 teaspoons vanilla extract
1/4 cup warm coffee (regular or decaf)
½ cup mini semisweet chocolate chips
Cinnamon sugar to sprinkle on top
Optional version: You can also make this with raisins and walnuts by using ½ cup white or black raisins and ½ cup chopped walnuts or make them plain. This recipe is adapted from Paula Shoyer’s Honey Cake Biscotti recipe.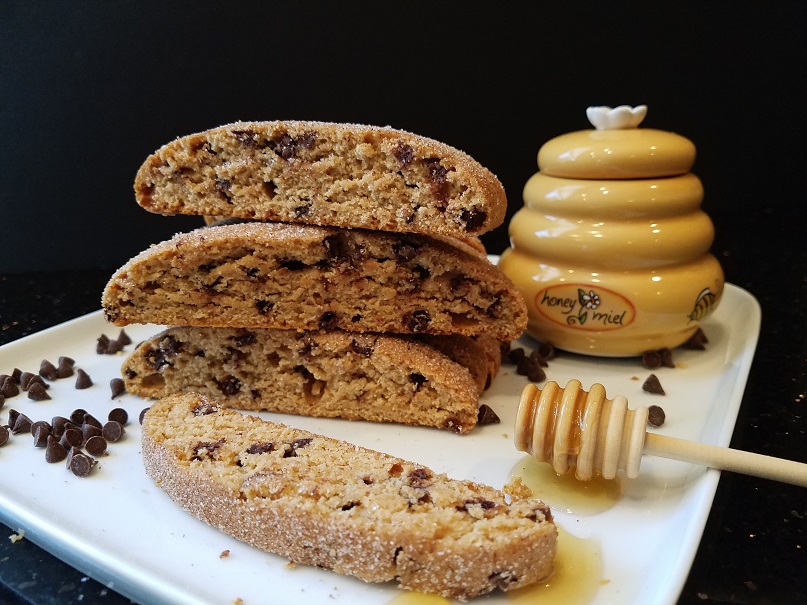
Line a cookie sheet with parchment paper and set aside.
Mix all of the dry ingredients in a large bowl and sift together. In another bowl add the oil, honey, eggs, brown sugar and vanilla, coffee and whisk together well. Slowly add the wet ingredients to the dry and mix gently to incorporate. If using chips or other addition, add in at this time.
Divide the dough in half and shape it into a rectangular log about 10 to 12 inches long by 4 inches wide. I placed mine in plastic wrap which helped to mold them and put them in the fridge for an hour.
When ready to bake, preheat oven to 350 degrees.
Once the dough is chilled, place on the cookie sheet leaving 2 to 3 inches in between the loaves. Sprinkle with cinnamon sugar and bake for 30 – 35 minutes or until the loaves are set and a little browned on the bottom. Slide the parchment onto a cooling rack and let sit for 5 minutes. Place back on the cookie sheet and slice to the thickness you like. I like a thinner cookie so I sliced mine ½” but you could easily make them ¾ – 1” if you want them thicker like biscotti. If you want a softer mandel, don’t double bake them. If you want them crunchy, bake them a second time. Lower the temperature of the oven to 300. Place the cookies cut side down. Bake for 8 minutes take them out and turn them and bake them another 5 – 8 minutes until crisp. Let the cookies cool on the pan. Store them in an airtight container for up to five days or freeze for up to three months.
This recipe yields 30 to 40 pieces depending on the size you slice them.
*I first tried Vietnamese cinnamon at my mother-in-law’s house several years ago and have never used another cinnamon since! It is strong, rich and sweet, just the way cinnamon should taste. It has a higher oil content helping it disperse more thoroughly in baked goods. If you love the taste of cinnamon, you must try it! It’s a little more expensive than what you are currently buying, but well worth the money and a little goes a long way. I find it at spice shops, Sur La Table, and specialty groceries. Here is a link to purchasing it online. http://www.kingarthurflour.com/shop/items/vietnamese-cinnamon-3-oz


