homemade taco holder

Taco Tuesday + Cinco de Mayo + Tip Tuesday = a quick and easy homemade taco holder using an egg carton. When Cinco de Mayo and Taco Tuesday fall on the same day you have to acknowledge it – am I right? For me it’s a triple header because I’ve been trying to launch Tip Tuesday on my website and today seems like the perfect day to do it.

I make tacos a lot and when I do it’s impossible to get them to stand up so they look pretty and the filling doesn’t fall out. If you’re like me and don’t have a taco stand, here’s my tip: turn over an egg carton place your tacos in between the grooves and there you go! Pretty cool right? I left the top of the carton on so you can see what it looks like as a whole carton, but you can certainly cut the top off if you like.

As for the tacos, no measured recipe here – use any shell you like corn or flour, crunchy or soft, fill with shredded lettuce, top with grilled fish (or chicken or steak) seasoned with chili and lime, diced tomatoes, corn, avocado or guacamole, and finish it off with your favorite salsa. Place them in your new fancy homemade taco holder and you’ll be the hit of the party. Next up… my favorite way to sangria! Olé!

The Perfect Hard-Boiled Egg

SONY DSC

Cooking 101: Or, how to cook a perfect hard-boiled egg…

The photo I took above shows an egg in all it’s glory. The yolk is a beautiful creamy golden yellow and the whites are soft and silky. This is not the hard-boiled egg I grew up with; the one, with a greenish grey outlined yolk and rubbery egg white. You know what I mean! In actuality, hard-boiled eggs aren’t boiled at all; they are simply simmered gently.

If cooking an egg is so simple, then why do so many people struggle with it? Even my mother was challenged in this area. Yes, you read that right, the woman whose cooking and baking prowess I’m always praising did not cook a perfect egg! Like most people, when she boiled an egg to a hard-boiled stage, it often ended up with a greenish grey color that surrounded the yolk. Which is a real turnoff and has an off putting aroma. I wondered what causes this reaction and found out is a chemical reaction from the sulfur in the egg white reacting to the iron in the yolk when it’s overheated. Okay, simple solution, don’t over cook your eggs!

While it sounds simple, if you search for this information, you will find many variations on how to achieve the perfect hard-boiled egg. Should you use fresh or older eggs? If you purchase your eggs straight from a farm, I would wait a week before hard cooking them. If you use grocery bought eggs, you will be fine. Some cooks pierce the shell before cooking, others say don’t. Some cooks boil them for 8 minutes, some let them sit with the heat off for 12 to 15 minutes or longer. Some cooks cover the pot with a lid, some don’t. There are also those who say to add salt or vinegar to the water. So who is right? I haven’t a clue, it’s overwhelming and I just want a beautifully cooked egg! Enjoy!

Here is what I do for a perfect egg every time…

• I start with extra large eggs, and place them in a single layer in a large pot.

• Add enough water* to cover the eggs plus an extra inch or so and add a teaspoon of salt.

• Put the pot on high heat and bring it to a boil.

• Lower the heat to a low simmer and set a timer for 3 minutes.

• When the timer goes off, turn off the heat, remove the pot from the stove and cover the pot for 9 to 10 minutes**

• After that time, drain the water and run cold water over them. Place the eggs in an ice water bath (a bowl filled with ice and water 50/50). In 5 to 10 minutes when cold, peel the eggs. Drain the water, put the lid on and shake the pot to crack the shells.

• Enjoy chopped into egg salad, cut in half and sprinkled with salt and pepper, or on top of a salad. However you like to eat a hard cooked egg you’ll now always have a perfect one!

*Make sure to add cold or room temperature water to the eggs. Keeping the water temperature close to the egg temperature may help prevent cracking.

**Timing also depends on the size of the egg you are using. Large eggs – 8 minutes, extra large – 9 minutes, jumbo – 10 to 11 minutes. You can always make sure they are done by checking one egg at the minimum time before placing them all into an ice bath.


Box Mix or Homemade? You Tell me!

SONY DSC

Is it ever okay to use a box mix for baking?

That’s a really good question. If you asked my mother, her answer would be absolutely, positively not! Of course she love to bake and was an excellent baker. When I was growing up I don’t even remember her using brownie mix. To be fair, we also lived near good bakeries so if she didn’t bake it herself, there was always a good back up plan. However, it is from her I learned it doesn’t take much more effort to make good fresh food from scratch. While I do agree with that, there are times when the ease of opening a box and adding an egg and oil to dry ingredients is quite appealing, quicker and often cheaper.

When I first moved to Ohio, I was invited to a cookie swap. I had never been to one before so I asked my friends what type of cookies I should bring. The instructions were easy, bake the kind of cookies you would like to receive. When I arrived, it was amazing to see the variety of cookies everyone baked. I made my best decorated sugar cookies and they were a huge hit! Another friend of mine baked fancy biscotti that were so yummy. All the women really outdid themselves except for one. She walked in, placed her plate on the table and said “I hate to bake – I’m not a baker!” Her first mistake was telling everyone she’s not a baker and hates it, then admitting she used a box mix. Her second mistake was that she burnt them and still brought them anyway! Clearly, using a box mix doesn’t mean you’re going home with a first place ribbon or in this case new friends!

So is there ever a time a box mix is okay to use? Yes, I think there is. I have used boxed brownie mixes on occasion, usually when I have to make 50 or 100 of them for school events. There are a couple brands that are very good but even then I add extra cocoa powder to the base, candy, extra chocolate chips, and top them with something special to dress them up for a night out on the town. One of the best ways I have found to dress them up is with homemade frosting. Please note: there is never an excuse to use canned frosting! Come on people, butter and sugar whipped till creamy! I dare you to read the label on the can and tell me why all 19 ingredients are needed for something that should be sugar and butter. I’m gasping for breath here! Rule number one, if you are going to use a box mix, everyone else doesn’t have to know! Let it be your secret! Rule number two, make them look good enough and taste good enough so people don’t know it came from a box. You can always add extra chips, vanilla extract, dried fruit, nuts or something else that you like. Rule number three, read the instructions carefully and follow them, they are written for a reason. Finally, not really a rule – just obvious, if you burn them, throw them out!

SONY DSC

What about cupcakes and cakes? A friend suggested I used a box of cake mix to make cupcakes. I had never done that before and was leary about it. She shouted their praises of ease and deliciousness and said they’re foolproof, just try it.

Out I went to the grocery where I returned with a box of devil’s food cake. I dumped the package into a bowl, added the wet ingredients, blended 2 minutes and voila – cupcakes! However, what they didn’t tell me on the box was that the recipe really only makes 20 cupcakes, 21 at best. Now I was 4 cupcakes short for the class! I had to go back to the store, buy another box, clean all of my baking utensils, and start allover again. Then I ended up with 40 cupcakes! What in the world was I going to do with so many cupcakes? The whole ordeal took me most of the day. Plus there are those little lumps they say will disappear but don’t. However, if you are going to use a box, here is the exception to the rule… read the book Hello Cupcake written by Karen Tack, she gives plenty of support and tricks on how to use a box cake mix so that it comes out great. I have tried her tricks and agree. So if you are decorating cupcakes to the nines, go for the box. If you are making cake-pops, go for the box. For any other reason… only from scratch!

SONY DSC

Here is what I look for in any prepared food. The ingredients have to be recognizable, no artificial ingredients, no hydrogenated oils, fat and sodium amounts have to be in a what I consider a healthy range and a good brand is important. I like specialty brands like Stonewall Kitchen, Barefoot Contessa, and Ghiradelli. Trader Joe’s also makes some very good box mixes. In every case, you just have to read labels very carefully and the amount of ingredients should be minimal. If you can’t pronounce a word, you shouldn’t be eating it. Several years ago, my brother-in-law Ben read ingredients on a candy wrapper at Halloween and said “carnuba wax, I think I use that on my car”! There is a lesson to be learned there!

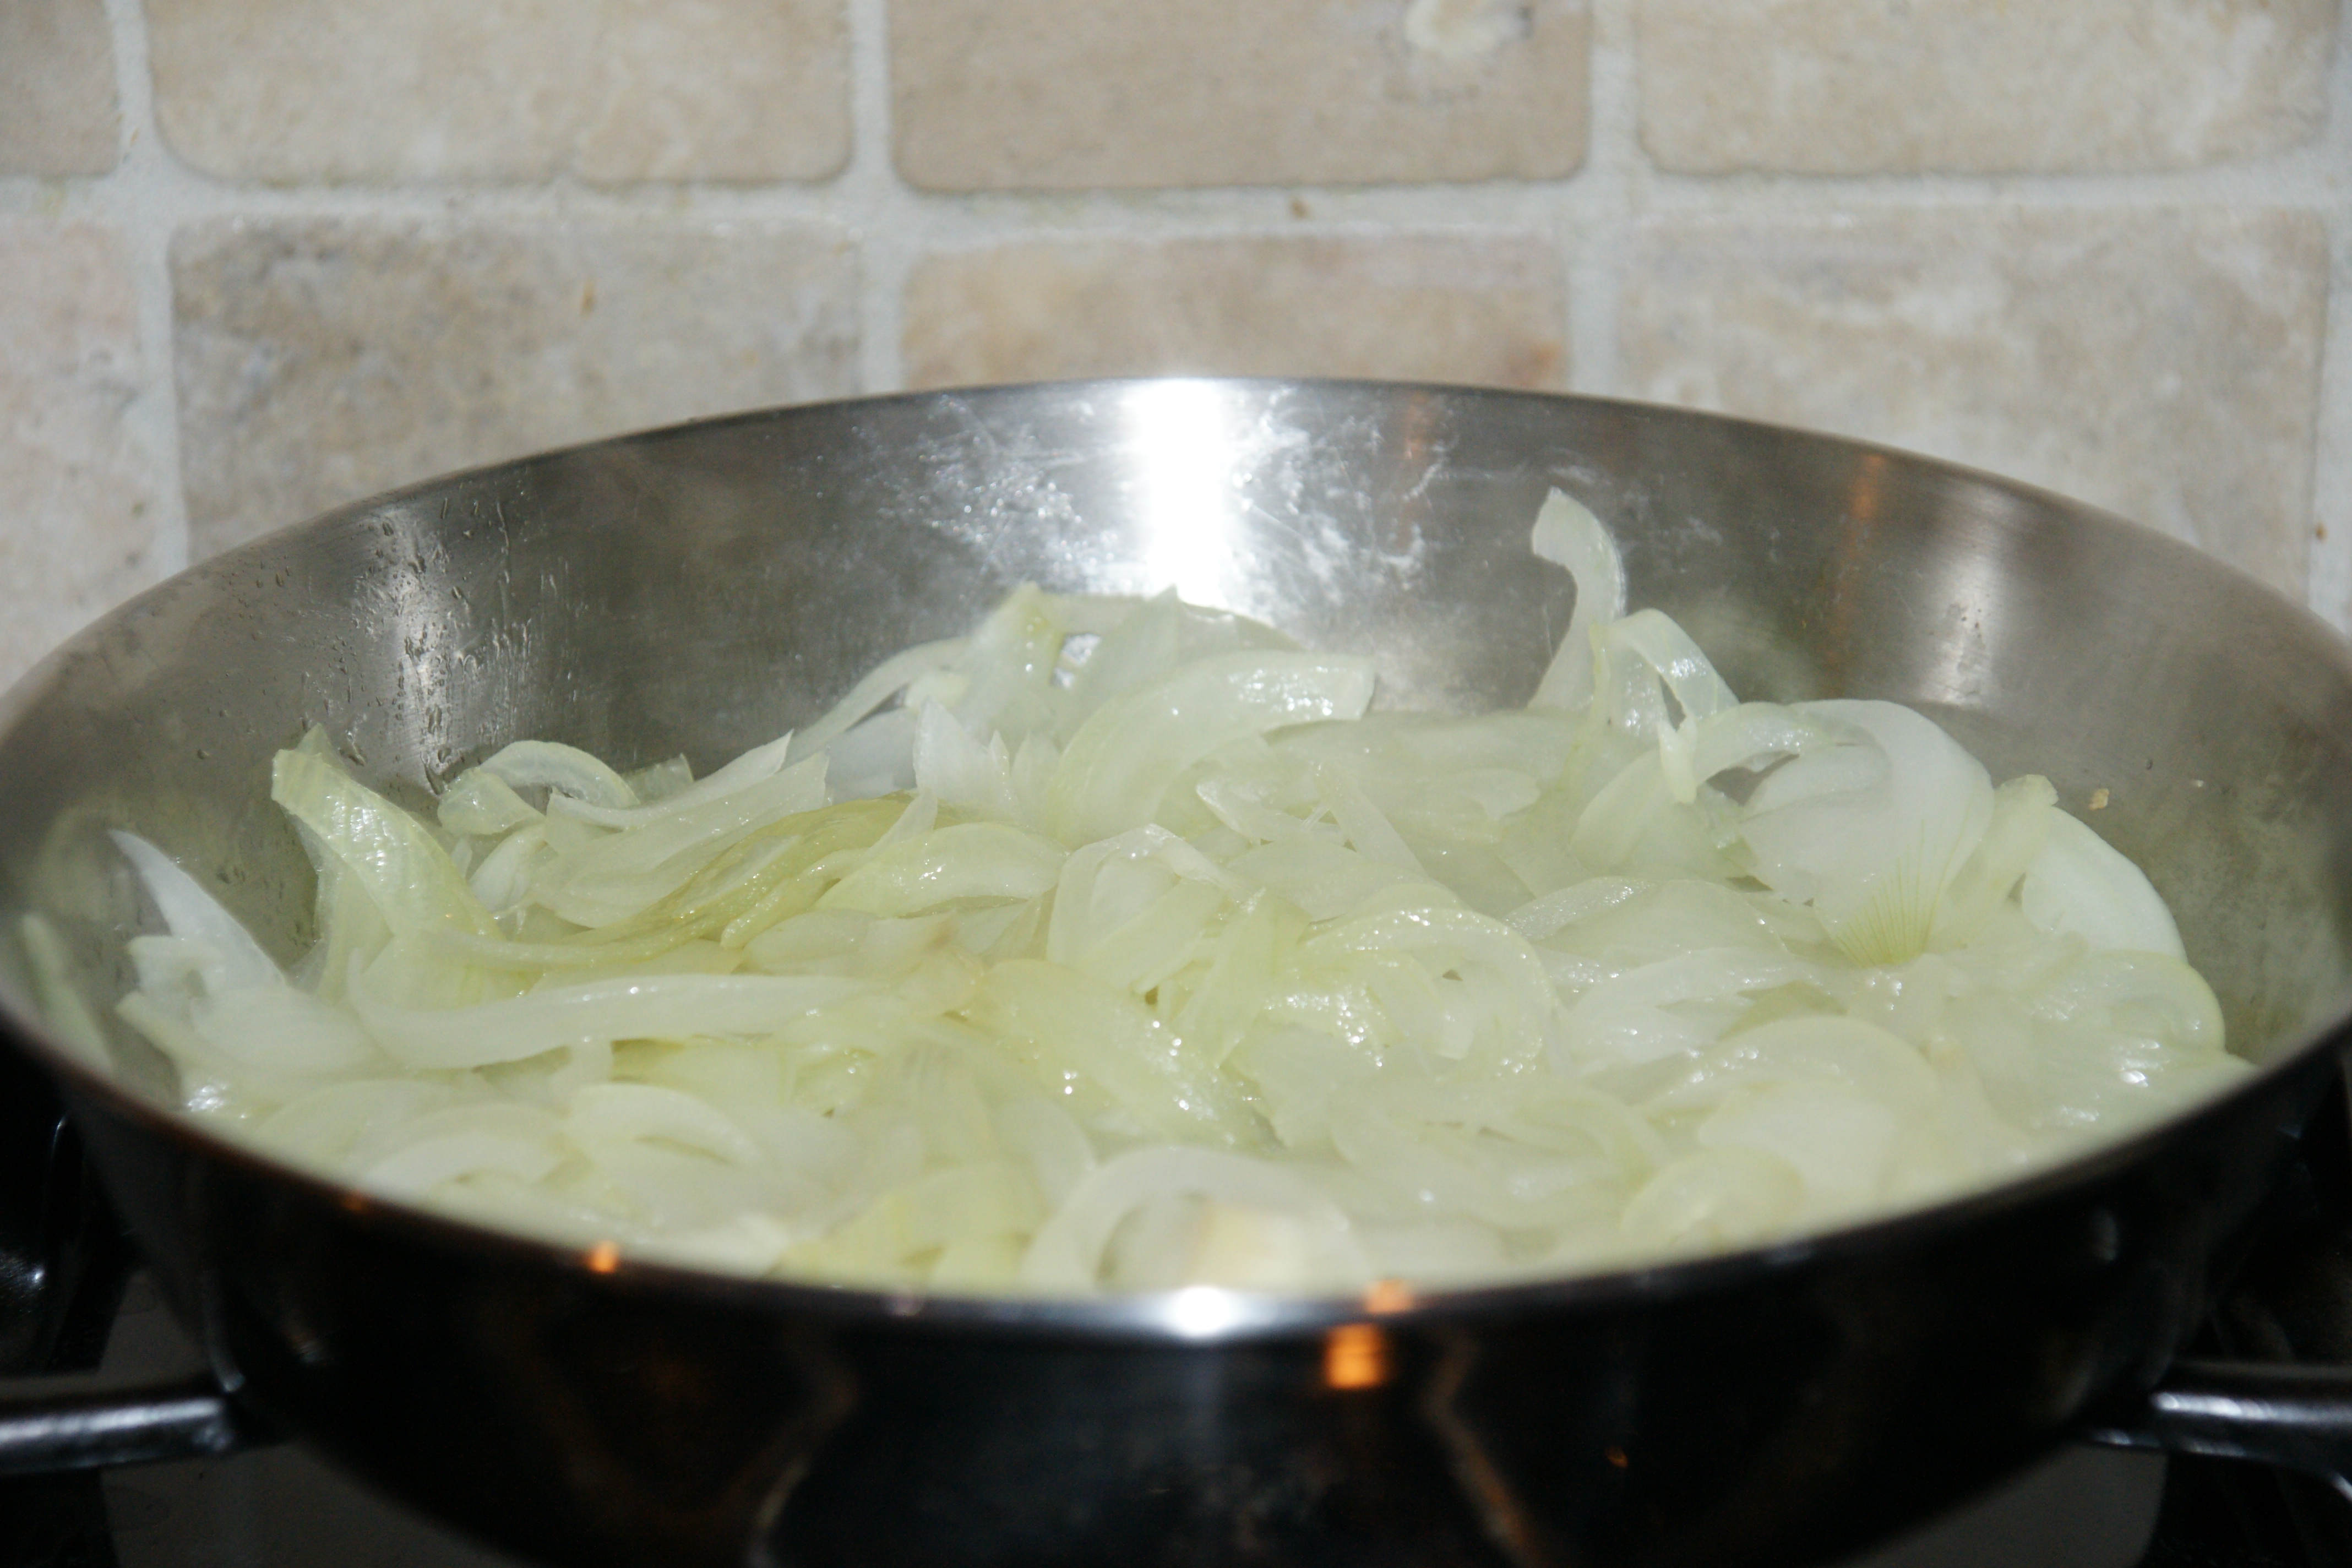
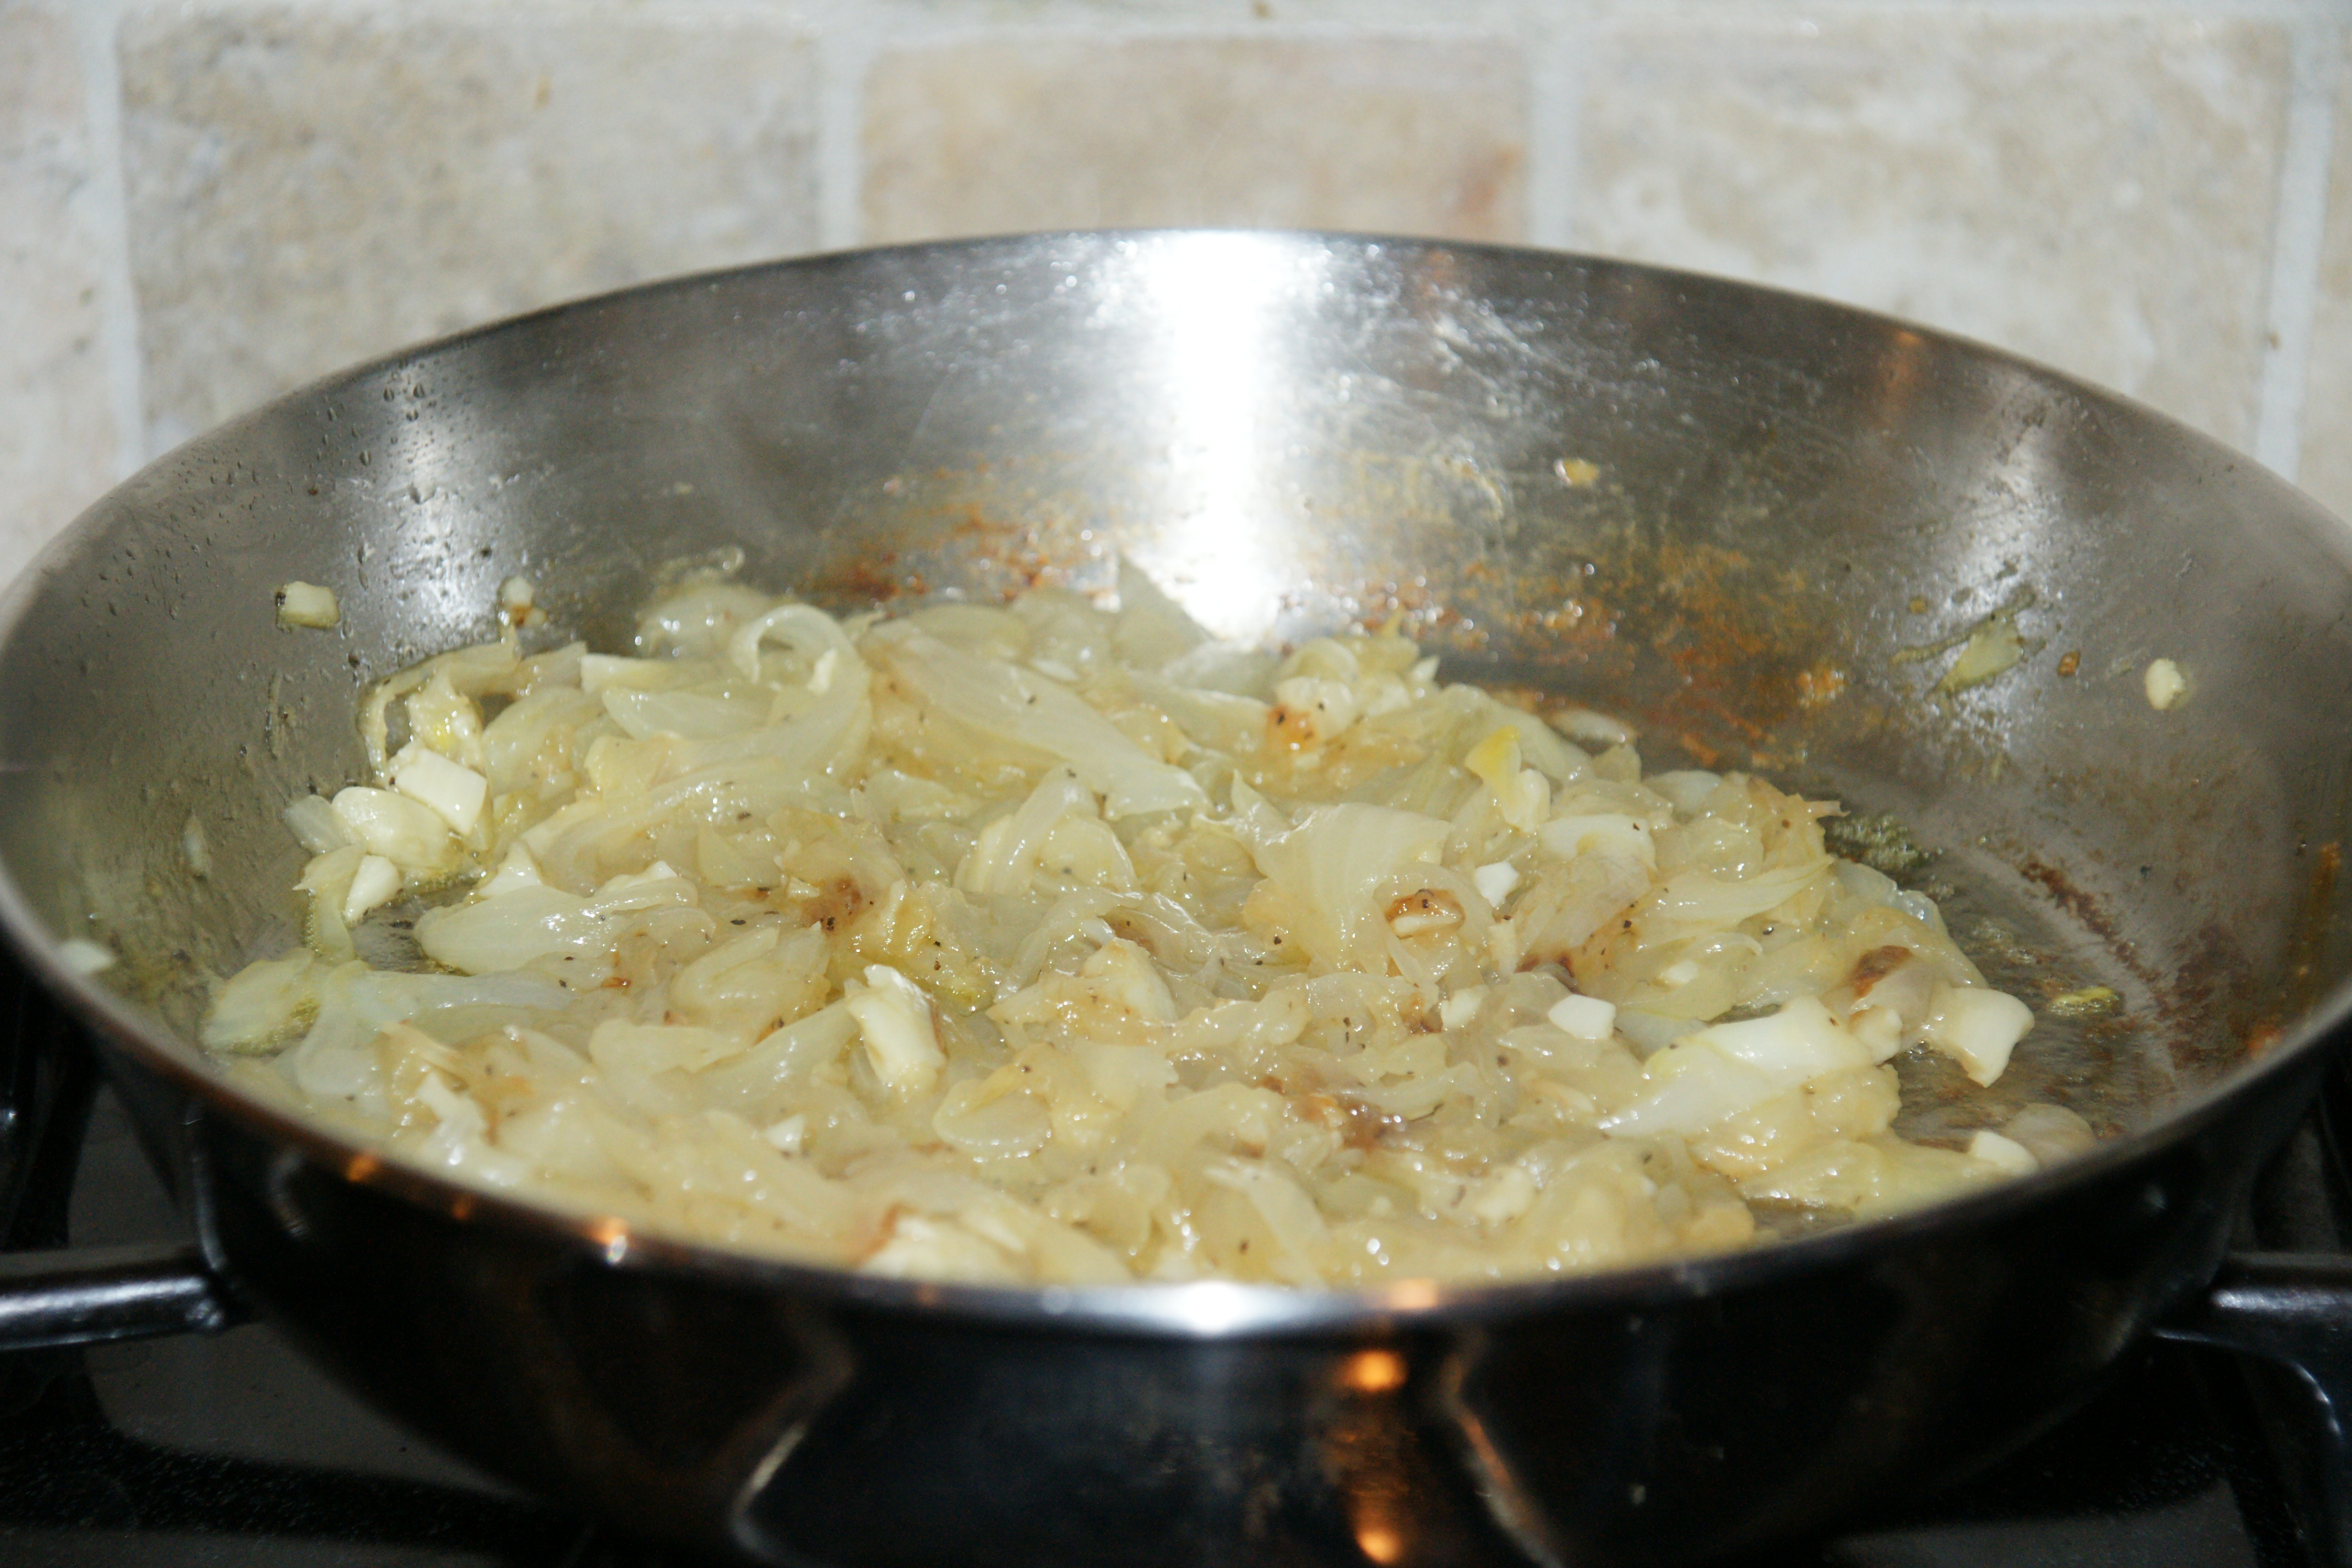
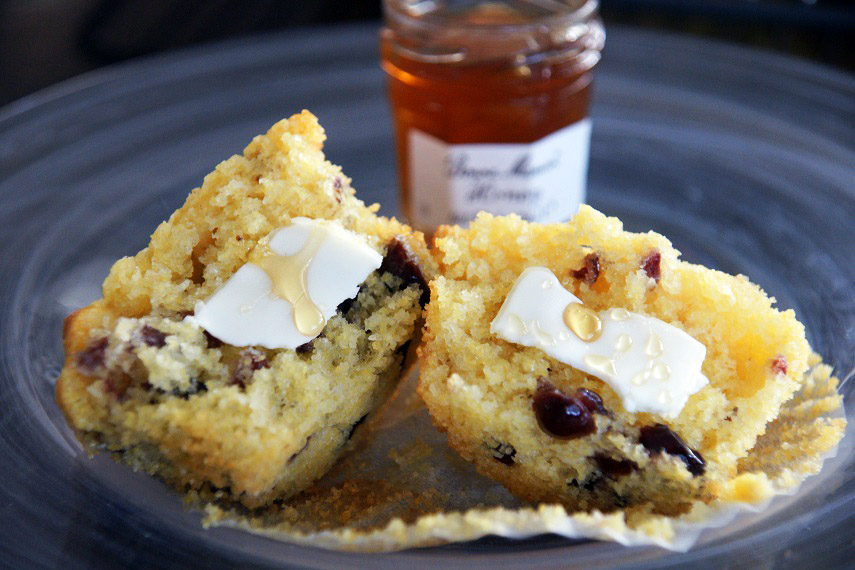
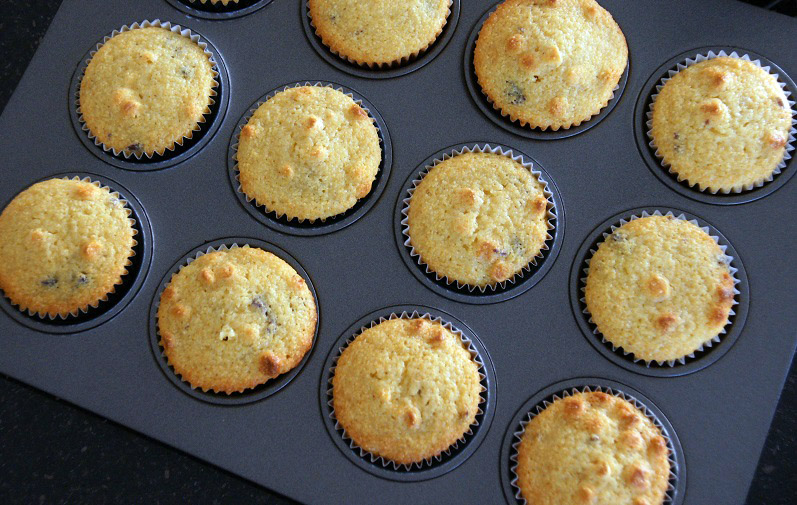
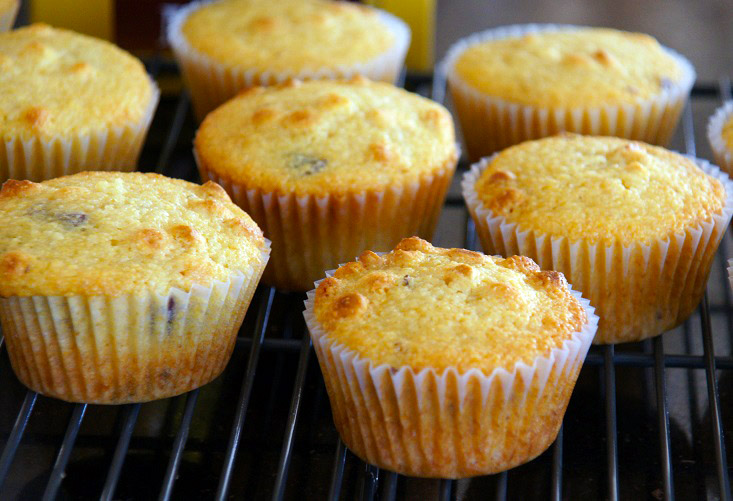
Okay, so tell me… Are my corn muffins made from a box or from scratch?

SONY DSC


How to Caramelize Onions

Caramelized onions (also called smothered or fried onions) are a favorite in our family. My nephew loves them on a turkey burger (as do I) and my son Ethan loves them on anything – even pizza! They are great to top a burger or fish, the base for so many recipes, and the type of onions you need for a LEO (lox, eggs, and onions) or my mothers famous potatoes, eggs and onions! If you have never tried them, you must. When the onions cook down they release all of their natural sugars and become soft, silky and sweet.

I found this recipe in the Arthur Schwartz cookbook Jewish Home Cooking a few years ago and have been using it ever since. It makes it very simple and works well every time. I modified it a little as per how I make them according to his recipe. Caramelized onions are a part of so many of my recipes that it’s a must to include in my blog. This is a guide on how to make them so adjust the amounts according to each individual recipe. Enjoy!

SONY DSC
This is what they look like when they get into their olive oil bath getting ready for a shvitz*!

First either chop or slice the onions according to the recipe instructions that call for caramelized onions. Add enough oil to cover the bottom of a covered skillet or sauté pan. You can use any oil you like, just make sure it has a high smoke point such as: olive, canola, safflower, sunflower, grape-seed, or vegetable. There is a new oil out on the market I’m in love with… avocado oil, but it’s too expensive to fry onions in! I always use olive oil, choosing it for heart health and the taste.

Use a pan large enough to comfortably hold the onions. A 10-inch pan will hold up to 2 pounds of onions or 6 cups (that’s about 3 to 4 really large onions) and will require about 3 tablespoons of oil. Heat the oil over medium high heat.

Add the onions and toss in the hot oil; cover the pan, decrease the heat to medium and let the onions sweat for 10 minutes, tossing them every 5 minutes. After about 10 to 15 minutes, you can add in 3 cloves of minced garlic and a pinch of salt. Original smothered onions do not have garlic added, I just like the taste but you can omit if you’d prefer. Stir and cover for 5 minutes. Uncover the pan and stir the onions, they will have begun to brown.

SONY DSC
Here they are right before I add in the minced garlic. The onions have decreased in volume by half.

Increase the heat to medium-high and continue to fry the onions uncovered for at least 20 minutes more for browned onions. Continue to stir the onions every 5 minutes as they cook, scraping up the bits on the bottom of the pan. (It’s good to use a straight-edged wooden spoon or spatula for this.) The onions may need more frequent stirring as they brown. If you like them darker cook for another 5 to 10 minutes. At this point you can add a pinch of black pepper and a pinch of salt. They can be stored in the refrigerator, tightly covered for a couple of weeks.

It may seem like a lot of work, but it’s not really. Like with anything you’re cooking on the stove top, you have to keep an eye on it and stir occasionally. Total cooking time is about 35 – 40 minutes but they can be cooking while you are doing other things, or made ahead.

Here they are getting all sweet and golden brown. They are great now but can brown a little longer.
Now they are about 1/4 of the volume you started with. They are sweet and golden brown. Depending on the recipe, you can stop here or cook them a little longer if you want them to brown more.

*What is a shvitz you ask? It is the Yiddish word meaning to sweat. It is used interchangeably with how you feel when you’re hot, or if you want to take a steam bath! Right now it’s so hot in my house I’m going to turn the thermostat down before I shvitz to death!