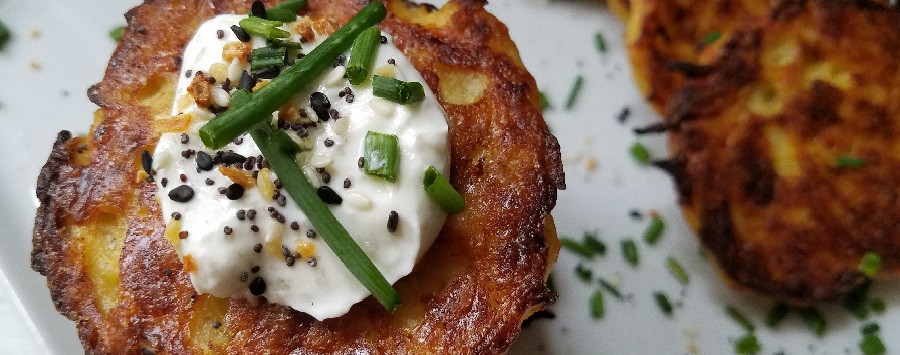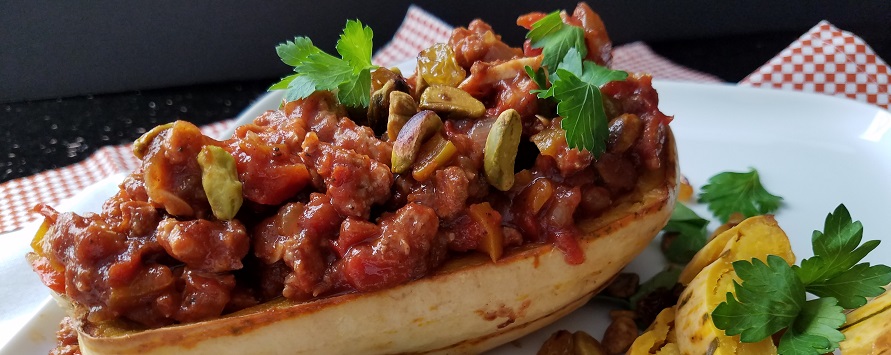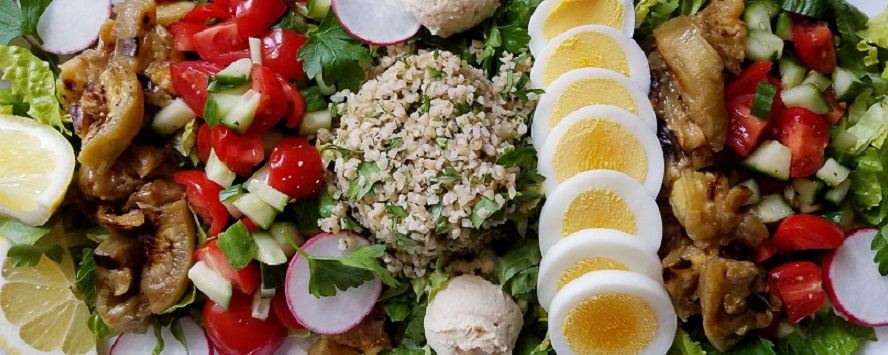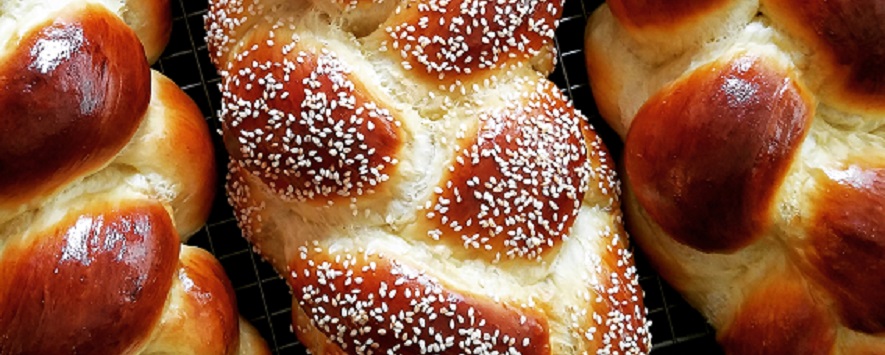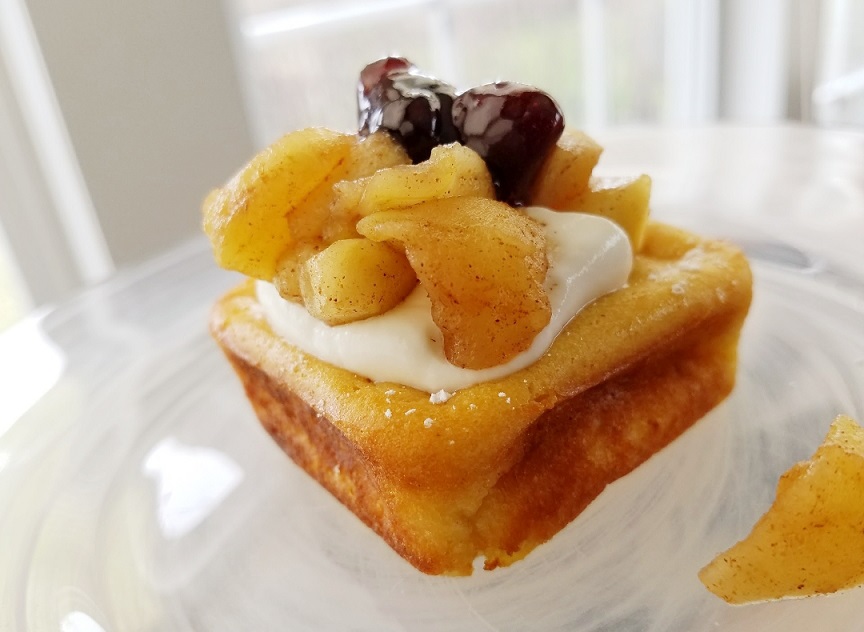
Individual Blintze Soufflé Cupcakes


These individual blintz soufflé cupcakes are absolutely amazing! If I had to pick a couple of words to describe them after I made them it would be MIND BLOWN! Why am I yelling? Just make them and you’ll find out. They are super simple to make, and crazy because they taste so much like regular blintzes without all the fuss. I’m telling you – you won’t believe it. They are so good, I’m posting them this morning with limited photos. Why? Because I can’t find where I filed them on my drive!!!!!!!!!!!! I just can’t wait to post the recipe so you can make them and will update the photos when I have more.


My mother would flip out because they are that good! She was famous for her blintze making extravaganzas (yes, extravaganzas!!!). She would make hundreds of them at a time in a variety of flavors. This of course would span a period of two full days of work. Then she would give trays of them away to family and friends. People couldn’t wait to get them and there were always rumors of her opening a restaurant just to make blintzes! I think it would have been a huge success.

The type she made was a traditional Jewish blintze. If you have never had them before let me paint you a picture. They are kind of like French crepes and can be fairly time consuming to make. You have to make the crepes and also a filling. There are many filling options like sweet cheese (almost like an Italian cheesecake filling), savory mashed potato with onions, and fruit (usually like a pie filling). You roll them like a baby burrito and then pan fry them in a hot frying pan and serve with sour cream. They are absolutely delicious and everyone in my family adores them. Who wouldn’t? Just reread the fillings I mentioned, topped with sour cream – what’s not to love?
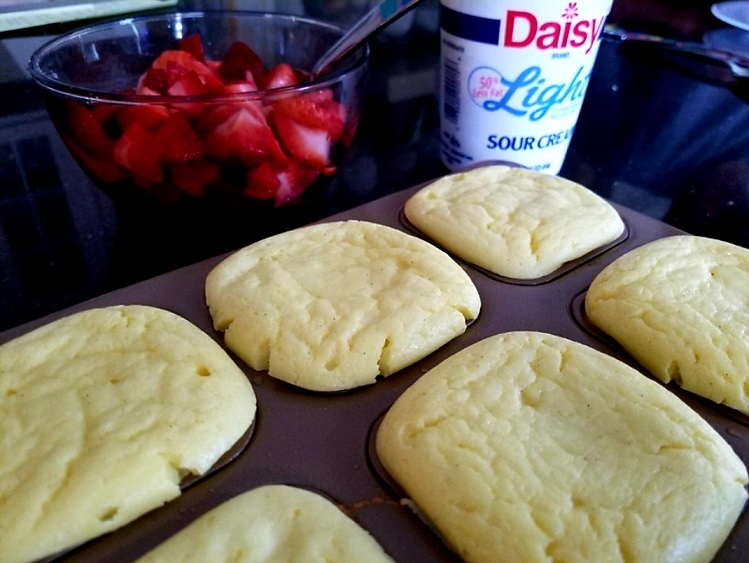

This recipe is so much easier and every bit as delicious, and they taste amazingly similar to the real deal. Don’t be fooled, these mini soufflé cupcake style blintzes are not to be confused with the ever popular blintze soufflé which is made with actual blintzes and has a custard poured over the top. This is like the best of all blintze worlds colliding. Plus, you probably already have most of the ingredients on hand. It’s quick to make, and bakes fast, and can be whipped up in well under an hour start to finish. I was even able to alter it so I could make it for Passover* and it came out great!

Don’t be thrown by the shape of mine; I happen to have a tin which is square. I must have had Kohl’s Cash to spend and this pan seemed like the right thing to spend it on at the time. So much so, I bought two! They are meant to make brownies in them but I didn’t like how they came out. So now they are my official individual blintz soufflé cupcake pans!

Of course regular round cupcake tins are perfect for this and just as adorable! The recipe makes 12 individual size servings and can be served hot, warm, room temperature and I’ve been know to grab one straight from the fridge! They are so pretty served on a buffet for brunch or anytime you want to wow your family and friends. Oh, and the best part, you don’t have to make hundreds of them unless you want to! This recipe makes one dozen.

Enjoy!

Ingredients
16 ounces cottage cheese (I like Friendship brand and use the lowfat)
4 large or extra-large eggs (I always bake with extra large)
½ cup pancake or all-purpose baking mix (I like the Annie’s organic)
1/3 cup plus 1 tablespoon sugar
2 tablespoons melted butter
1 teaspoon vanilla ¼ teaspoon salt

Serve with warm sautéed apples, fresh or cooked berries, sour cream, or your favorite jam

Directions
Preheat oven to 350 degrees, prepare a 12 cup muffin tin with nonstick spray and set aside – do NOT use paper cupcake liners.

In a large bowl, add all of the ingredients. You can use a hand mixer, food processor, or an immersion stick blender.

Blend until mixed well and pour into muffin compartments 2/3 full. Bake 20 to 25 minutes just until they are set in the middle.

*Over Passover, you can substitute 1/3 cup cake meal for the pancake mix and use kosher for Passover vanilla extract, or add 1 tablespoon of vanilla sugar. The cake meal tends to make it a little heavier so I add 2 or 3 tablespoons of sour cream to the batter.

Continue reading “Individual Blintze Soufflé Cupcakes”

israeli couscous with Root Vegetables and my new Favorite Spice Baharat


Yes, I’m a copycat – but only when it comes to food! My Israeli couscous with root vegetables and my new favorite spice Baharat is case in point. It’s so delicious I can’t make it enough. So who am I copying you ask? There is a great vegetarian restaurant here in Columbus called Little Eater. To say I love the food there is an understatement. The flavor profiles they use are so creative and always delicious combinations you wouldn’t ordinarily expect. Among my favorites are the butternut squash and goat cheese sandwich with onion jam, the sweet potato soup, chocolate chip cookies, and this root vegetable couscous. I literally have cravings for it and decided I needed to make it at home.

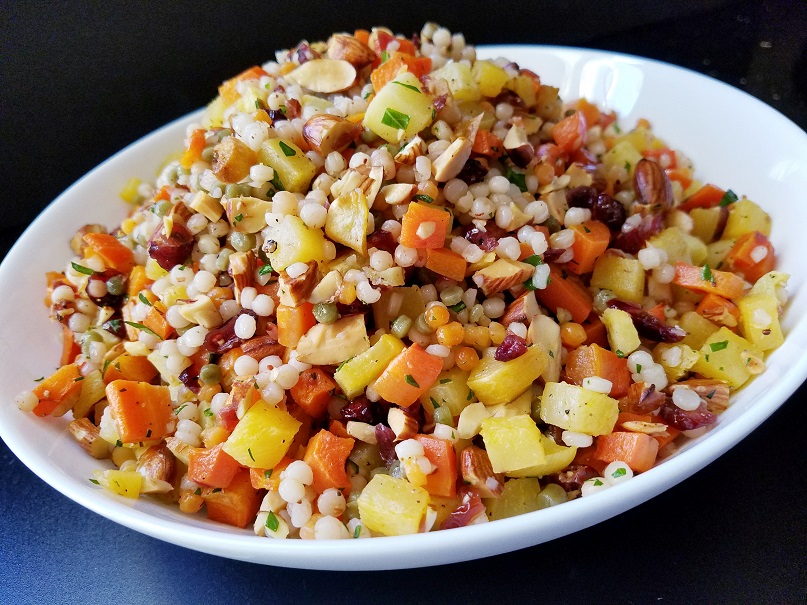
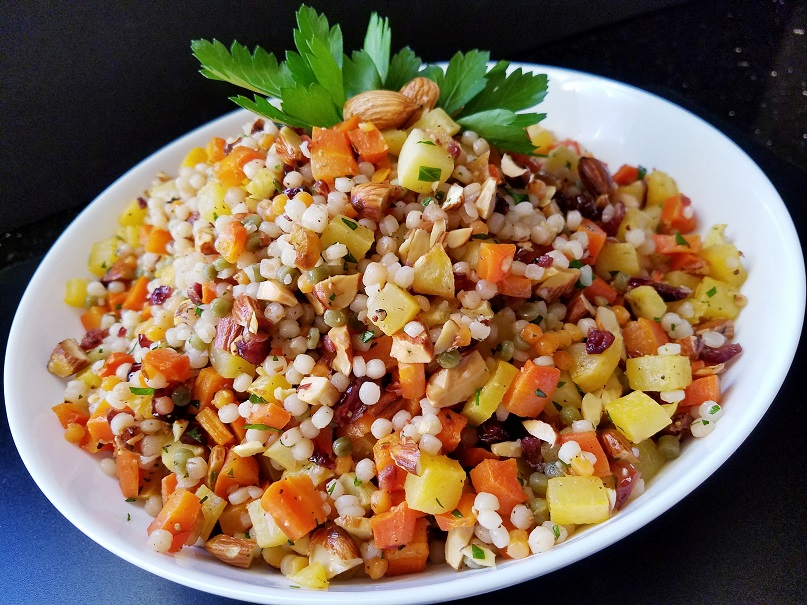
Israeli couscous is pasta which is toasted instead of dried and it has a nice chew like orzo. It is sometimes called pearl couscous because it looks like little pearls which make it such a pretty addition to any meal or buffet table. It’s also a nice change from rice or potatoes. I add it on top of salads, serve it as a side, place a bed of it under fish, chicken, lamb or stew, or just eat in a bowl as a little nosh. The ratio of vegetables to couscous in this dish makes it very appealing. If you are trying to cut down carbs it’s a way more than 50/50 in favor of vegetables which you can see in the photo. Plus, it’s very quick and easy even with all vegetable dicing. Start to finish you will be done in less than an hour. Sounds good right?

I have to get off topic for a minute to share this tip with you… a few months ago I took a vegetable butchery class at Little Eater with the owner Cara Mangalini. She shared a wealth of knowledge on how to select, prepare, store, and cook vegetables. One of my favorite takeaways was the concept of using nut oils. She used walnut oil in one of the salads we sampled and you could taste something different which may not have been obvious, but it added something so special to the dish. I have just started to incorporate walnut and almond oil in some of my cooking as a finishing oil, or in dressing and strongly recommend you try it.

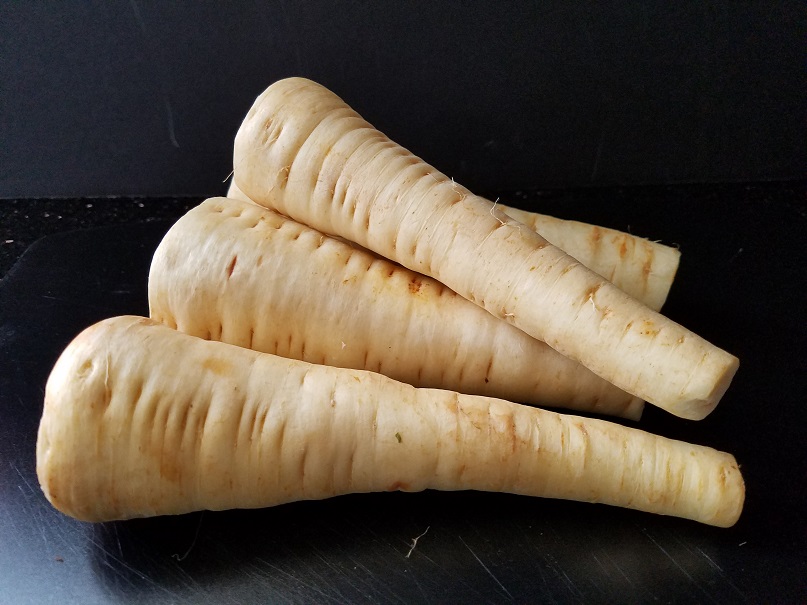
Another thing she suggested was to try new vegetables and prepare them in a way that is unexpected. Her couscous has rutabagas and currents which is an amazing combination. As much as I like them, unfortunately, I don’t think rutabagas like me very much. Given that I love parsnips (and they me!), I thought I would use them in my recipe. Plus, I think parsnips are an underappreciated vegetable so it’s time to give it a try if you haven’t already. As for the spice, that was easy. Since my trip to Israel last summer, one of my new favorite spices is Baharat* and I thought it would be a nice combination with the root vegetables because it has a nice warming flavor with notes of cinnamon. Baharat, which literally means spices, is an Israeli spice which if you think of as similar to pie spice with a kick and a little exotic, you’ll at least have a frame of reference.

When creating or recreating a recipe it’s always trial and error. I write down all of the ingredients, guess the ratio and give it a try. It took a few tries, but I just kept adding more and more vegetables until I came up with a version I absolutely love and think you will too. Of course, if you love rutabagas, swap them out with the parsnip.

Oh, and Cara, if you are reading this, Thank you for bringing your vegetable forward restaurant to Columbus! I’ll be in soon for another butternut squash sandwich and of course, a chocolate chip cookie. But I’ll be making my version of your couscous at home. Any Columbus peeps reading this, make a trip there, you’ll be glad you did! But in the meantime, go buy some Israeli couscous!  Enjoy!

Makes 8 to 10 side dish servings

Ingredients
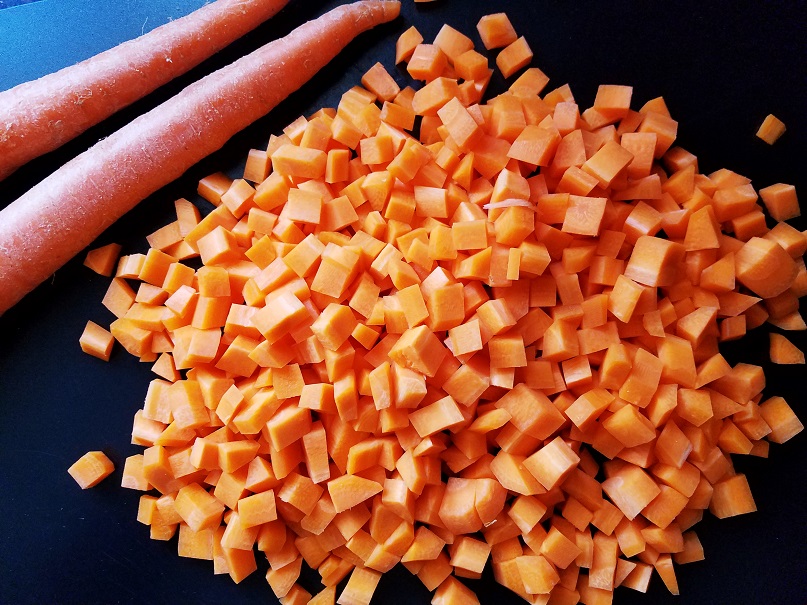
1 ¼ pound carrots peeled and diced small ½”
1 ¼ pound parsnips peeled and diced small ½”
¾ cup whole roasted almonds chopped**
½ cup cranberries chopped
2 tablespoon extra-virgin olive oil
2 tablespoons freshly minced parsley
1 tablespoon fig balsamic vinegar (or other fruity balsamic)
1 teaspoon Baharat
1 teaspoon salt
½ teaspoon black pepper
For the couscous:
1 cup dry Israeli couscous (also called pearl couscous)
1 and 1/2 cups water
2 teaspoons olive oil
½ teaspoon salt

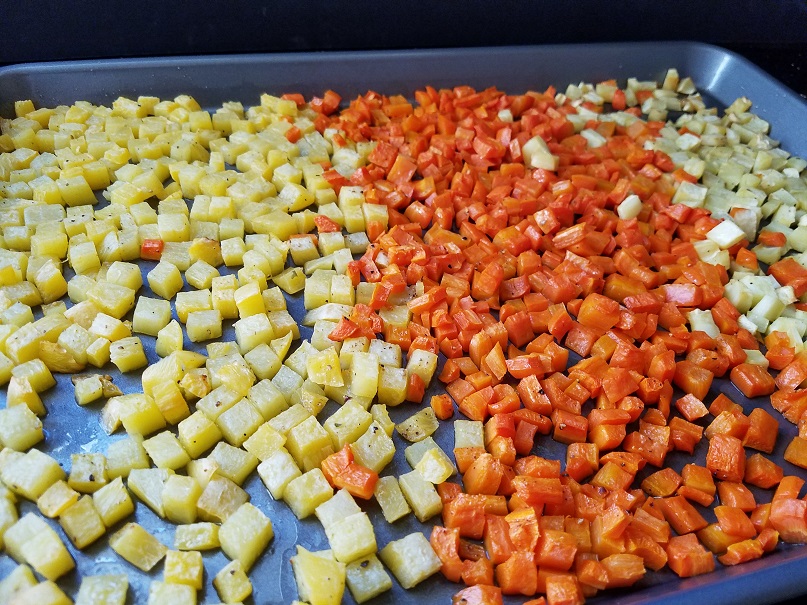
Heat your oven to 425 degrees. Dice all of your vegetables into a small dice and place into a 5qt bowl. Drizzle with olive oil, sprinkle with salt and pepper and toss to coat. Place on 2 sheet pans. When roasting, never crowd the pan as the vegetables will steam instead of roasting. Place in the oven for 20 to 30 minutes checking on them after 10 minutes and toss them around. You want them to lightly roast but still have a little bite to them.

While the vegetables are roasting prepare the couscous: In a small pot, bring 1 ½ cups of water to a boil with ½ teaspoon salt.  While waiting for the water to boil, heat 2 teaspoons of olive oil on medium-low heat in a 3 quart saucepan. Add the dry couscous and stir around to coat in the olive oil. Allow to cook for about 5 minutes to lightly toast the couscous. Add the boiling water to the couscous very slowly and cover the pot. Cook for 10 minutes, or until the water is absorbed, and the pearls are tender.

While everything is roasting and boiling: Chop the almonds and set aside. Chop the cranberries and set aside. Mince the parsley and set aside.

When the vegetables are ready it’s time to assemble everything. Into a large bowl, add the couscous and vegetables (use a spatula and try to get some of the roasting oil as well), parsley, cranberries, almonds, Baharat, balsamic and toss. Taste for seasoning and adjust to your liking.

*If you click on the word Baharat anywhere in this post it will take you to a website which has some history, cooking tips, and different spice combinations of Baharat. I brought some back from Israel with me, but have also found it at a couple of local groceries, World Market and Whole Foods. Each one tastes a little different, but of the 4 I have tried, all were very good – just different.

**Toasting almonds (or any nut) is very easy. Preheat your oven to 300 degrees. Put the almonds on a sheet pan and place in the center of your oven for about 5 to 10 minutes. Once you start to smell them, they are done. Make sure to keep an eye on them. You can also buy them already roasted.

creamy asparagus soup it’s my new obsession!


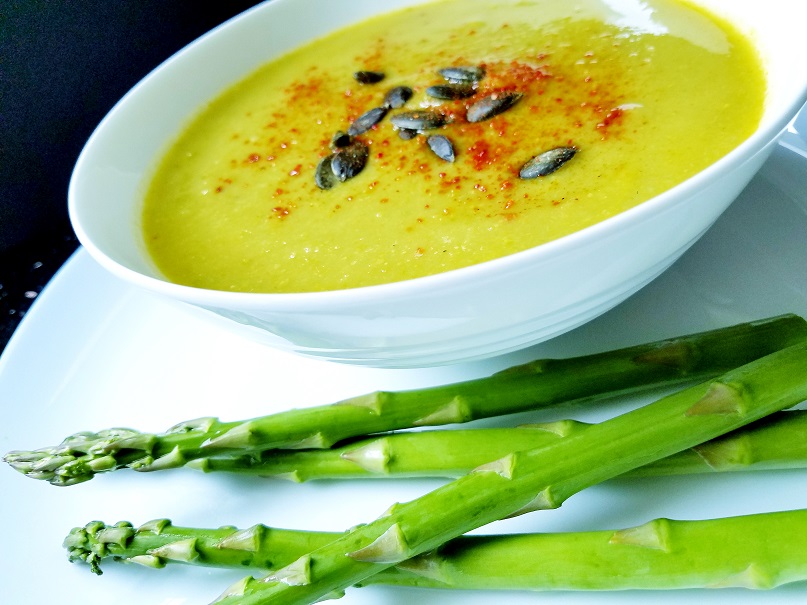
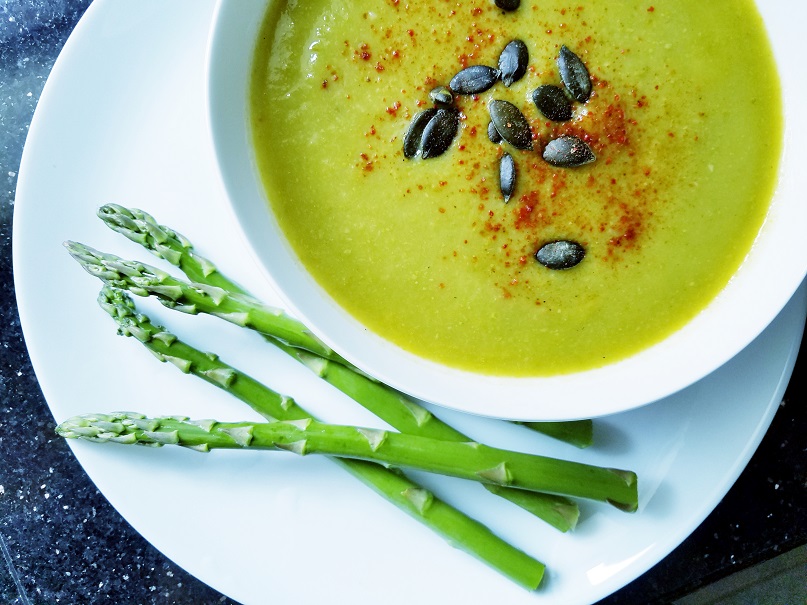
I know you’re wondering why creamy asparagus soup is my new obsession! I guess I have some explaining to do… Over the summer I went to a very popular restaurant for lunch with my sister in NYC. They served a 3 course prefix special, which if you can find in the city it’s your lucky day! As a first course, my sister ordered the sea bass kebabs, I ordered the asparagus soup (which I don’t think I have ever had) and this is where my obsession began. It was delicious. It was vegan yet so creamy, it was light yet satisfying and the flavor was full-on fresh asparagus. It was so good, my sister asked for a bowl to share it with me.

When I got back to Columbus it seemed it was all I could think about. While asparagus can be found year-round, its peak season is February to June with April being the prime month. Lucky for me asparagus seemed to be in abundance everywhere and super sweet. My recipe search began. I looked in cookbooks and online until I found something that might be close. The one I settled on is adapted from a Sara Moulton recipe.

As always, the first time I made it the way it was written, but then changed some things up a little. It’s so easy and comes together in less than an hour. It’s the kind of soup that’s fancy enough to serve at a dinner party, and simple enough you’ll want to make it all the time for everyday meals. It seems like I always have a container in my fridge and that’s because I do! In fact I had it for lunch today with some crumbled halibut on top leftover from dinner last night. Sometimes I add roasted asparagus tips or toasted pumpkin seeds. Sara adds croutons which I’m sure are delicious since croutons make everything better – am I right? New obsession number 2… Trader Joe’s chili lime seasoning which I sprinkled on top and added a nice little citrus little kick.

I can’t wait for you to try it… Enjoy!

Ingredients
2 pounds asparagus (about 1-1/2 bunches) rinsed very well
4 cups low-sodium vegetable broth
1 cup water
2 tablespoons extra-virgin olive oil
1 small diced sweet onion (about 1 cup)
1 small Yukon Gold potato (about 6 ounces), peeled and thinly diced
1 teaspoon kosher salt (or to taste)
2 teaspoons lemon juice
White pepper (I used ½ teaspoon)
Croutons, roasted asparagus tips, toasted nuts or diced herbs to serve on top

Directions
In an 8 quart saucepan over medium, heat the oil. Add the onion and cook until softened, about 5 minutes.

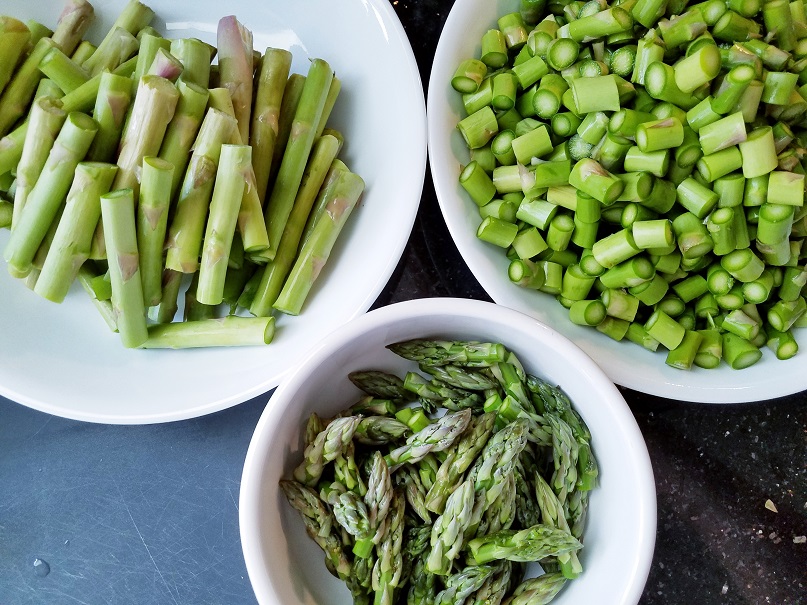
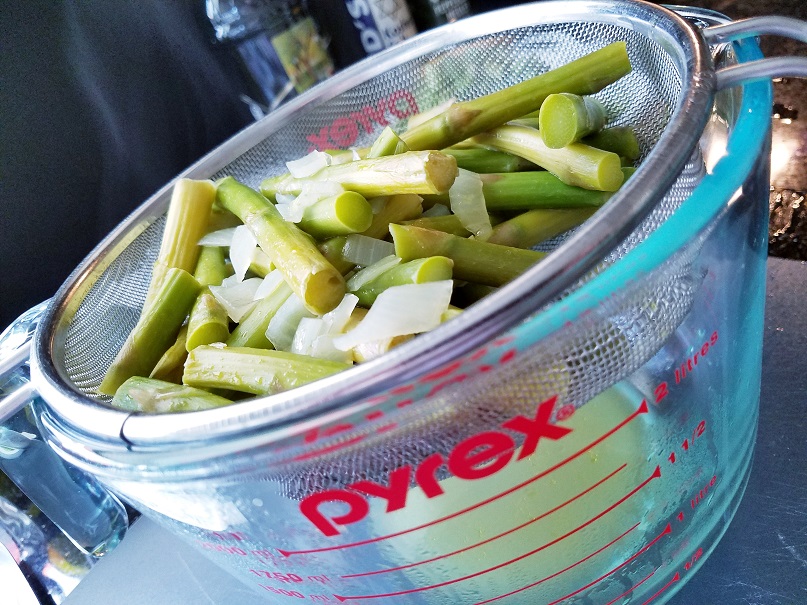
While the onions are cooking prep the asparagus… See photo for how to break the asparagus down. Snap or cut off the bottom woody ends of the asparagus. This is usually 1 to 2 inches. Then cut off the bottom tip of the woody end of the asparagus and discard. Keep the stem and set aside.

For the remainder of the stalk: cut off the tips of the asparagus and set them aside in a bowl, chop the stems into ½ inch lengths – set aside in another bowl.

When the onions have softened, add the broth and water and bring to a boil. Add the reserved woody ends to the liquid, bring back to a boil, reduce the heat and simmer for 15 minutes lightly covered.

Use a slotted spoon and take out the ends and place in a fine colander set over a bowl let cool about 5 minutes. While they are cooling, add the potatoes and salt to the stock and simmer until the potatoes are tender, 5 or 6 minutes.

Once cool, press on the asparagus ends to extract as much liquid as possible. Discard the ends. Place the liquid back into the soup pot. It’s okay if some onion comes along for the ride.

Add the chopped asparagus stalks, then bring the stock to a boil and simmer until the stems are blanched, about 5 minutes. Lastly, add the tips in and cook for another 5 minutes or until the tips are tender.

To puree

I used an immersion stick blender* which worked really well; blend until smooth. Stir in the lemon juice. Season with salt and pepper, and then continue cooking just until heated through uncovered for about 5 minutes. Divide between serving bowls and top each portion with topping of your choice.

*If you don’t have an immersion blender… working in batches, transfer the mixture to a blender and carefully blend until smooth, transferring the soup as it is pureed to an empty saucepan.

Thumb Cookies with a Kiss – a Hershey’s Kiss that is!

This is a repost of one of my absolute favorite cookie recipes. It’s an oldie but a goodie and super easy to put together! So if you are scrambling around and wanting to bake something quick, this is it.

With Valentine’s Day quickly approaching, (remember this is an old post) I wanted to send a Kiss from me to you, in the form of what else? A cookie! Thumb cookies with a kiss – A Hershey’s Kiss that is. I don’t have a long story to tell you about these cookies; I wish I did. If you are an avid reader of my blog, you’ll know from prior posts I don’t really celebrate Valentine’s Day. http://www.splashofsherri.com/2015/02/13/happy-valentines-day-how-do-you-tell-someone-you-love-them/ I do however celebrate cookies! Every year I use this week as an excuse to bake cookies nonstop and send them to people I love – as if I needed an excuse to do that!

These are a quickest cookies you will ever make; therefore, this will be the quickest post I will ever write so you can get right to it. They were one of my mom’s specialties, they melt in your mouth, are so easy to put together, very versatile and everyone loves them! You can fill them with a chocolate kiss (I prefer the dark chocolate but milk chocolate are great too) or or any kind of  jam you like.

The batter is not like any other cookie I have seen and calls for a very unusual ingredient – hard-boiled egg yolks. Yes, you read that correctly – hard-boiled egg yolks! The first time I made them, I was skeptical but they turned out great. The cookie is similar to shortbread and what I found is the egg yolk gives the cookie body and a special richness. My mom would mash the egg yolks very finely with a fork. I used a microplane but a fork worked for my mom and will work for you too!

If you need a tip on how to cook the perfect hard-boiled egg click on this link from a post I wrote two years ago. You definitely want a beautiful bright yellow yolk for these! http://www.splashofsherri.com/2014/09/16/the-perfect-hard-boiled-egg/

So if you love someone, and that someone could be you, whip up these cookies and give yourself a kiss – you deserve it! Enjoy!

Ingredients
2 cups all-purpose flour
3 hard-boiled egg yolks only (I used extra large)
½ cup sugar
2 sticks plus 1 tablespoon of butter softened at room temperature
1 teaspoon vanilla*
Pinch of Kosher salt
50 Hershey Kisses (I used dark chocolate – for heart health!)
Optional: Jam (your favorite flavor)**

Directions
Preheat the oven to 350 degrees. Prepare two cookie sheets with parchment paper and set aside.

Separate the eggs and set aside the whites of the eggs (you can save them to eat later). Cream together the butter, sugar and vanilla. Grate in the egg yolks and blend well. Then add the flour and pinch of salt mixing till combined.

Roll small balls of dough about 1” (approximately 2 teaspoons) and place on a cookie sheet lined with parchment paper about an inch apart. I used the smallest cookie scoop which holds 2 teaspoons so every cookie would come out the same size. Press down the center of the dough with the Hershey Kiss.

Bake on the center rack of the oven for 10 – 12 minutes turning the cookie sheet half way through the baking – don’t over bake them. This recipe makes 4 dozen cookies

*you can change the flavor of the cookie very easily by using a variety of different extracts. I have made them with almond extract and they taste amazing.

**If using jam, I like to use a Hershey’s Kiss to make the indentation but you can also use your thumb – hence the title – thumb cookie! Use about ½ to ¾ teaspoon of jam. Use any flavor you like. My favorite is raspberry or blackberry. Don’t overfill, they will run out of the center.


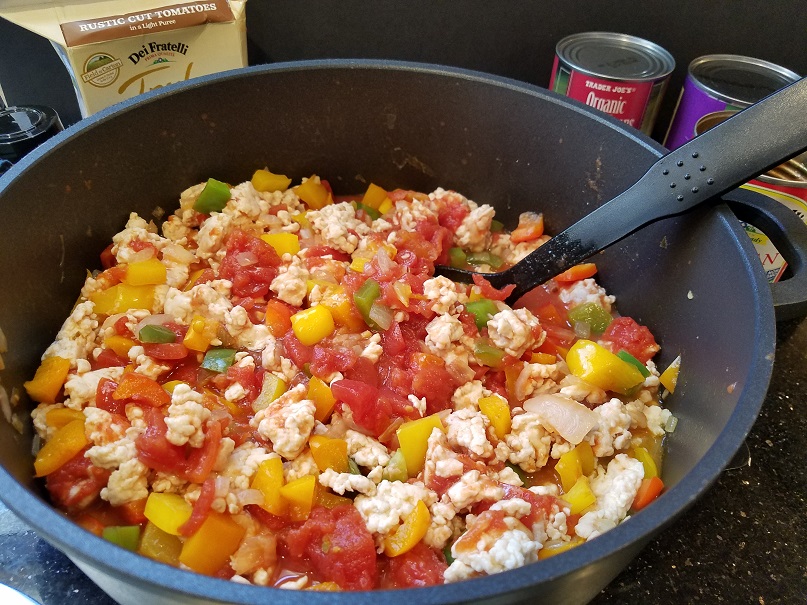
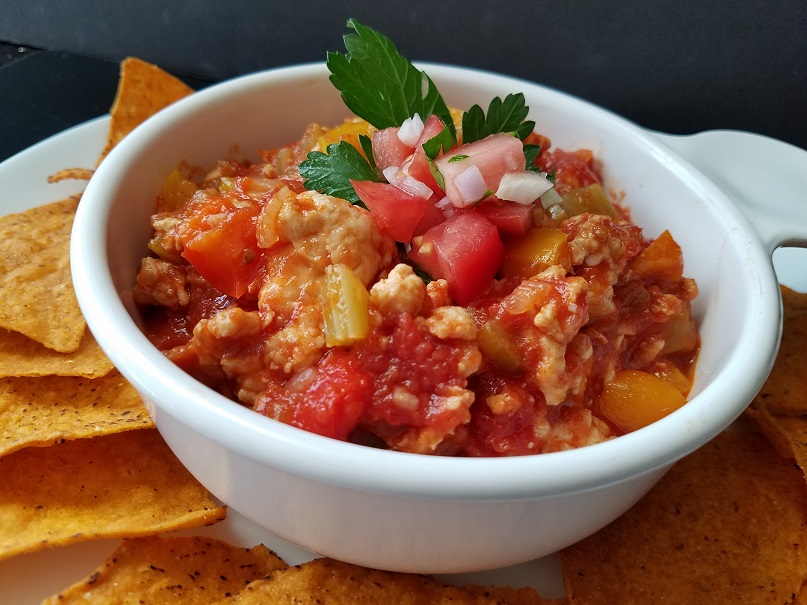
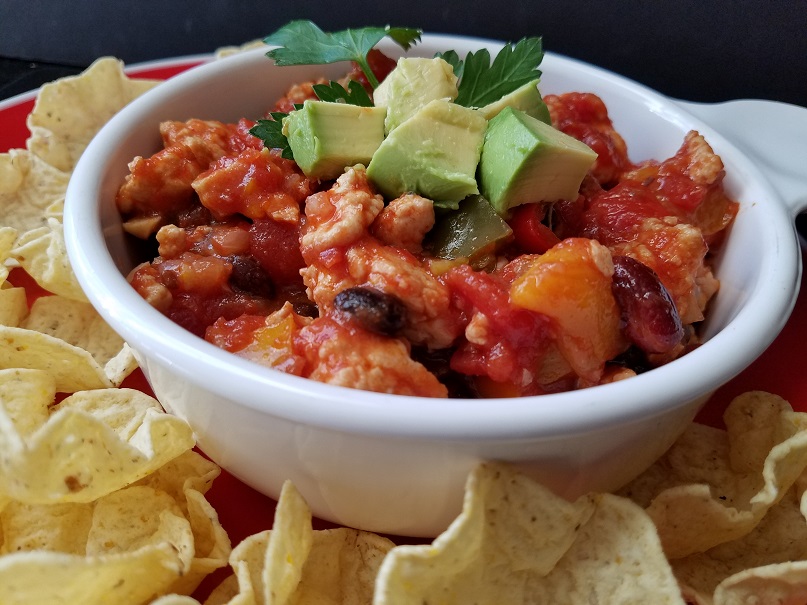
Turkey Chili 2 Ways – with Beans and Without Olé!


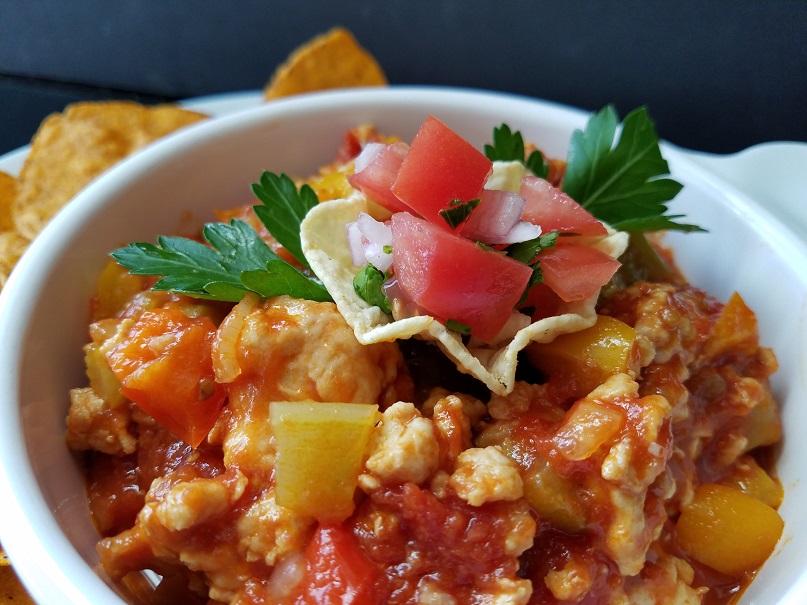
Happy Monday everyone! It has been absolutely freezing cold here in Columbus the past few days so what better meal to have than a nice hot bowl of turkey chili. You can make it two ways: with beans or without! Olé


For the first 25 years of my life I didn’t know what chili was. I know, tough to believe, but I grew up in Florida so I should get a pass on that! When it felt like 100 degrees in the shade most of the year, ice cream sodas and pool parties – YES! Hot spicy chili – not so much! I’m sure there are people, who eat chili in Florida, but I wasn’t one of them and it certainly wasn’t in my mother’s recipe box.
When I moved to New York, a whole new culinary world opened up to me. Among the many recipes I have tried, these are among my favorites: brisket, white chicken, vegetarian, eggplant, and of course this turkey chili. And yes, I will get the eggplant chili recipe up soon – it’s amazing!

How did I come up with this recipe? When my boys were young, I didn’t cook very often; they kept me pretty busy. In NY you can find great prepared kosher food everywhere. My local butcher made the best turkey chili I had ever had (it was also the only turkey chili I had ever had!). Also, the only chili I had ever had! In the winter I would pick up a container at least once a week and my whole family loved it. I added some corn bread, chips, guacamole (before avocado was the “it” food, and a salad which made for an amazing meal.
One day I brought some home and it was so spicy we couldn’t eat it. Although I called and asked if they changed the recipe, they said they had not. The next time I bought it, it was still too spicy so I made it my mission to figure out how to make it myself. I took the spicy container of chili, spread it out on a plate and wrote down all of the ingredients I could see and taste, analyzed it, and attempted to recreate it. I have to say, after a couple of tries, mine was a much improved version and I can make it as spicy as I want it to be!
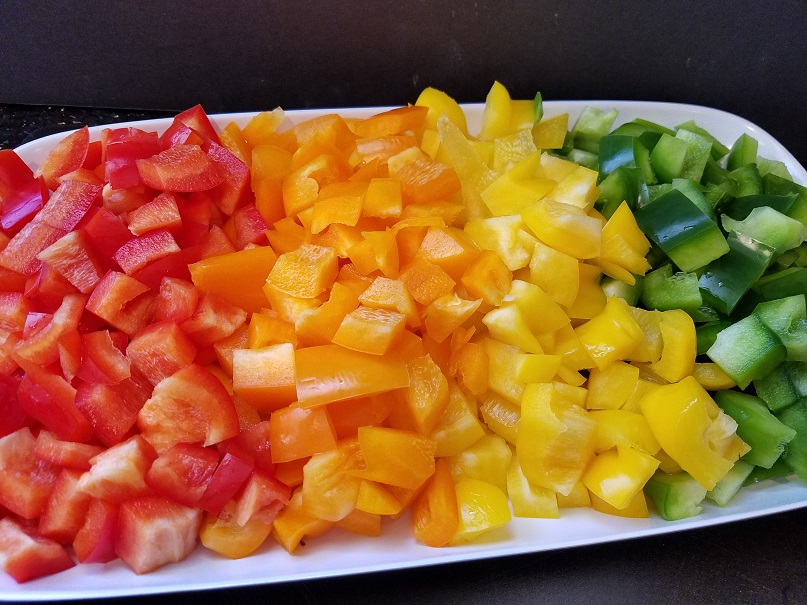
One thing I added was a rainbow of peppers. The original only had green and red, but I wanted to boost the amount of vegetables and color of the dish; they add such a nice sweetness. My other change was to make it white meat only, although you can use a combination of both, it’s personal preference. This is such a great recipe to have on hand. It cooks in just about an hour and the leftovers are great. It freezes well and can be used in so many ways. Of course it’s amazing as chili, it can also be served in a taco shell and I have been known to wrap it up in a flour tortialla, add guacamole, shredded lettuce and tomato an make a burrito!
It’s healthy, easy and so delicious and now that I live in a cold climate a nice hot bowl of chili and shoveling the driveway – yes, pool parties – not so much but an ice cream soda every now and then is just fine! Add a salad, cornbread, guacamole, salsa and chips to the table and your party begins – Olé!

Enjoy!

This recipe makes 10 to 12 servings

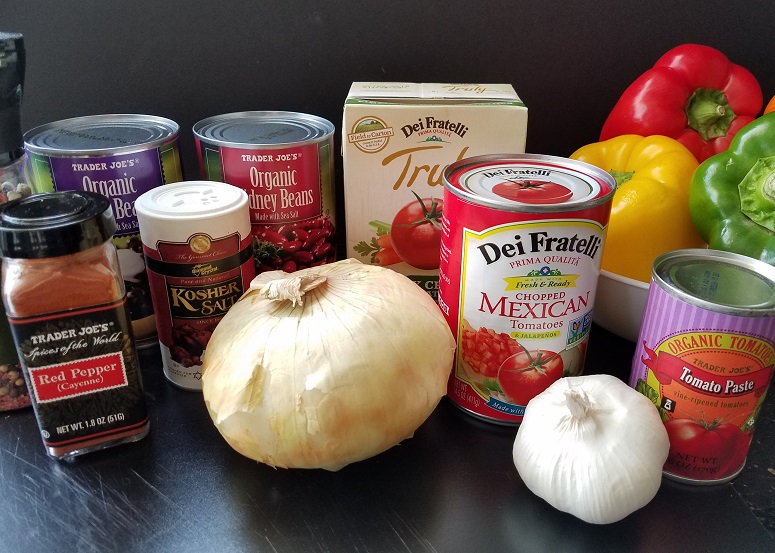
Ingredients:
2 – 2 ½ pounds white meat turkey chopped meat (or a combination of both white/dark)
1 large sweet onion diced
2 tablespoons olive oil divided
1 red pepper cut in a large dice approx. ¾” pieces
1 yellow pepper cut in a large dice approx. ¾” pieces
1 green pepper cut in a large dice approx. ¾” pieces
6 stalks of celery diced
1 (15 ounce) can black beans drained and rinsed (for bean version)
1 (15 ounce) can red kidney beans drained and rinsed (for bean version)
1 (14-½ ounce) can zesty diced tomatoes seasoned with mild chilies
1 (28 ounce) can chopped or stewed tomatoes
1 small can tomato paste
6 to 8 large garlic cloves minced
1/2 teaspoon chili powder (more or less to taste)
1 teaspoon cayenne pepper (more or less or to taste)
1 teaspoon salt (or to taste)
1 teaspoon pepper (or to taste)

optional toppings: diced avocado, pico de gallo, crushed chips, diced onion

Directions:
In a large frying pan add 1 tablespoon of olive oil and heat on medium-low then add the ground turkey. Break it up as you cook it. Once it is just cooked through, turn the heat off, drain it and set aside.

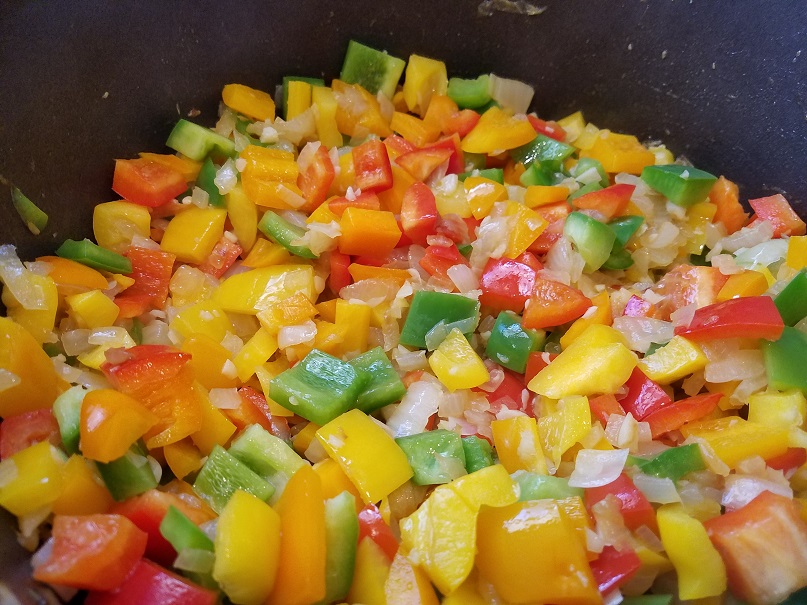
Into a large stock pot add 1 tablespoon of olive oil and heat on medium-low, then add the diced onion. Cook until just until translucent (about 5 to 8 minutes). Add the garlic, celery, and all of the diced peppers. Stir until combined. Allow to cook for about 5 to 10 minutes then add the cooked turkey. Mix the turkey with the vegetables.

Add the tomatoes and the tomato paste, mix well. Cover and cook for about 30 to 45 minutes on a low simmer until it’s just bubbling, the peppers are tender and everything has become one. Add your salt, pepper, chili powder, and cayenne to taste.

At this point, the non-bean version is done. If you are team bean add the beans and cook about another 30 minutes or so stirring occasionally.