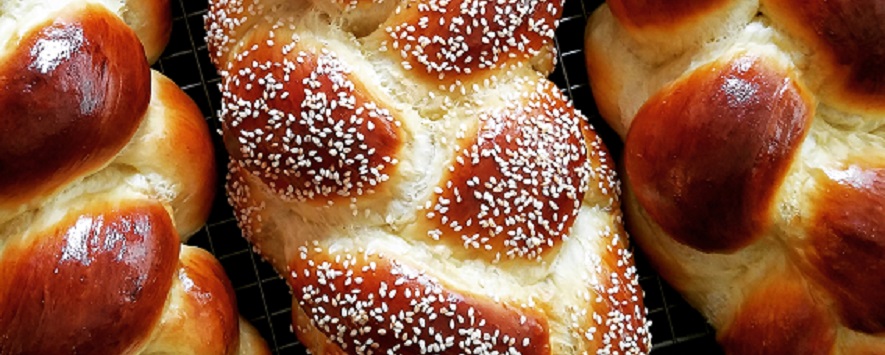
funfetti challah with sprinkles

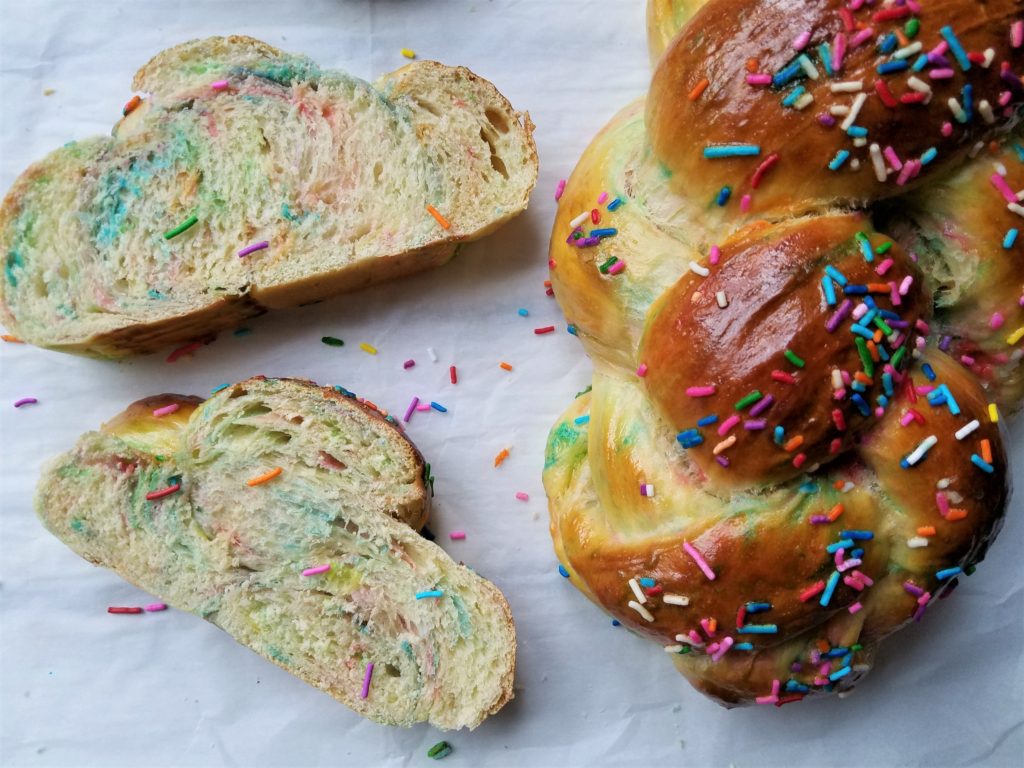
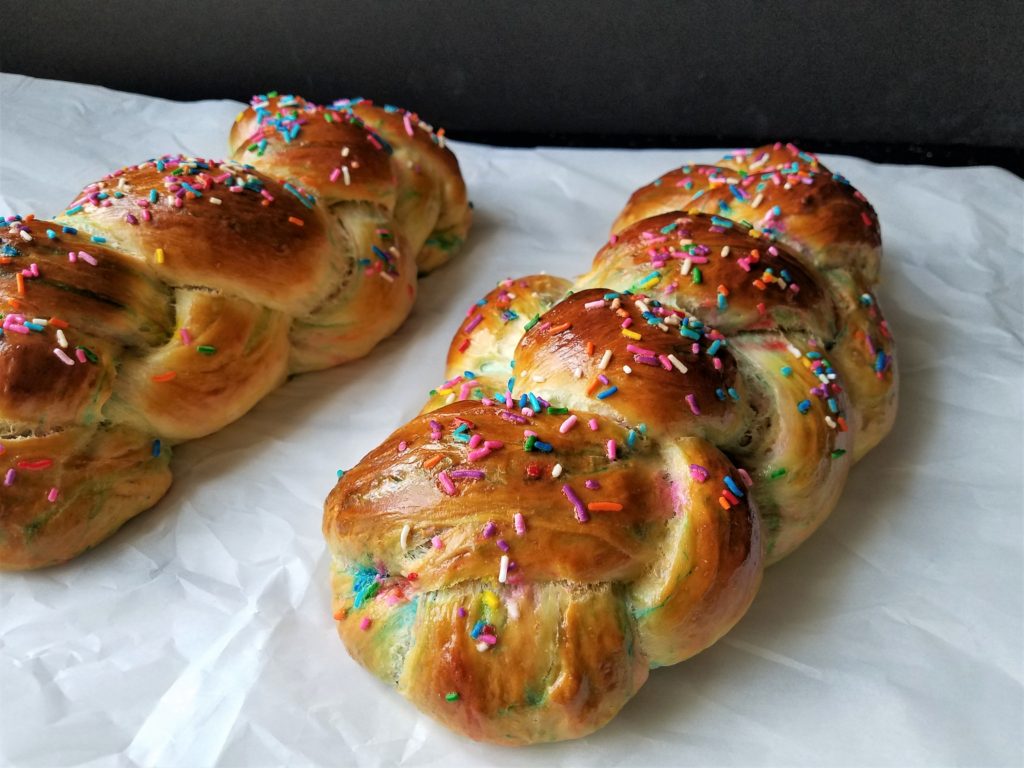
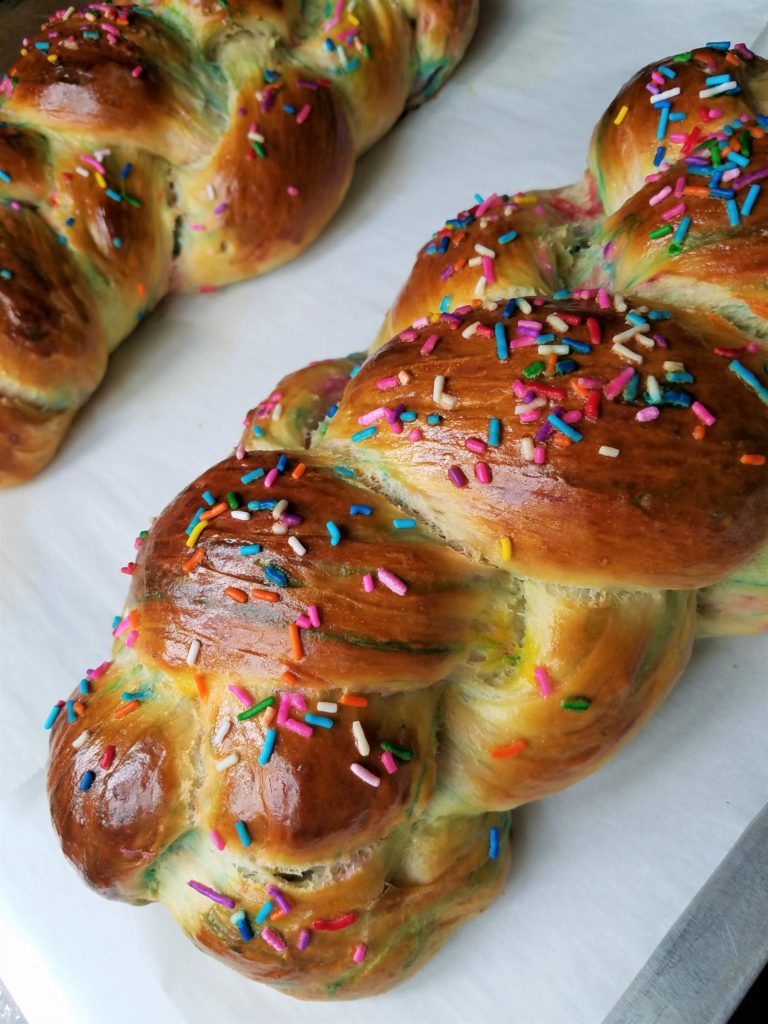
What do you get when you mix a ton of colorful rainbow sprinkles with challah dough? A funfetti challah with sprinkles that’s as delicious as it is beautiful, perfect for Pride Shabbat (or any Shabbat really!) and to keep the party going made even more delicious on Sunday when turned into French toast! When you slice into it, there’s a gorgeous watercolor effect that happens where the sprinkles melt into the dough. Don’t you just love sprinkles and the magic they create? Not to mention the smiles they bring!
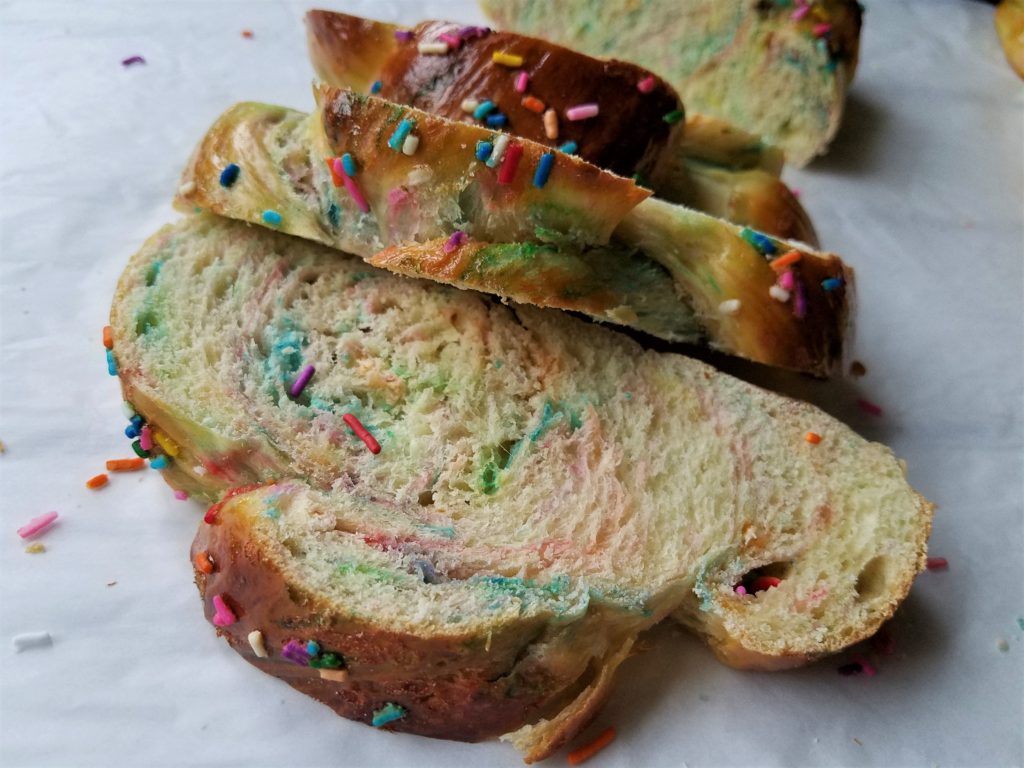
I’d like to tell you I have a great story for why I added sprinkles to my challah like maybe my bubbie worked in a sprinkle factory, but I don’t. She did work in a bakery though. I was asked to make a video for a rainbow challah for Pride Shabbat, but it’s such a potchke (Yiddish meaning something that’s fussy). I suggested doing a demo for a funfetti challah with sprinkles instead. I knew most of the people viewing would be first time or novice bakers and I wanted them to have a successful experience they would feel proud of. Baking bread can be a little intimidating, and I didn’t want to overwhelm anyone.
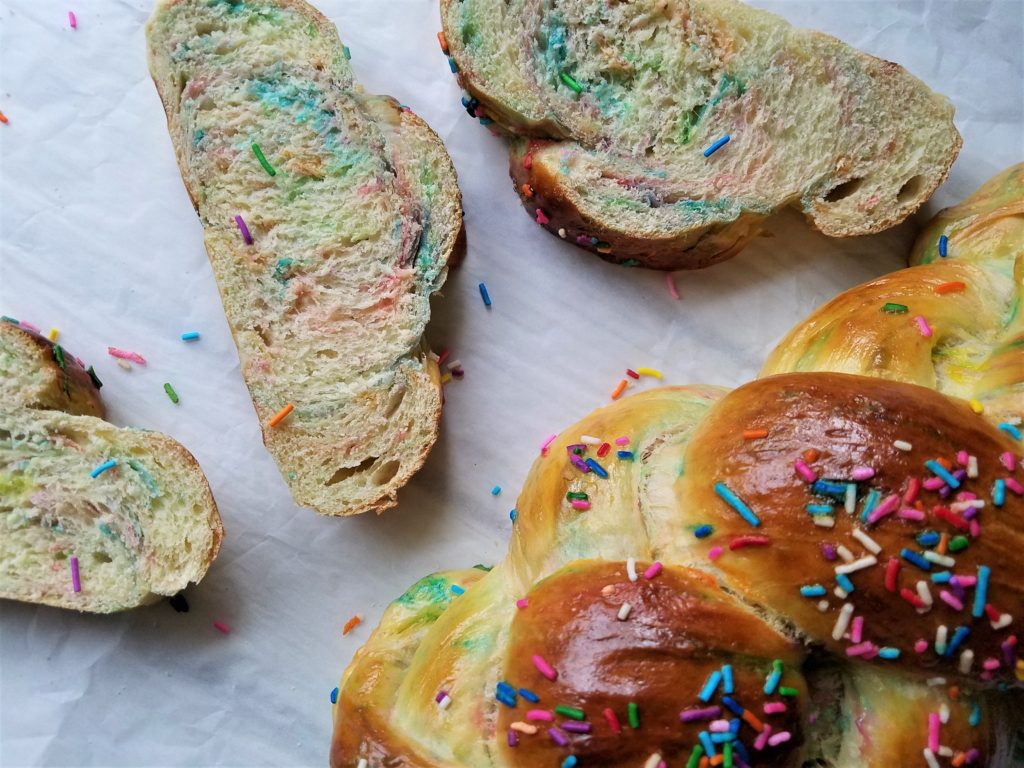
That’s what inspired me to make this gorgeous watercolor challah for Pride and of course anytime you want to put a smile on someones face. It’s a fun and colorful way to grace your table. Fyi, the sprinkles I use are from Sweetapolita.com. They are crisp and crunchy, not waxy like store bought. Full disclosure, I’m a sprinkle snob! More about that later, in the meantime – Enjoy!
ingredients
1 cup warm water
2 teaspoons active dry yeast
1/3 cup sugar plus a pinch for the yeast
¼ vegetable oil (I use extra light olive oil)
2 extra-large eggs* plus 1 additional egg yolk (large will be fine too)
2 teaspoons vanilla extract
4 to 4 ½ cups all-purpose flour
3/8 cup rainbow sprinkles plus more for sprinkling on top
1 tablespoon fine kosher salt
egg wash
1 egg, splash of water, pinch of salt and pinch of sugar beaten together.

directions:
In a large mixing bowl (or bowl of a stand mixer with the paddle attachment) add 1 cup warm water and yeast plus a pinch of sugar and stir. Let sit 5 to 10 minutes or until it bubbles. If your yeast doesn’t bloom (bubble), it is not fresh and your bread won’t rise.  Start again if this happens.

Add the sugar, eggs, oil and salt and mix. Gradually add the flour 1 cup at a time and mix after each addition. After the addition of 3 ½ cups, add in the sprinkles. Then continue to add flour until the dough comes away from the sides and is no longer sticky. That’s when you know it has enough flour.

I mix the dough by hand and then when it’s time to knead it, I knead it right in the same bowl. That’s the way I learned and it keeps the mess down. Knead the dough for 5 minutes or until the dough springs back when touched.

Add a little oil around the sides of the bowl and rub a little on the dough, cover the bowl with plastic wrap, and let the dough rise for at least one hour or until doubled in size.

Punch down the dough to get the air bubbles out and divide into 2 pieces. Divide each piece into 3 pieces (you will have 6 pieces total) roll each piece into a snake-like shape. Braid 3 strands together to make one loaf and place on a sheet pan lined with parchment paper. Brush each challah with egg wash and let rise for 1 hour in a warm place.

30 minutes before ready to bake, set oven rack to the center of the oven and preheat to 350 degrees. Before placing in the oven, brush with egg wash again and sprinkle the top with rainbow sprinkles.

Bake at 350 for 20 to 25 minutes or until light golden brown. It’s done when golden brown and sounds hollow when you tap on the bottom. You can also use a cake tester or bamboo stick to check for doneness.

*I always bake with extra-large eggs. My mother did and I find I get great results. Ina Garten, the Barefoot Contessa, does as well and if it’s okay with Ina, it’s okay for me! If you only have large eggs, that will be just fine. Your recipe may take a bit less flour.
banana bread waffles

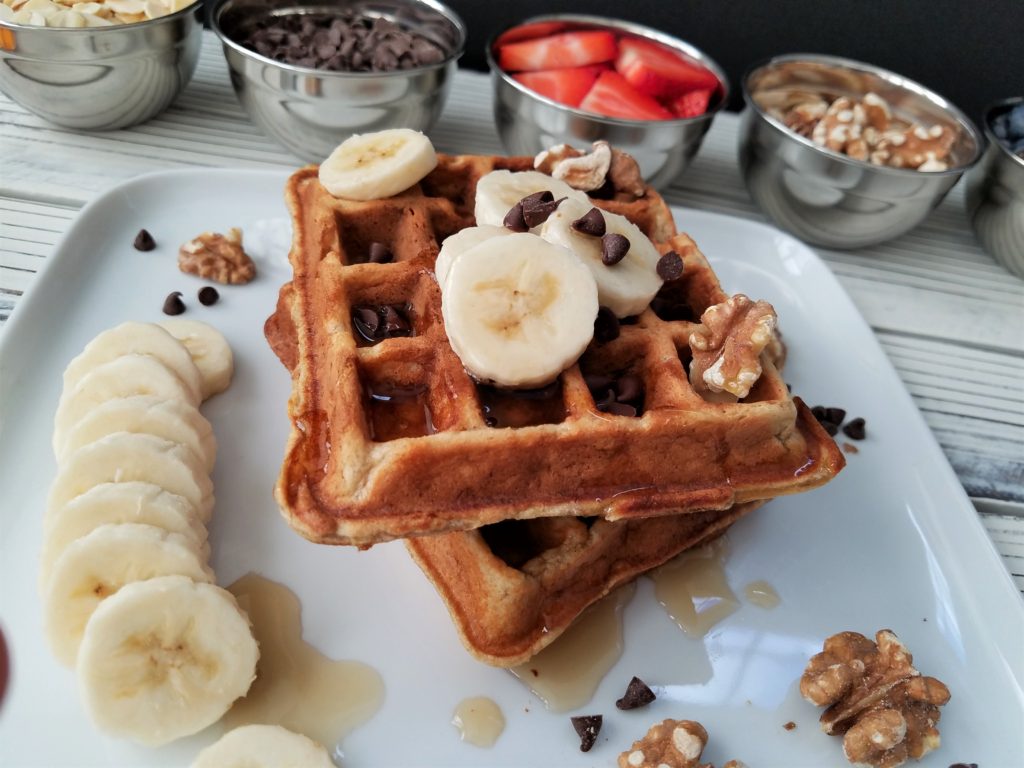
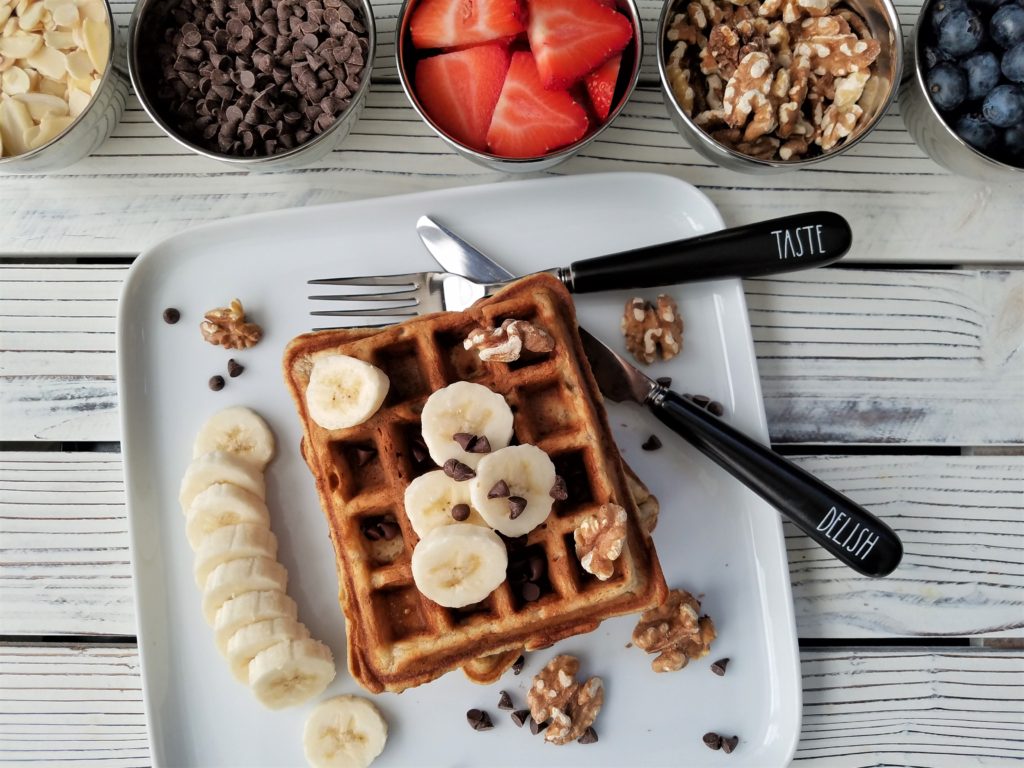
I’m about to turn your breakfast world upside down with my creation of banana bread waffles! You read that right Banana bread WAFFLES! It’s no secret banana bread was the official baked good during Covid-19 and hand up – I’m guilty and have baked dozens. At one point, when my son saw me about to bake yet another banana bread, I think he went pale! After splashing a little water on his face I asked “what am I going to do with all of these bananas?” Of course I freeze a lot for smoothies, but at the rate I have been buying them I still had plenty left over.

banana bread waffle

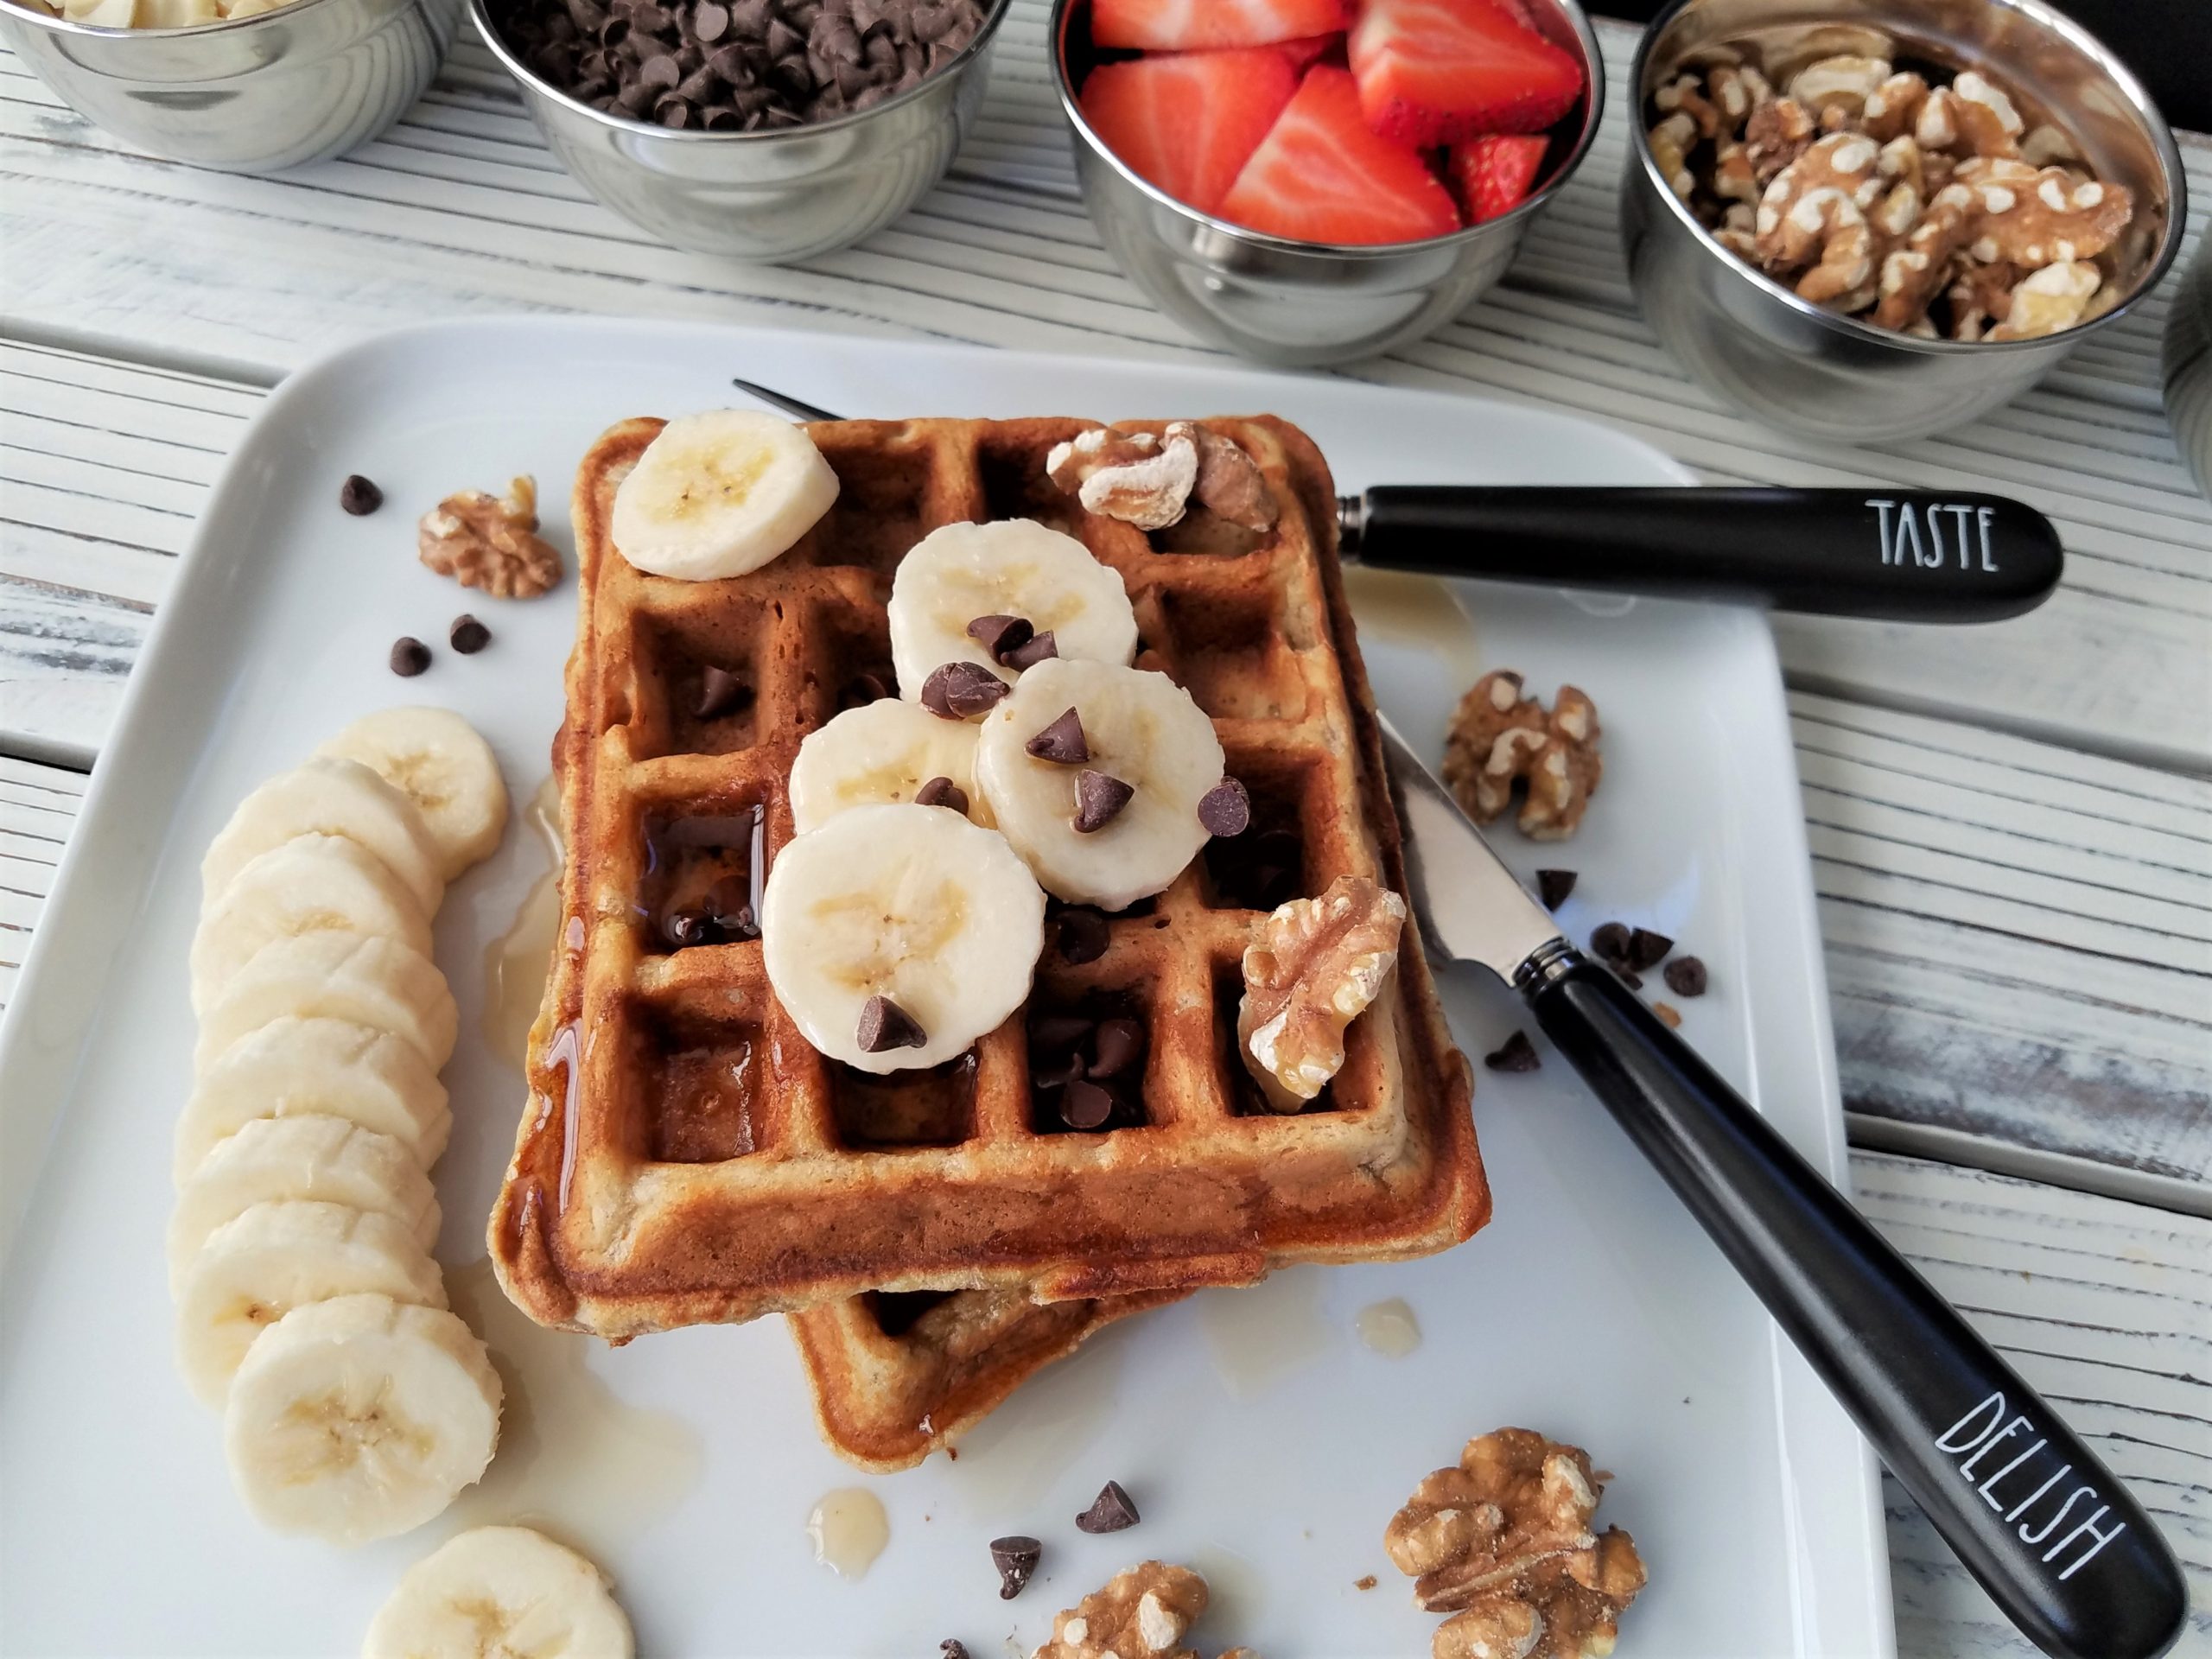
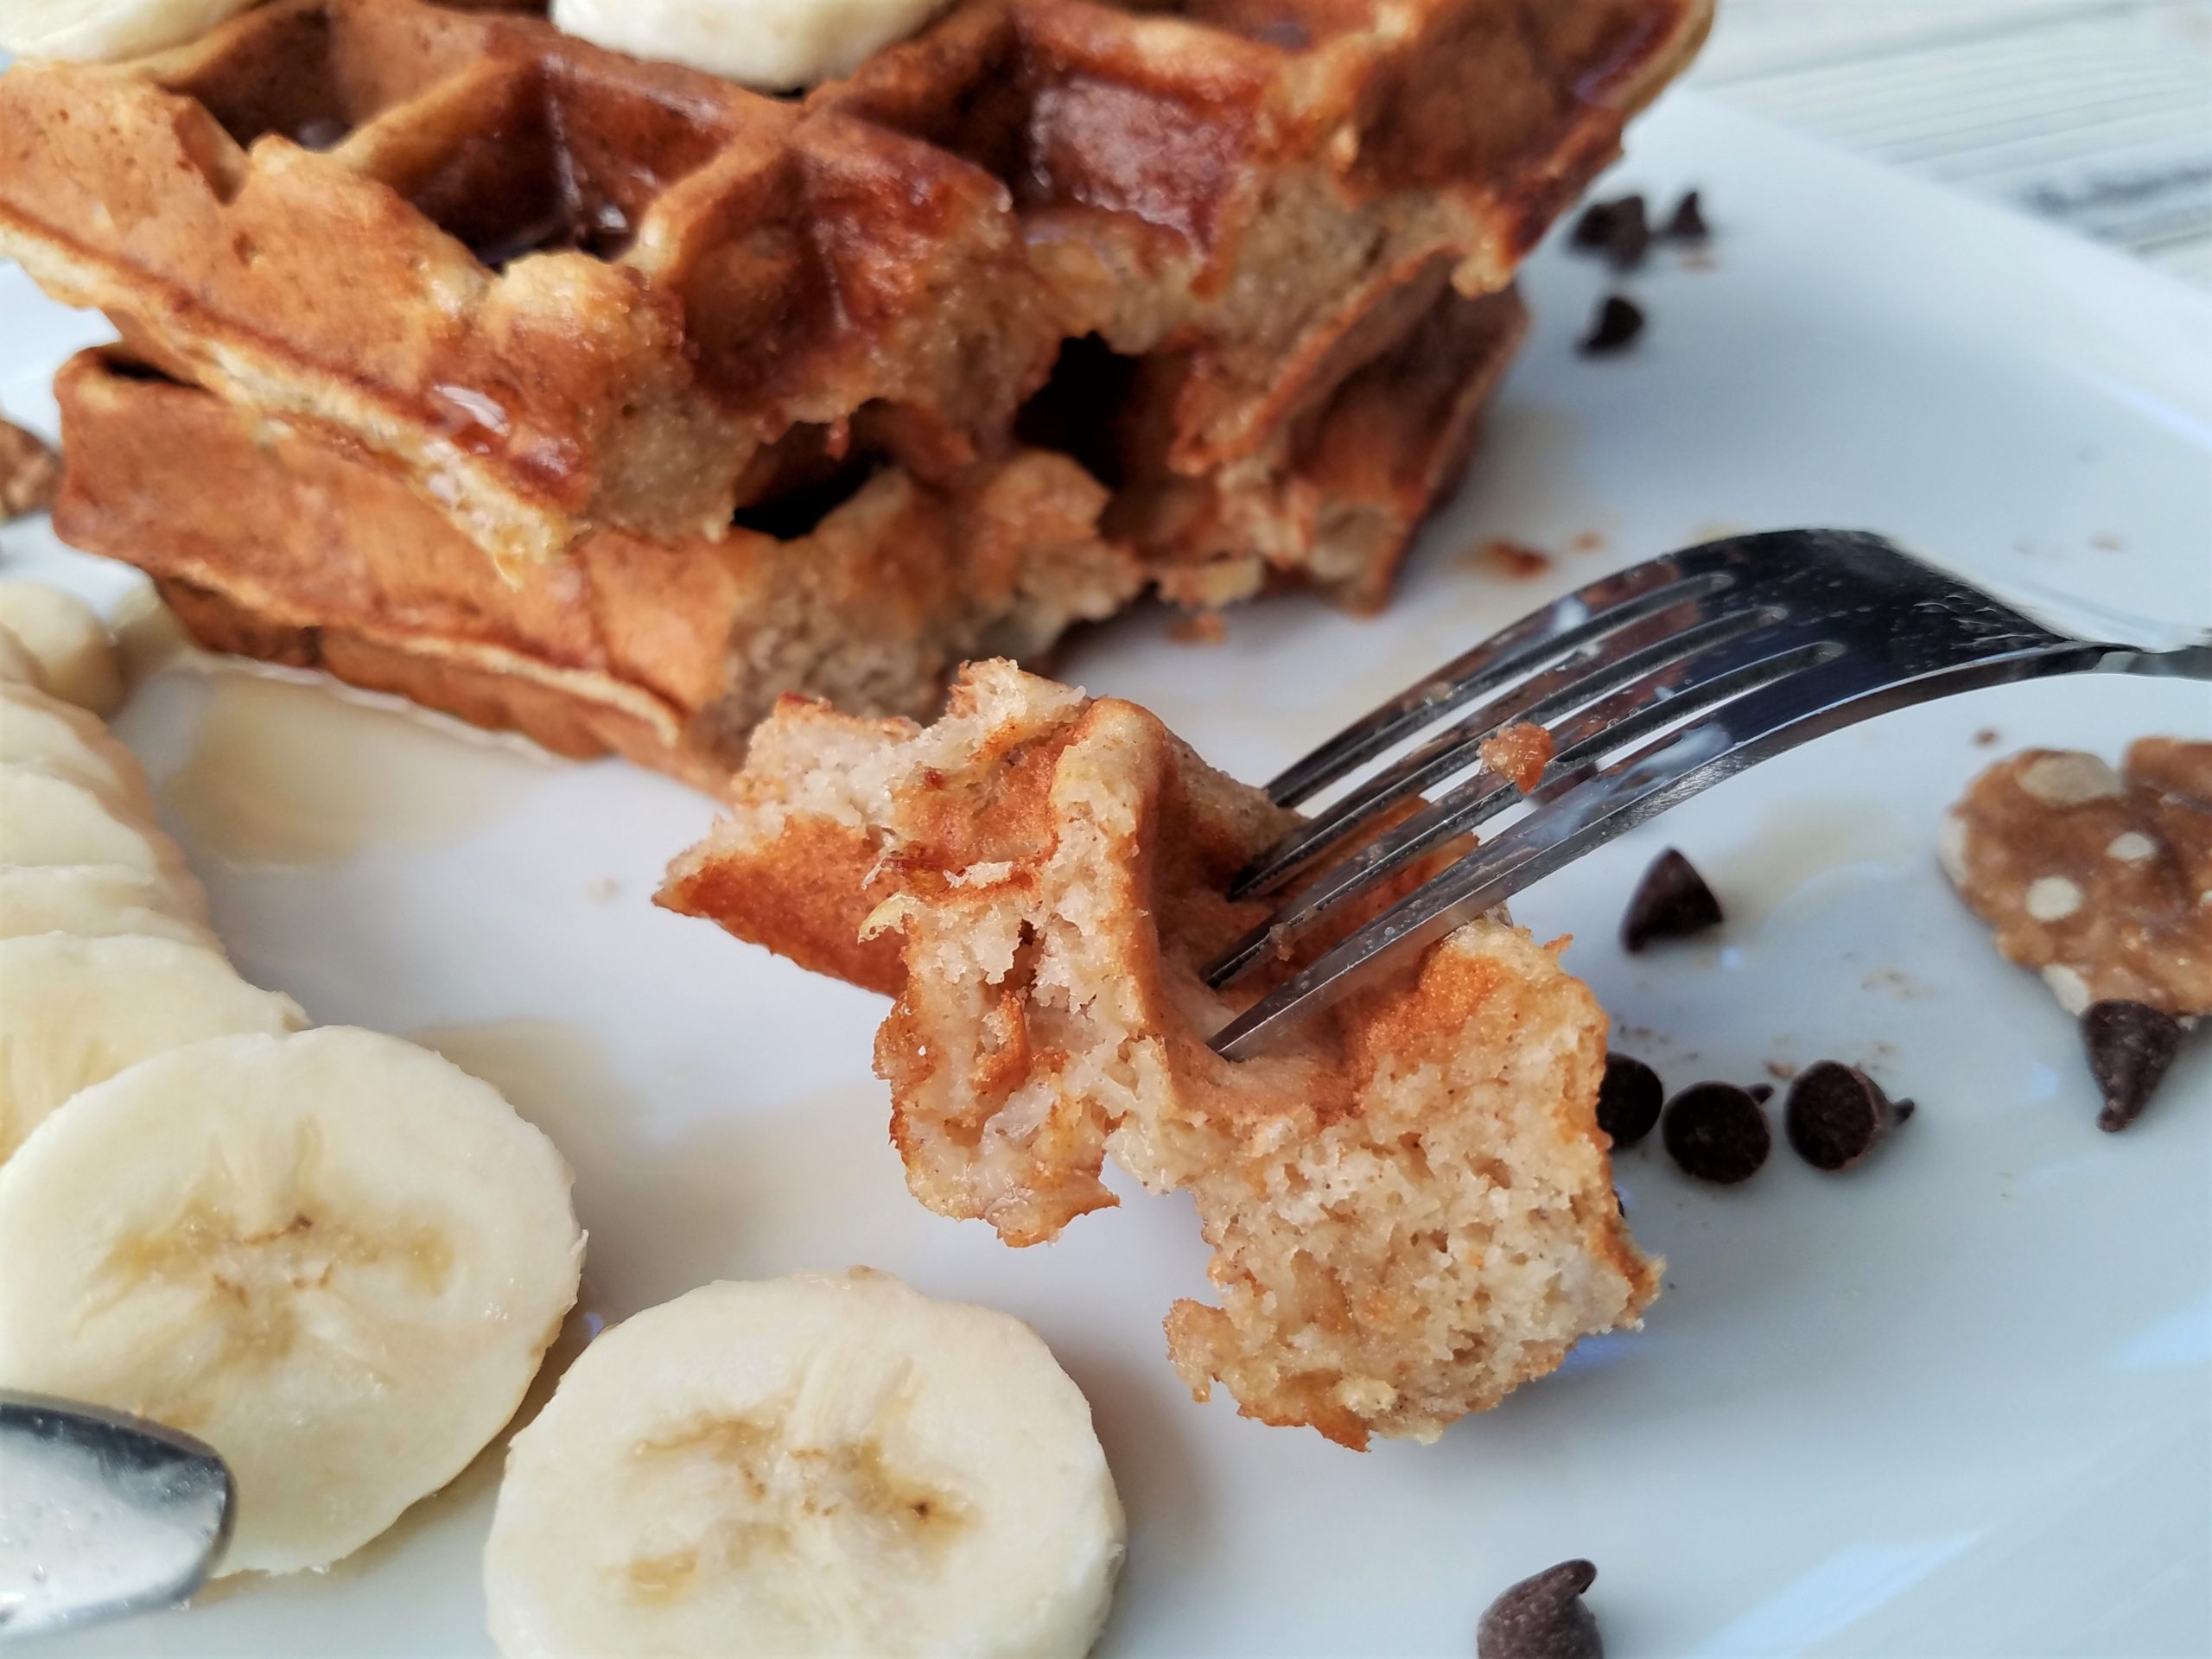
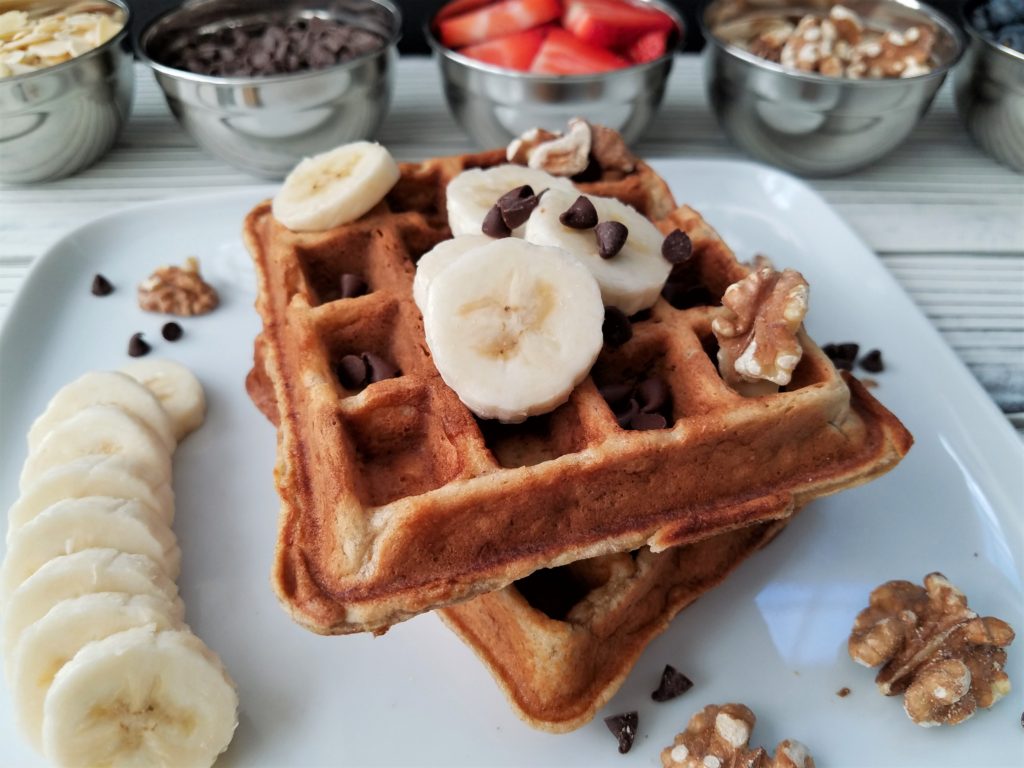
Since I already had the ingredients out for the bread, I said okay, how about banana bread waffles? His eyes lit up and this is how a recipe is born! I took my mom’s banana bread recipe (which we love) and tweaked a couple of things. I grabbed my waffle iron to see how they would come out, SUPER YUMMMMMMMY – that’s how! The waffles have everything you love about banana bread; they are naturally sweet from the bananas, soft and cakey like banana bread on the inside, and slightly crispy on the outside like a waffle.

banana bread waffle

When I served them I turned it into a party and set out a topping bar with sliced bananas (because why not?), fresh blueberries, toasted walnuts, sliced almonds, chocolate chips, strawberries, and maple syrup. Toppings always make everything better, don’t you think? Get creative with yours and set out what you like. You can also add finely chopped walnuts or mini chips right to the batter.

banana bread waffles

Here’s the best part, now that little by little we are all taking steps to get back to life outside our homes, you can have your banana bread in a fraction of the time. Start to finish breakfast is ready in less than 30 minutes. If you’re still looking for something special to make Dad for breakfast/brunch today this is it! These are perfect anytime you want to make breakfast or brunch a little bit more special. The recipe makes 8 waffles depending on your waffle iron, you can them warm in the oven until ready to eat, and they freeze great, but I don’t think there will be leftovers! What are you waiting for? Start mashing some of those bananas on your counter! As always, Enjoy! And happy Father’s Day!

banana bread waffles

ingredients
1 ½ cups all-purpose unbleached flour
1 ½ teaspoon baking powder
½ teaspoon baking soda
3/4 teaspoon salt
2 to 3 large ripe bananas (1 cup mashed a little more will be fine)
2 extra-large eggs at room temperature
¼ cup sugar
½ cup Greek yogurt or low-fat sour cream
2 tablespoons melted butter
1 teaspoon vanilla extract
chopped walnuts (optional)
mini chocolate chips (optional)

directions
In a large bowl add all the flour, baking powder, baking soda and salt. Whisk to blend together and set aside. If you are going to add any of the optional ingredients like the walnuts or chocolate chips, add them to the flour mixture.

In a second bowl add the mashed banana, yogurt, eggs, sugar and butter and mix until well blended. Fold the dry ingredients into the wet and mix just until blended. Do not over mix.

I used a waffle iron with four squares using about a half cup batter in each well and yielded 9 waffles. Follow your waffle iron directions and cook accordingly.

spinach and cheese pie

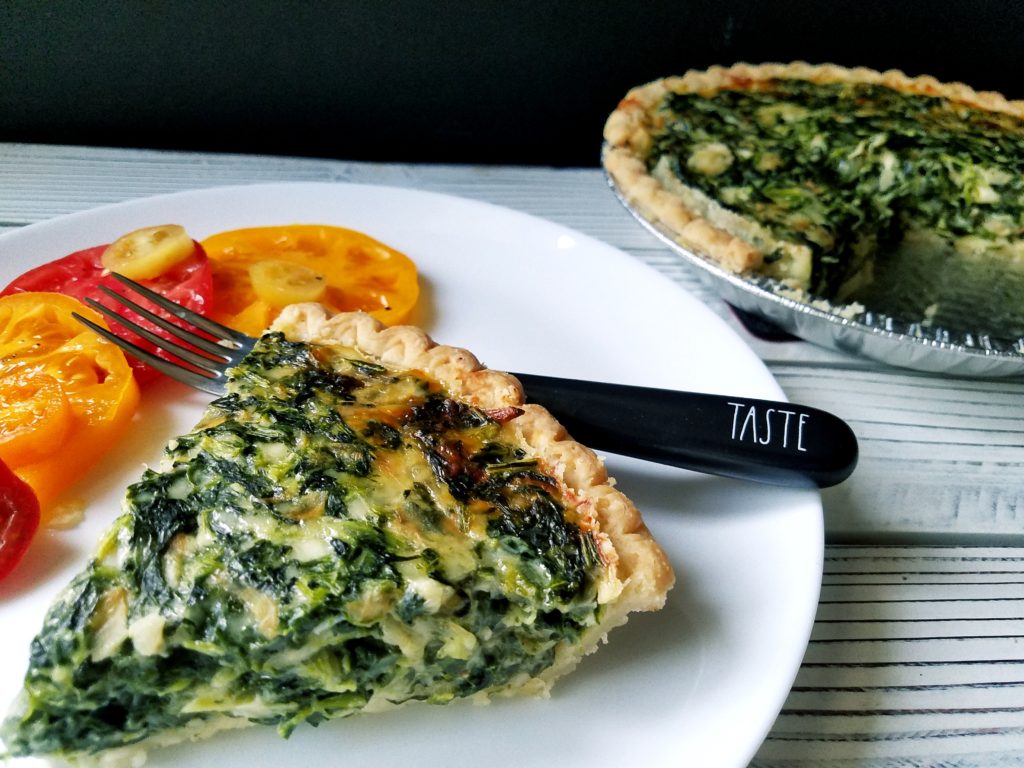
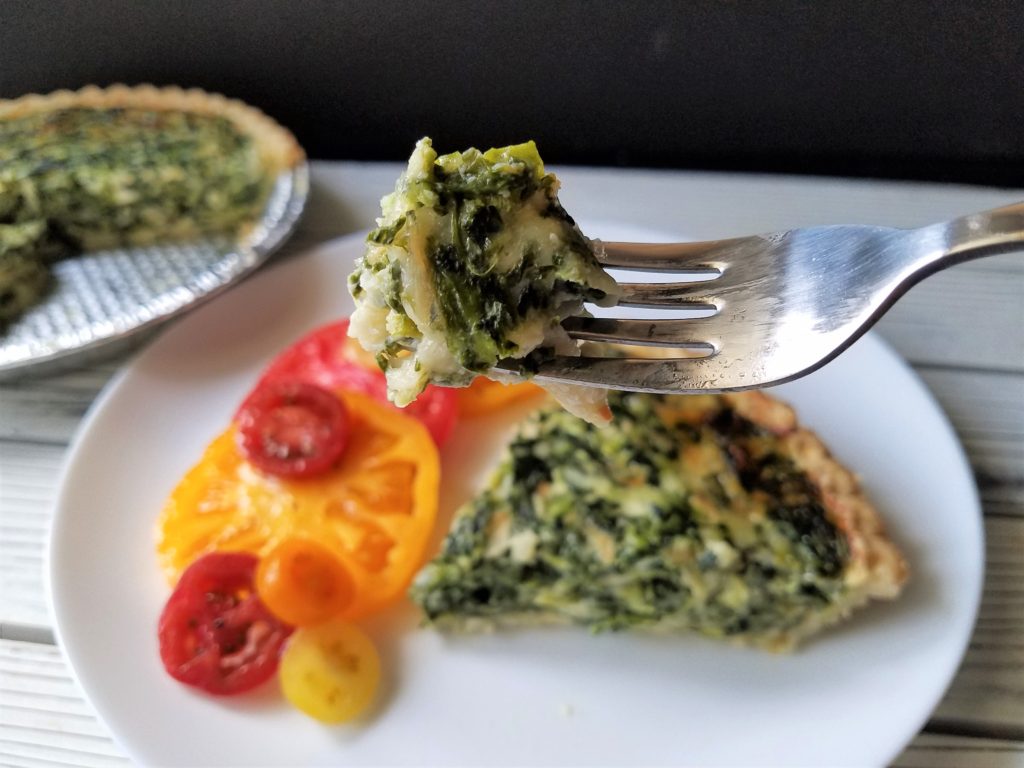
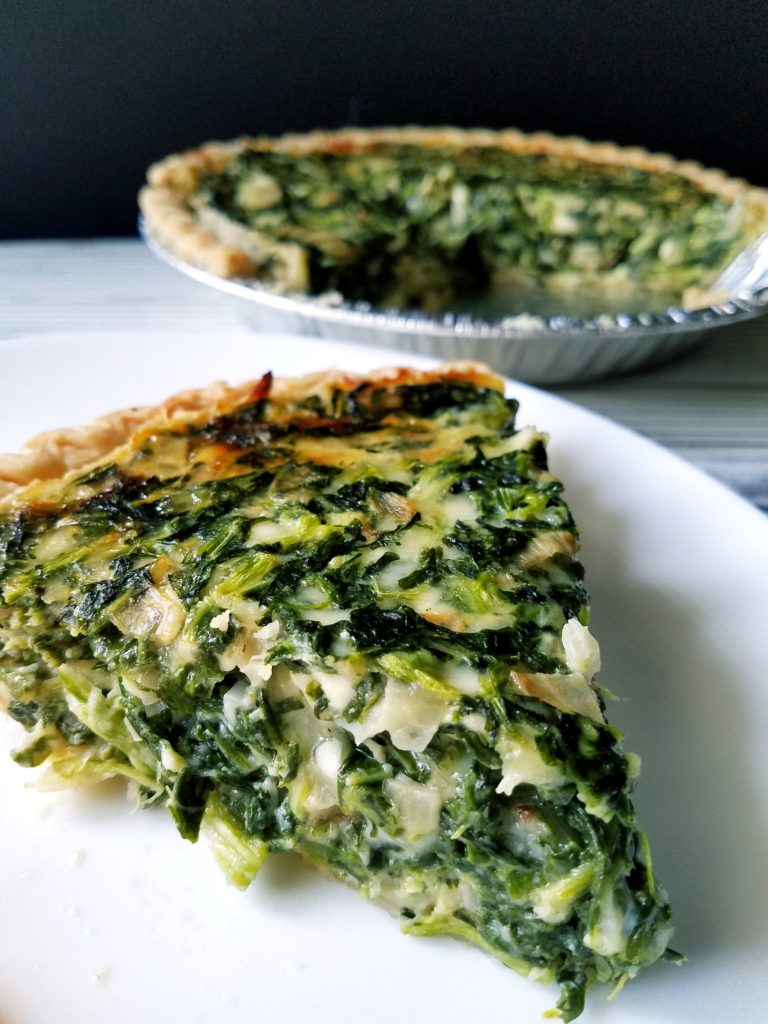
I have made over 300 spinach and cheese pies in my lifetime! This is just a rough estimate after some fast math. I wasn’t too surprised at that number, it’s a little more! It’s one of those recipes that’s not only a winner in my eyes, but also gets rave reviews from everyone who tries it – especially my family! If you have been to my house for brunch or Yom Kippur break-fast, chances are you’ve had it. If you invite me to brunch and ask me to bring something, this is what comes with me. It’s a lower calorie version of quiche but is rich and delicious with added cheesy goodness!. By using only egg whites it’s also lower in cholesterol, but you definitely don’t miss anything.

Spinach pie came into my life by way of my husband’s Aunt Cynthia. Whenever we would visit, the minute you stepped onto her porch you could smell it baking. It quickly became a favorite of mine and definitely a 10 with my family. With only 6 ingredients it comes together so quickly. I use store bought pie crust but if you want to bake yours from scratch, go for it. The pie is loaded with spinach or as Aunt Cynthia calls them, luscious greens, and that’s something I always have in my freezer. The only cooking is caramelizing the onions which takes about 35 to 40 minutes. Caramelized onions are my addition to the pie from the original recipe and they add a nice sweetness.

This recipe is a winner! It’s perfect for new cooks, super easy, a great vegetarian main dish, looks beautiful, freezes well and everyone loves it! Even the non-spinach fans enjoy it. It’s a family favorite any way you slice it – get it? Any way you slice it!!!!!! If you celebrate the Jewish holiday of Shavout* one of the customs is to eat dairy foods. My spinach and cheese pie will definitely be on my table tonight and I hope on yours! Enjoy!

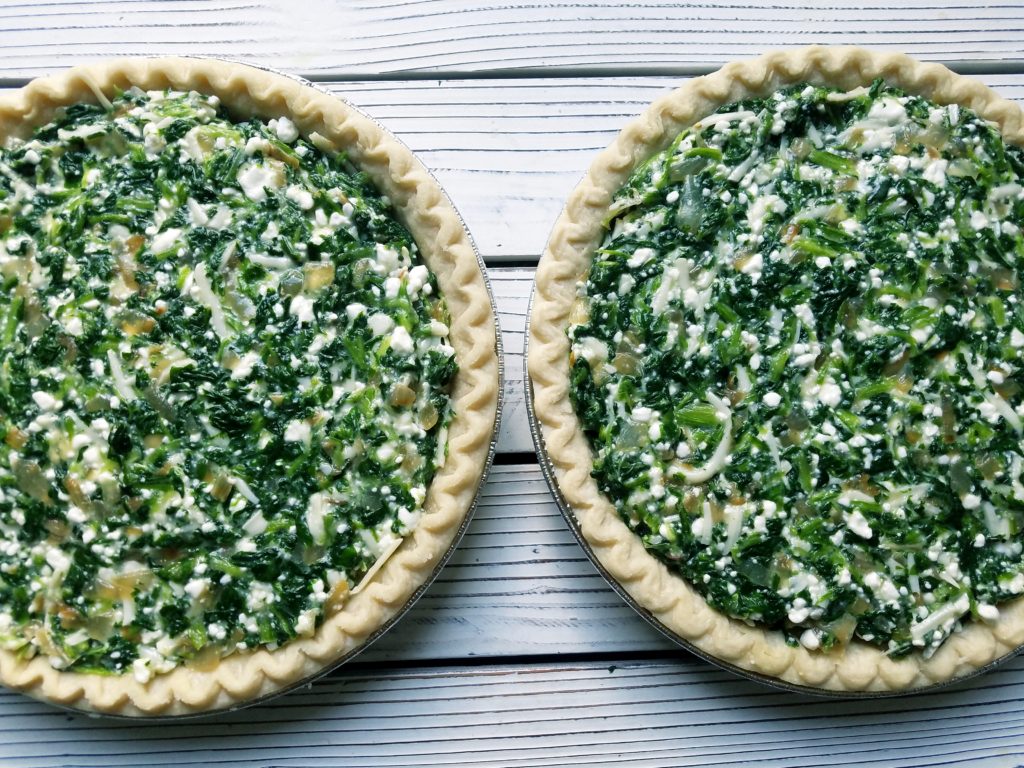
pies before baking
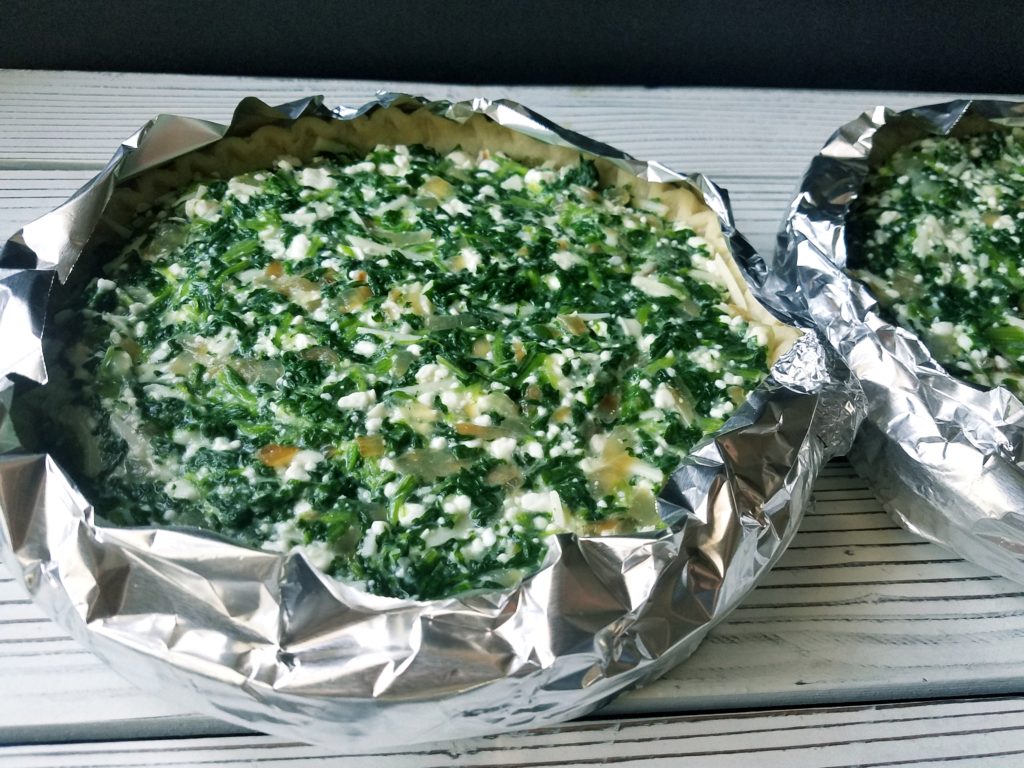
if you don’t have pie shields (which I don’t) to protect the crust from burning,
cut thin strips of aluminum foil and crimp it around the pie.
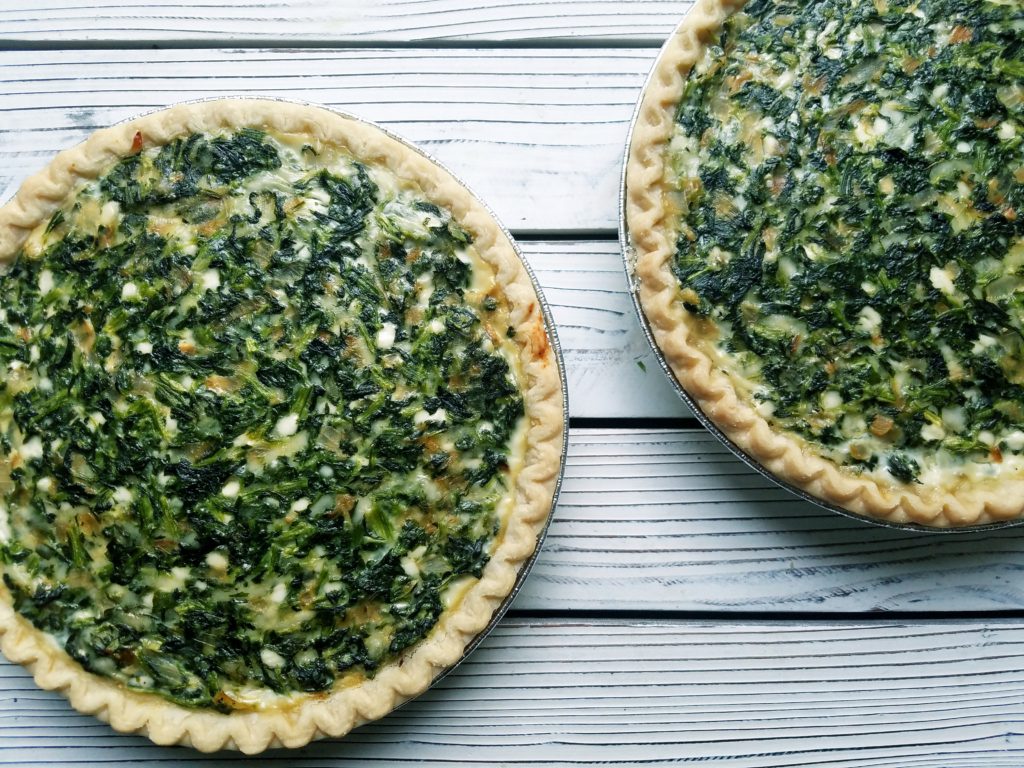
delicious pies hot out of the oven

ingredients
2 pre-baked 9” pie shells
2 (16 ounce) bags of frozen chopped spinach defrosted
2 large onions finely diced and sautéed
1 tablespoons olive oil (to sauté onions)
16 ounces low fat cottage cheese
8 egg whites from extra-large eggs (if using large eggs, use 10 egg whites)
1 cup shredded low-fat Swiss cheese (or regular if you like)
1 cup shredded low-fat cheddar cheese (or regular if you like)
Salt and pepper to taste (I use approximately 1 tsp. salt and 1 tsp. pepper)

directions
Into a large pan on medium heat, add onions and sauté in olive oil with a pinch of salt until golden (not brown) and then let them cool a little. This should take about 35 to 40 minutes.

Bake the pie shells according to directions on the package.

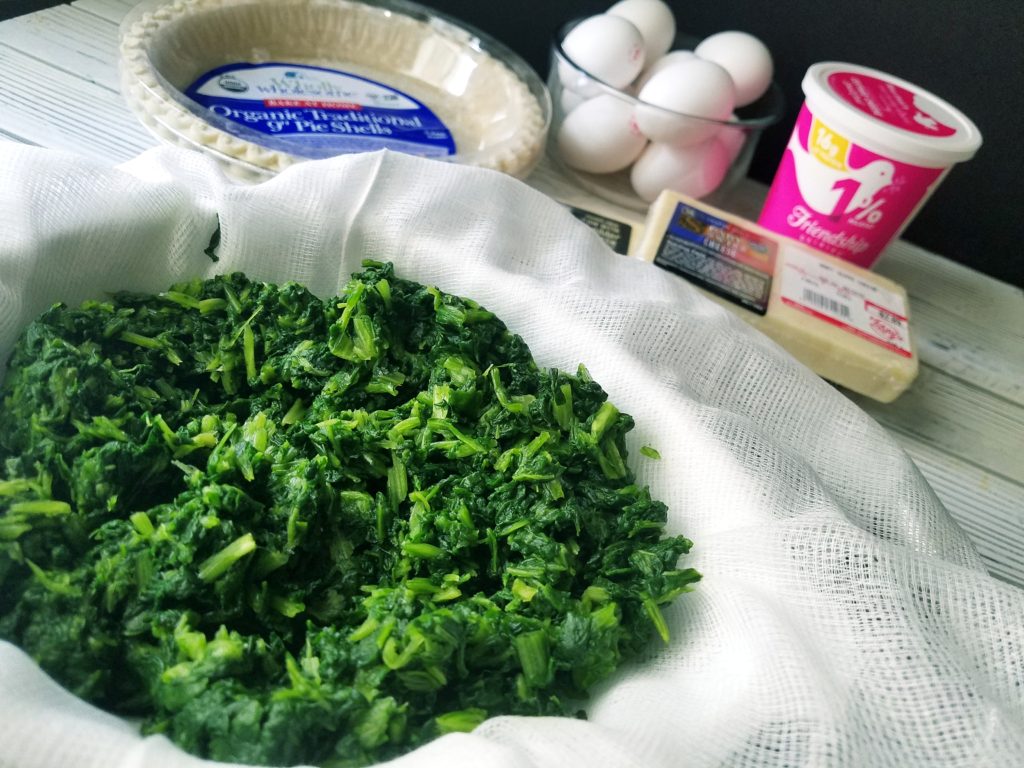
Take the defrosted the spinach and squeeze out any water. Drain in a strainer and press as much liquid out as possible. A cheesecloth works really well for this step. If you don’t have cheesecloth, paper towel will work as well. Place it in a large 5 quart bowl and set aside.

To the spinach, add the onion mixture and cheeses. In a separate bowl, add the egg whites and beat with a fork to break them up then add to the spinach mixture and stir well. Add salt and pepper to taste. Mix thoroughly and divide evenly into the pre-baked pie shells.

Use aluminum foil to create a tent around the rim of the pie crust so it doesn’t burn. Bake at 350 degrees for 45 minutes or until the filling is set and firm in the center of the pie. 

*Shavout is more than a holiday we eat a lot of dairy foods! For more information about the holiday of Shavout check out one of my favorite websites My Jewish Learning

incredible chocolate chip coffee cake

incredible chocolate chip coffee cake with a ridiculous amount of sour cream

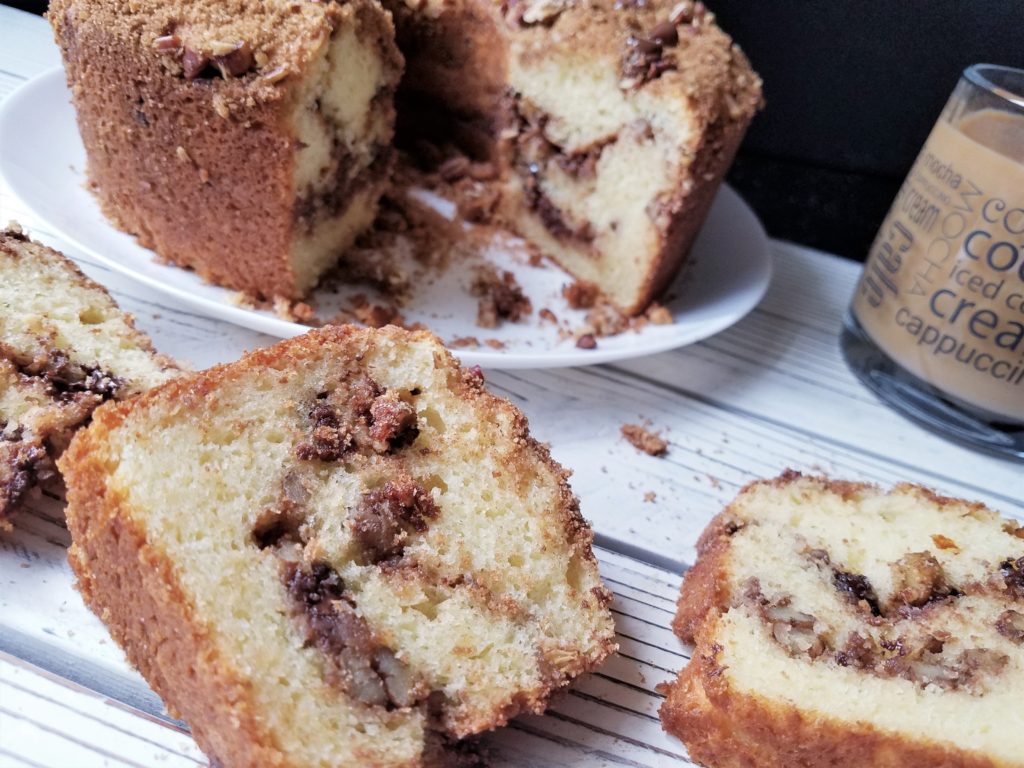
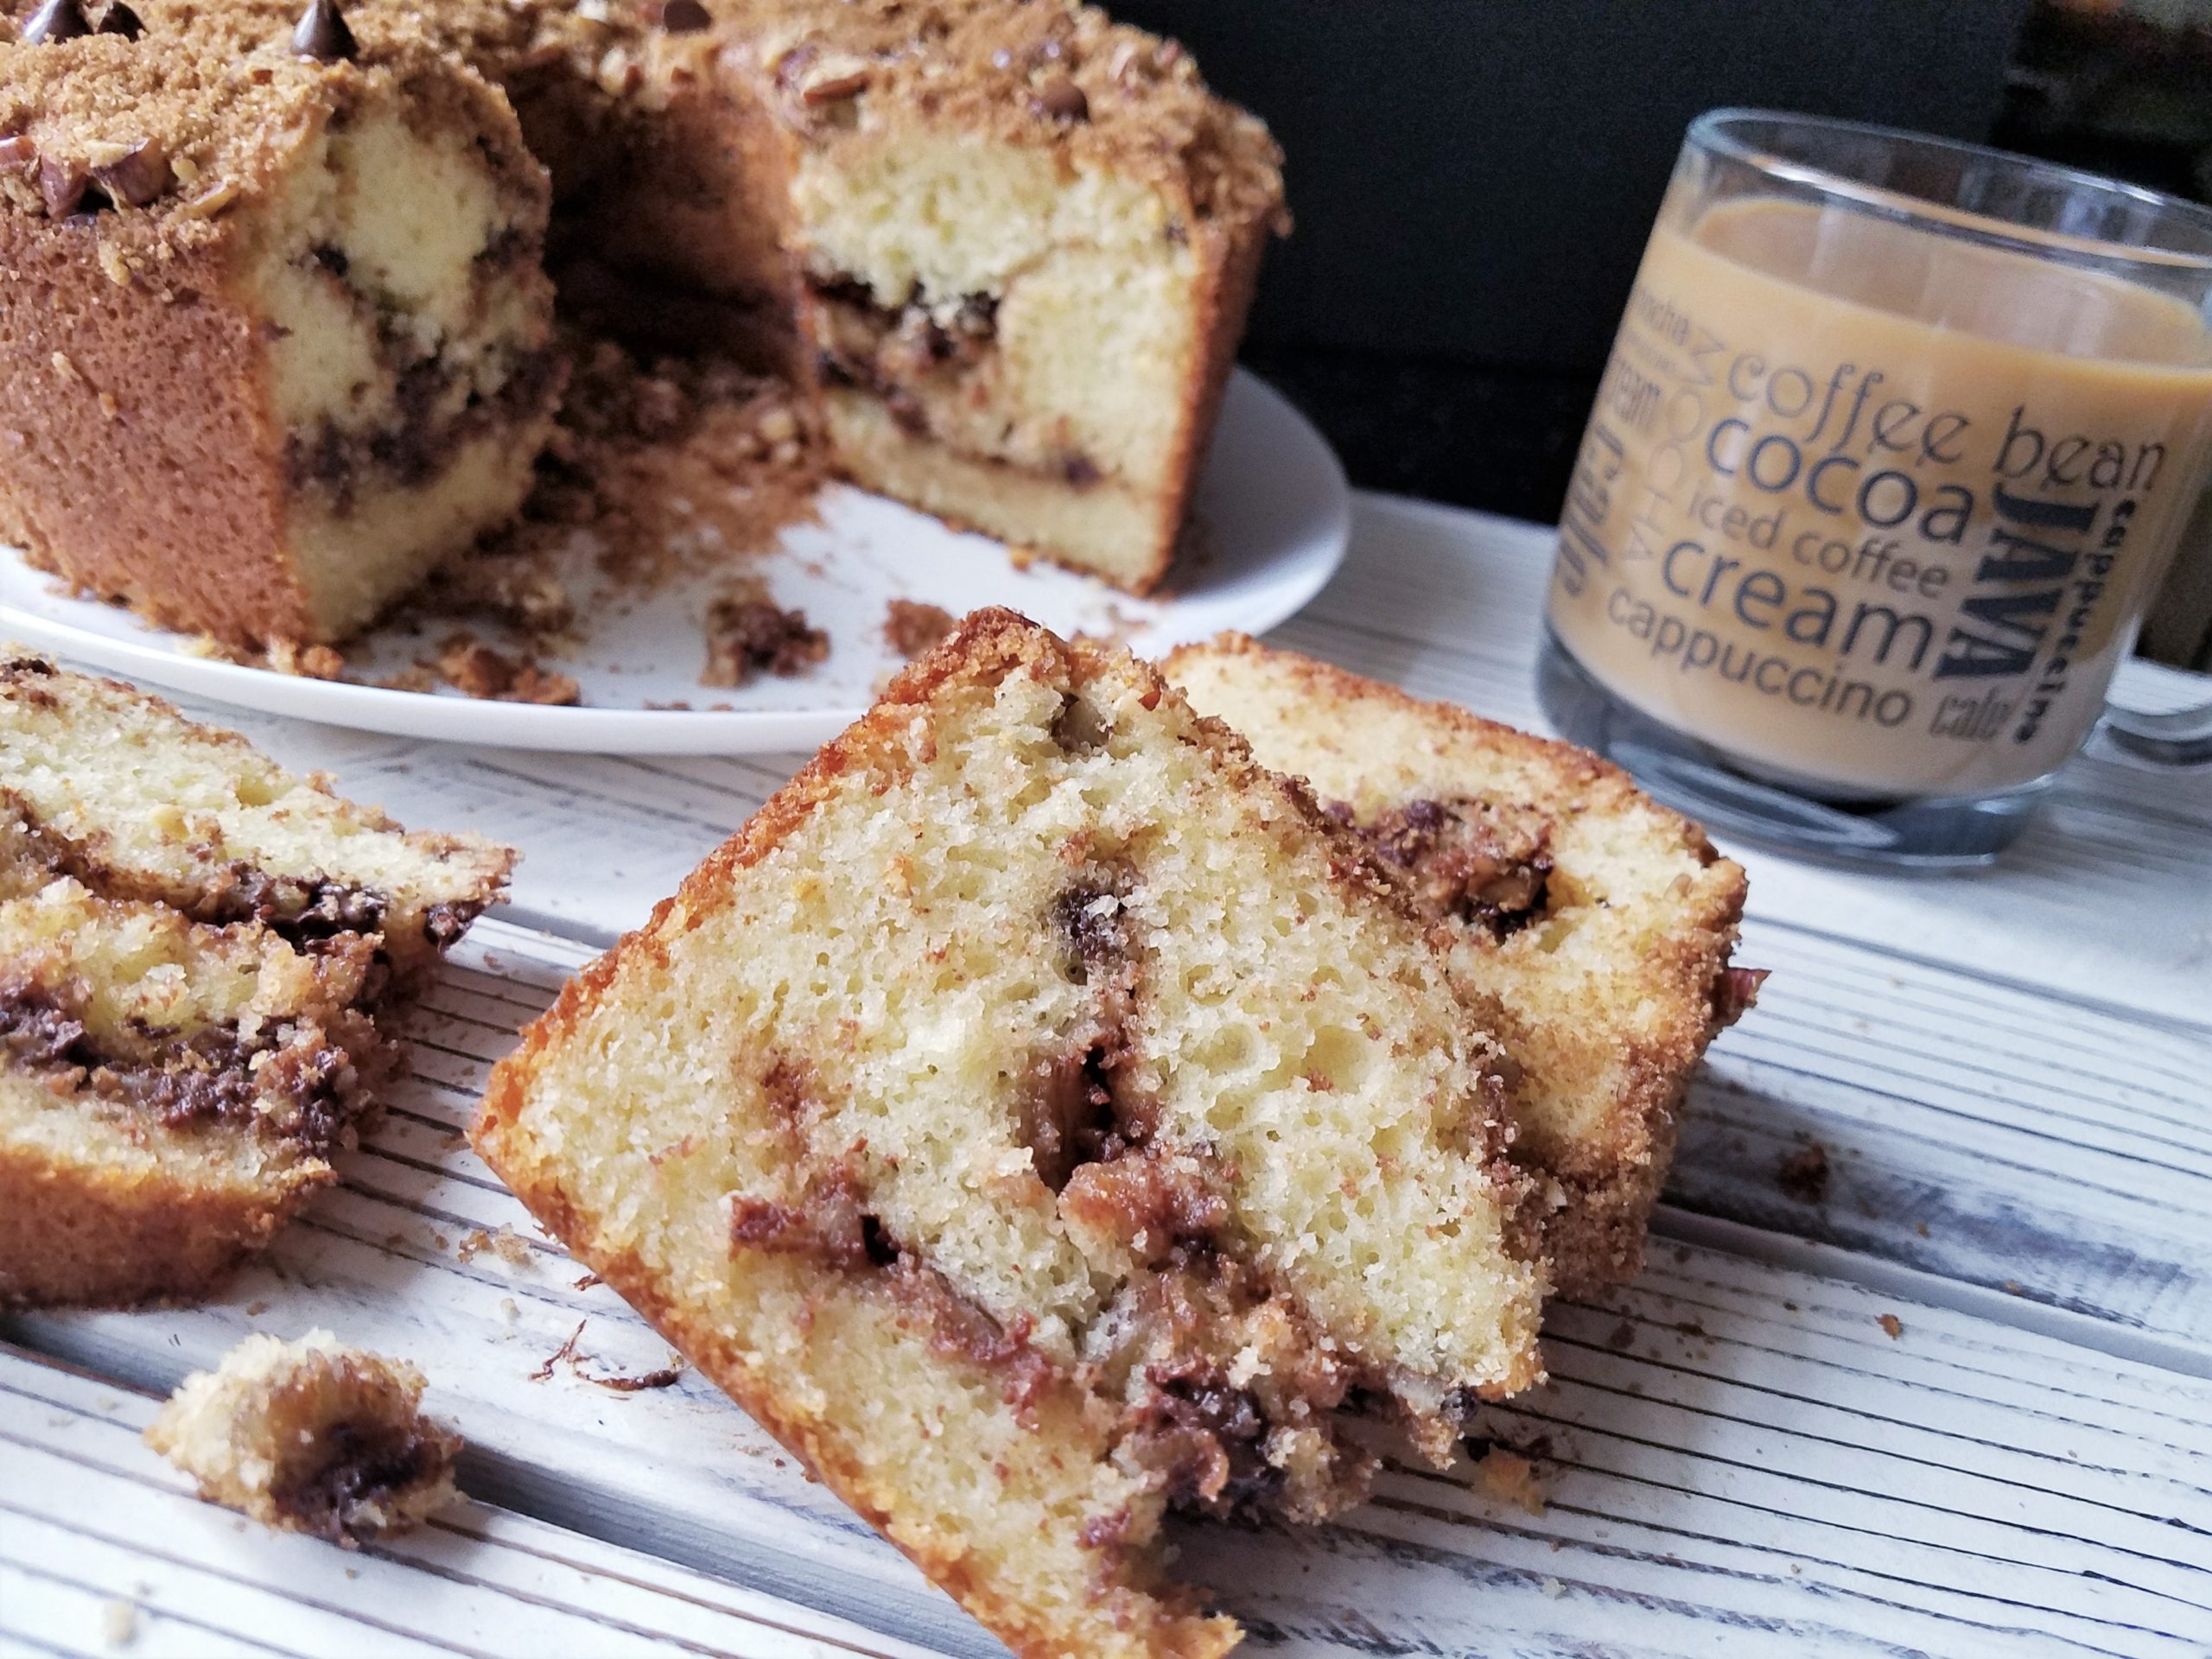
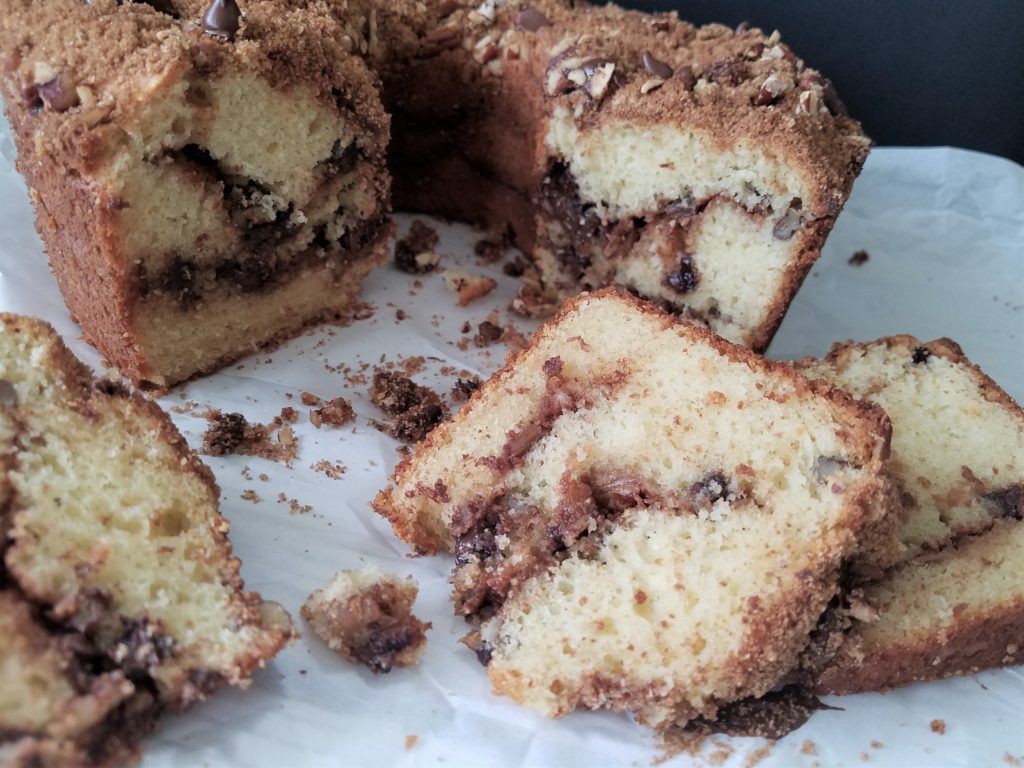
Recently I posted a photo of my mom’s incredible chocolate chip coffee cake on Instagram. I didn’t share the recipe at the time because I hadn’t taken many photos of it, then before I knew it, it was gone! So, I had to bake another one (tough job writing a food blog – right!). FYI… the name “coffee cake” implies it’s something to go with coffee, and just like that we are given permission to eat cake for breakfast! One thing I know for sure, my mom never needed an excuse to eat cake – or permission!

incredible chocolate chip coffee cake

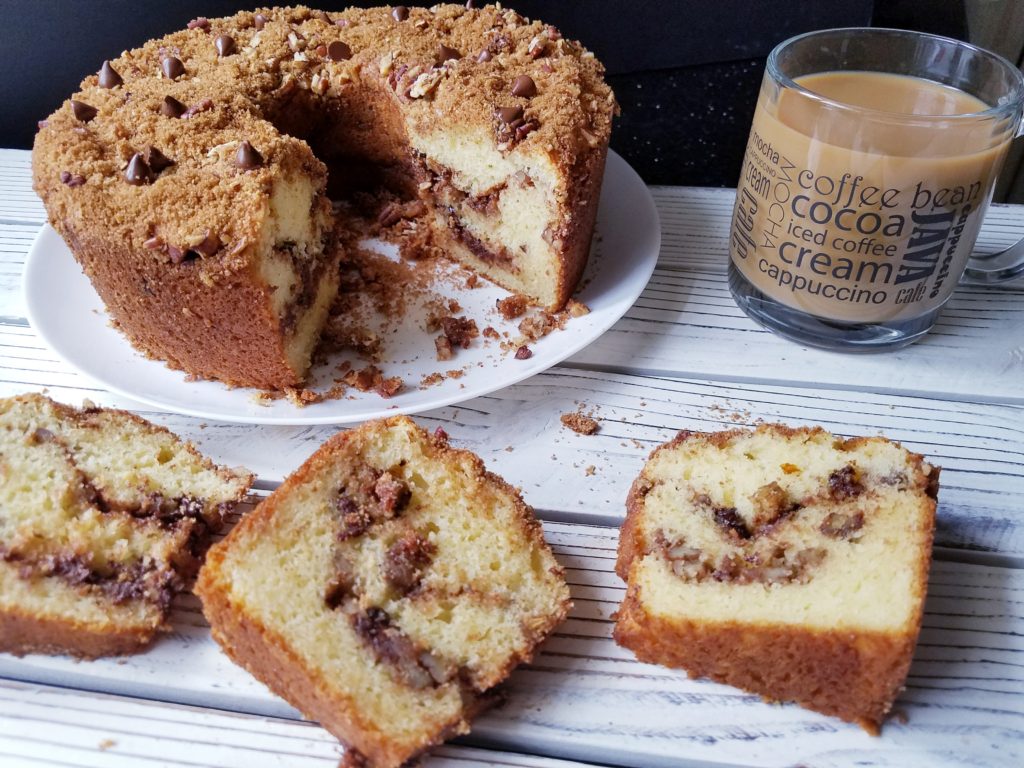
She made THE BEST chocolate chip coffee cake ever. It has a lot of cinnamon, it’s moist and delicious, decadent, loaded with a ridiculous amount of chocolate chips, and sour cream. It was something she always had in her freezer, ready for company and definitely her friends. They were all amazing ladies and bakers who definately ate a lot of coffee cake – of that I’m sure! She and her friends were always baking and exchanging recipes as if they were trading cards – they were adorable. My sisters and I lovingly referred to them as the Golden Girls, just like the sassy women of the tv show with the same name. Instead of cheesecake, their vice was coffee cake!

incredible chocolate chip coffee cake

On the corner of the recipe card my mother wrote “incredible” and “everyone loves this”. She told me everyone wanted her coffee cake recipe but she wasn’t sure she wanted to share this one, she liked being a local celebrity and didn’t want to share the spotlight! My mom was so funny, and always right! I debated sharing it as well!

It’s just the right Maj Jong snack cake, something to bring to a neighbor or these days when your hair salon re-opens! It’s picture perfect for a brunch buffet, quick, easy, and very versatile. I’m so glad I baked this for myself on Mother’s Day. It brought my mom right into my kitchen where we enjoyed a cup of coffee and her delicious cake! Enjoy!

incredible chocolate chip coffee cake

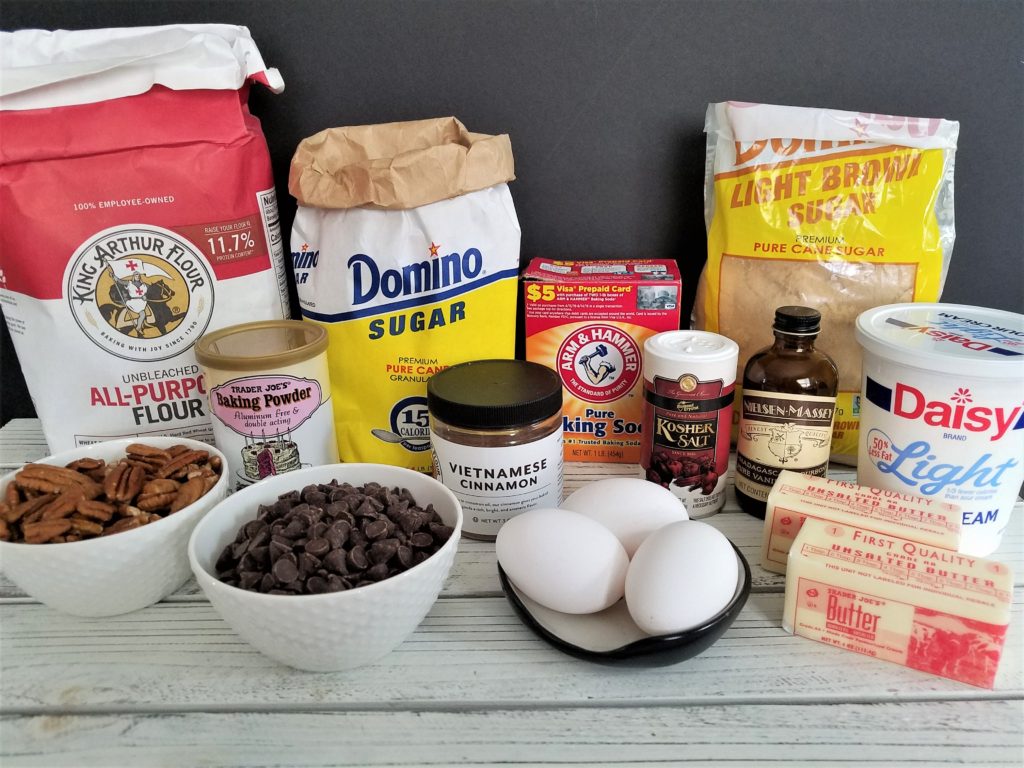
ingredients
1 ½ sticks unsalted butter at room temperature
1 ¼ cups granulated sugar
3 extra-large eggs at room temperature
1 ½ cups sour cream left out on the counter at the start of prep
1 tablespoon pure vanilla extract
1/2 teaspoon almond extract (optional)
2 ½ cups all-purpose flour (or cake flour)
2 ½ teaspoons baking powder
½ teaspoon baking soda
½ teaspoon kosher salt

the streusel filling and topping
1 cup semi-sweet chocolate chips (optional)
½ cup chopped pecans or walnuts (optional)
½ cup brown sugar
3 teaspoons cinnamon
2 teaspoons cocoa powder (I use Hershey’s)
¼ teaspoon salt

important note before we get to the directions:
1. You have to cream the butter and sugar until light and fluffy – that’s key. If you don’t have a mixer, use a whisk and get to work! 2. Sift the dry ingredients, it really makes a difference in the crumb and lightness of the cake. If using cake flour, skip this step.

directions
Preheat the oven to 350 degrees F. prepare with parchment and spray a 10”springform pan, or 10-inch tube pan (spray only) or two loaf pans, or a 9 x 13 rectangular pan*

for the streusel
Into a medium size bowl add the brown sugar, cinnamon, cocoa powder, salt and chopped pecans (if adding) mix together and set aside.

Divide the chocolate chips into two bowls, one containing one cup which will be added to the center of the cake, and in the other ½ cup which will be sprinkled on the top.

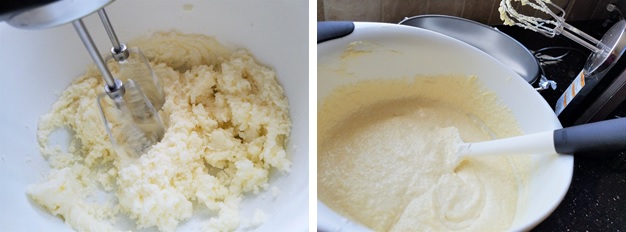
In a medium size bowl, sift together the flour, baking powder, baking soda, and salt and set aside. In the bowl of a stand mixer cream the butter and sugar for 3 to 4 minutes, until light in color and fluffy. Add the eggs 1 at a time, then add the vanilla and sour cream. With the mixer on low, add the flour mixture to the batter until just combined. Finish stirring with a spatula to be sure the batter is completely mixed. Don’t overmix, it will deflate the batter.

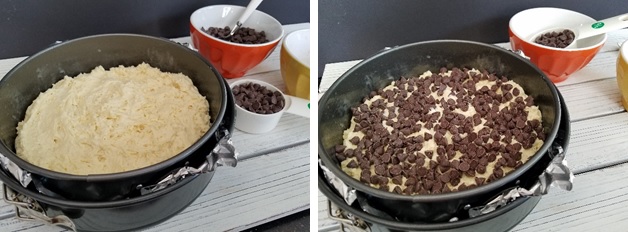
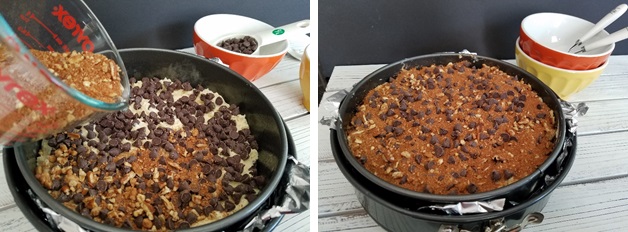
Spread ½ the batter into the prepared pan and lightly spread it out with a spoon. Sprinkle with 3/4 cup streusel. Scatter 1 cup of the chocolate chips on top. Spoon the rest of the batter in the pan, spread it out, and scatter the remaining streusel and chips on top. Bake for 50 to 60 minutes (depending on the pan size) or until a cake tester comes out clean. I break it down at the end of the recipe – see below

*My mom always made it as a cake in a 10” spring form cake pan which is how I like to do. But I have baked it in every pan listed below with great success. Let cool in pan on a wire rack for at least 30 minutes. Carefully transfer the cake, streusel side up, onto a serving plate.

Prepare baking pans with cooking spray and line with parchment paper. Baking times vary per pan size but in all always test for doneness with a cake tester or wooden skewer

recipe notes:
I have baked this recipe in various sized pans,* tried it with low-fat and regular sour cream, with and without nuts, and recently with cake flour instead of all-purpose only because that’s all I could find in the grocery (p.s. it turned out AMAZING!). The cake is so rich and delicious I don’t notice that much difference between the regular and low-fat sour cream, so if you want to save some calories, go for it. But you decide and let me know what you think. The only change I made to her original is adding a little almond extract, because I love it, but feel free to omit for a more traditional cake.

optional pan sizes
10” spring form or cake pan lined with parchment on the bottom, sprayed with cooking spray bottom and sides – bake for 50 to 60 minutes
10” Tube pan spray with cooking oil – bake for 55 to 65 minutes – let it cool completely so it will still look pretty on top when you take it out.
2 (9”x5”) loaf pans sprayed with cooking spray bottom and sides – bake for 50 to 60 minutes – let it cool completely so it will still look pretty on top when you take it out.
3 aluminum throw away loaf pans (3.75 x 8) – bake for 35 to 40 minutes no parchment liner needed
9×13 rectangular cake pan, line the pan with parchment both vertically and horizontally leaving a little hanging over to make it easy to take out, spray with cooking spray – bake 40 to 45 minutes

incredible chocolate chip coffee cake ingredients

perfect pizza dough

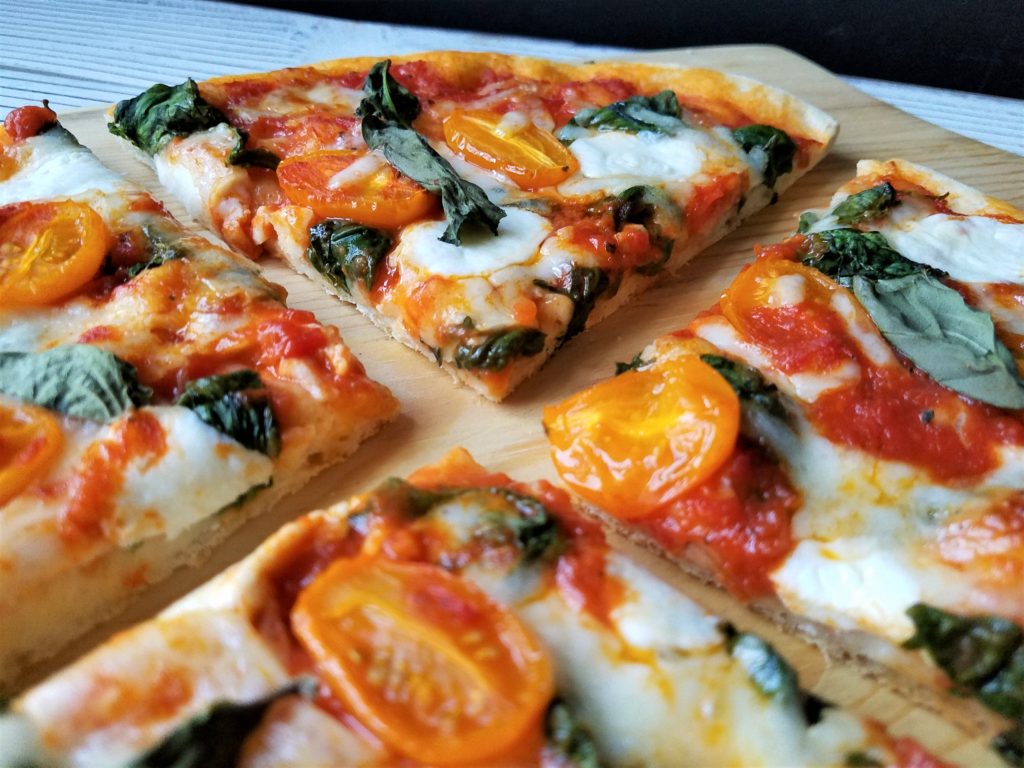
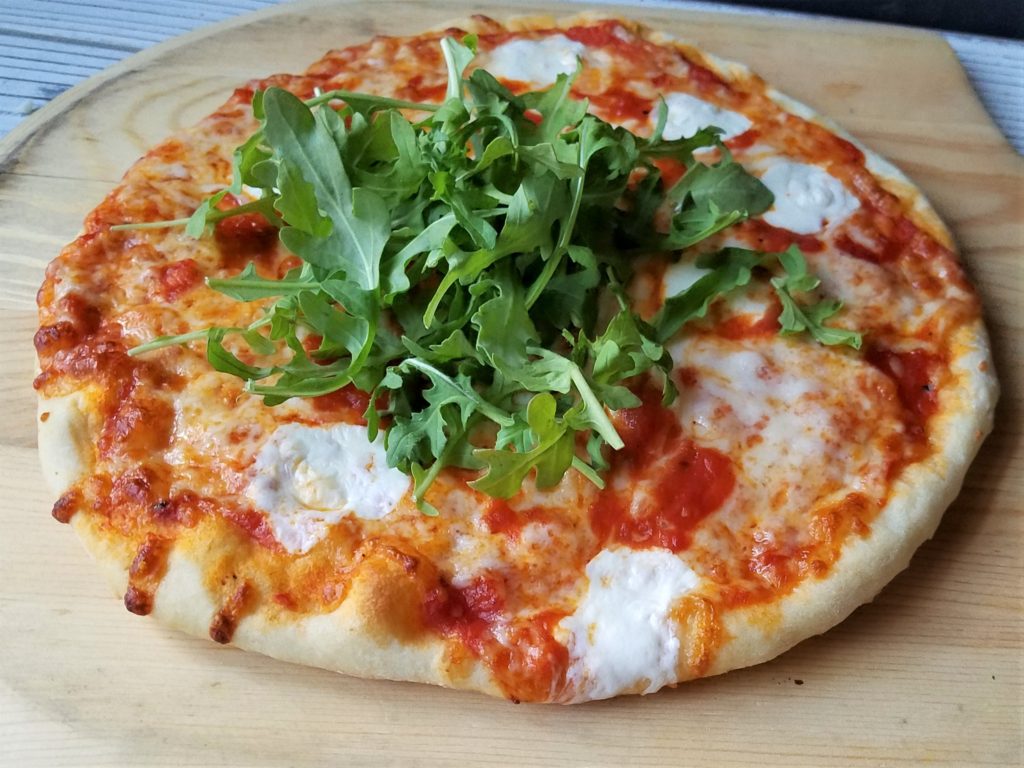
This perfect pizza dough has been my go-to for years. I love everything about it: minimal ingredients, easy to make, tastes great, and yields a tender but crispy crust. It holds up to the toppings and start to finish you can have delicious homemade pizza in less than two hours. If you’ve never made pizza dough before, you won’t believe how easy it is and you’ll be hooked.

When we first moved to Columbus we missed our NY pizza so much, we started having make your own pizza parties almost every Sunday night. This was always followed by an ice cream sundae bar! It was my way of ending the weekend on a high note before the hectic school week began.

Now my boys are grown and we are empty nesters. Our pizza parties went by the wayside. A couple of months ago, I decided to bring the party back! So now when my husband and I want to do something really fun on a Saturday night, we make pizza!

I have adapted this recipe from Kathleen Daelemans’ easy pizza dough recipe. She was on the Food Network and made it look so easy I had to try it. 16 years later I’m still using her recipe. I’m glad it’s very forgiving because sometimes I use a mixer and sometimes I mix it by hand. I have used both all-purpose flour, and bread flour. The bread flour yields a bit more tender crust, but not significantly. I use a pizza stone but if you don’t have one, you can use a rimless sheet pan.
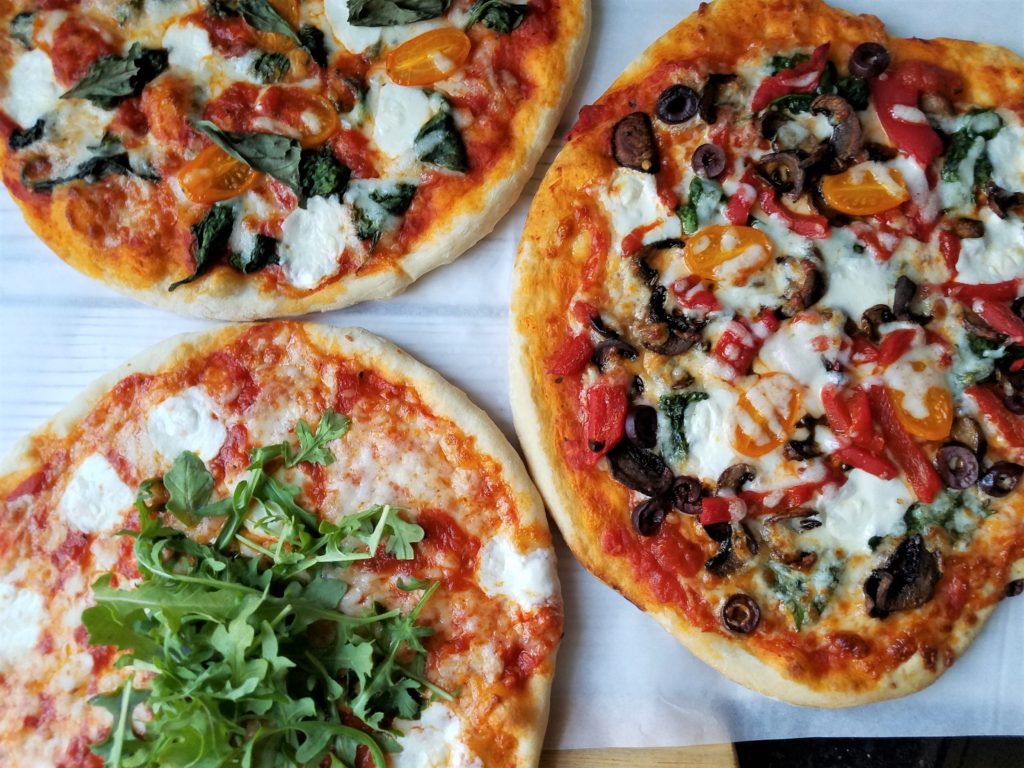
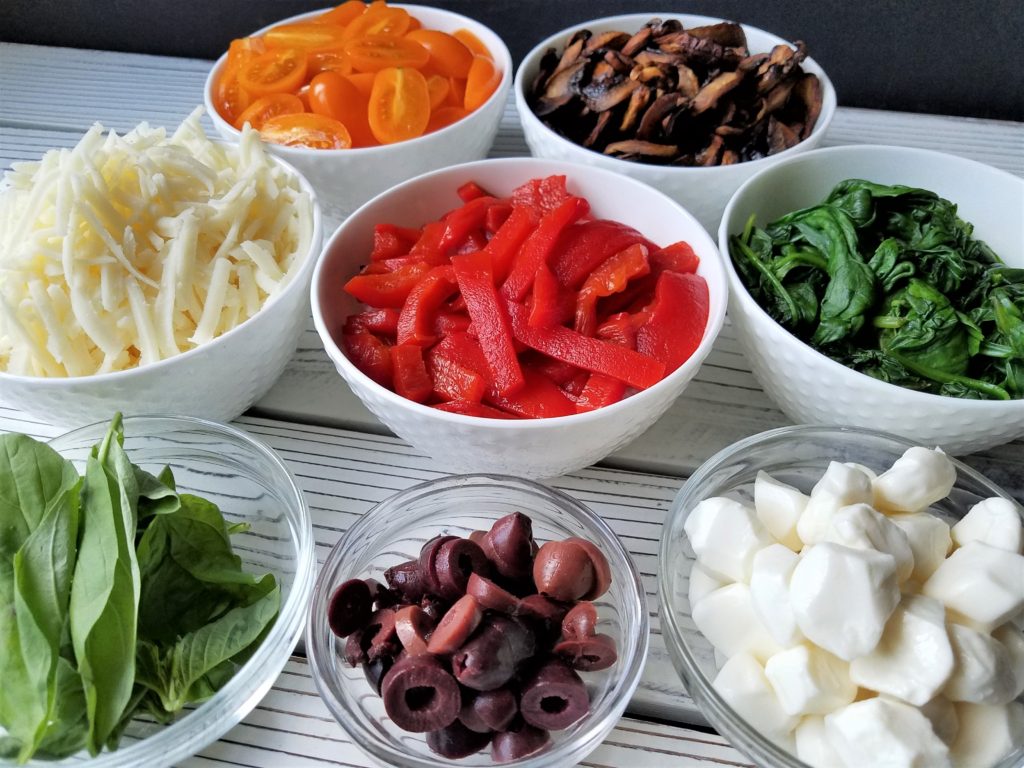
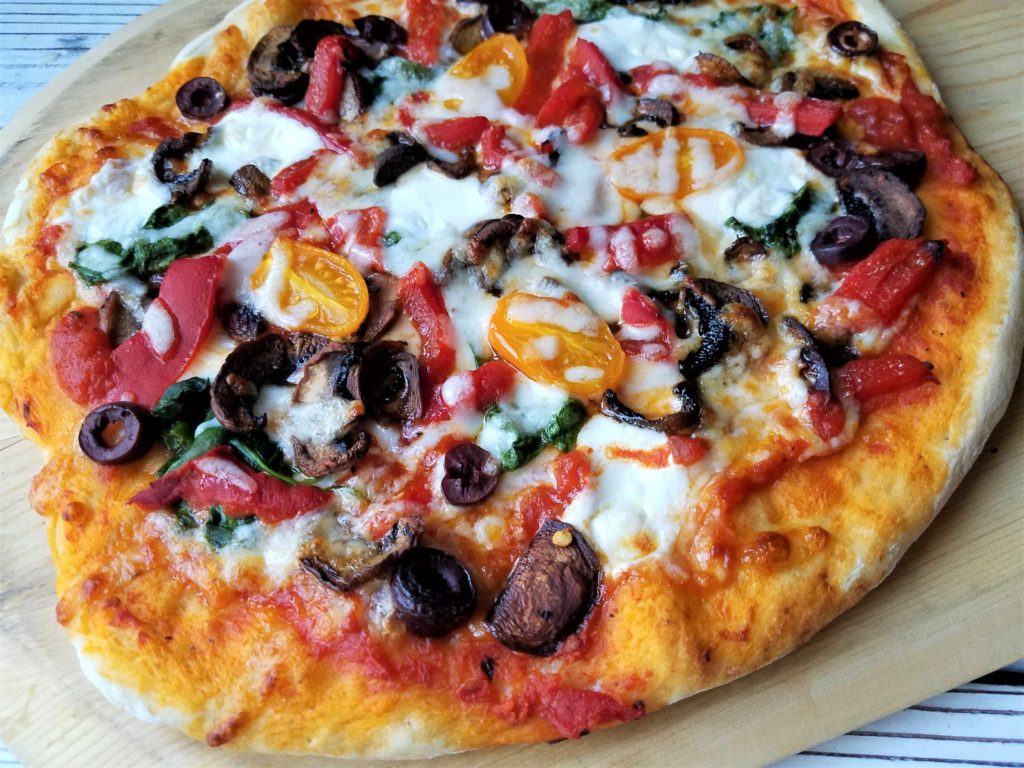
While the dough is rising I set up all of the toppings and then the extravaganza begins. I steam spinach, roast mushrooms and peppers, shred mozzarella cheese, cut up olives, and halve teardrop tomatoes. Any topping you like will work. Just make sure you don’t load up the pizza too much. I use 1/3 cup sauce for each pie, and about 1/2 cup vegetables, and 1/2 cup cheese.

The next time you’re looking for something really fun to do with your spouse, your kids, or your friends, this recipe is the one you should try. It makes four 10” to 12” inch pizzas or 2 – 14” pies. You can also use a sheet pan and stretch the dough to make one rectangular pizza. Whatever shape you go with Enjoy!

ingredients
3 1/2 cups unbleached, all-purpose flour
3 teaspoons fine kosher salt
2 teaspoon extra virgin olive oil plus a little for the bowl
½ teaspoon sugar
2 packages dry active yeast (4 teaspoons)
1 ½ cups lukewarm water
Extra flour, for the work surface

toppings
Use whatever sauce is your favorite. I like to use a good jarred sauce like Rao’s Pizza Sauce’s. You can top it with shredded or fresh mozzarella cheese or both, and vegetable toppings of your choice.

directions
Dissolve the yeast in 1 ½ cups warm water with ½ teaspoon sugar; after about 5 minutes it should look cloudy and have bubbles on the surface.

There are two ways to make this dough. Option 1: In a mixing bowl fitted with a dough hook, place in flour, and salt. While mixer is running, gradually add the yeast-water mixture and knead on low speed until dough is firm and smooth, about 5 minutes. Option 2: you can do this all by hand which is my preferred way to make this dough. It comes together so easily. Place the flour and salt in a bowl, make a well in the center, pour in the yeast water mixture in the middle, and the olive oil. Mix with a fork to combine, then use a spoon to mix it together. when it forms a ball, it’s ready to knead. Knead the dough for about 5 minutes.

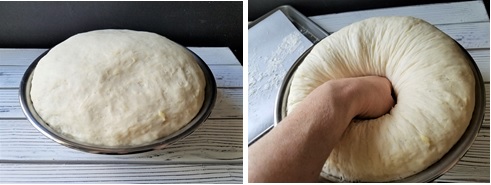
When dough is ready, shape into a ball, pour a little oil down inside of bowl. Cover bowl with plastic wrap and let dough rise in warm spot until doubled in bulk, about 45 minutes to 1 hour.

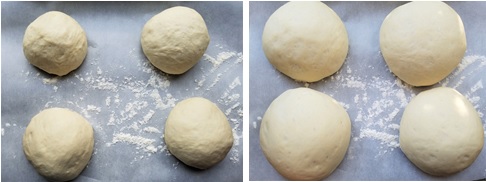
After it has doubled, punch it down to get the air bubbles out and divide into 2 or 4 equal pieces depending on the size pizzas you want. Form the dough into balls and place on a lightly floured board covered with foil or parchment. At this point, if you don’t want to use them all right away, you can place the balls into individual bags and refrigerate for up to three days. Cover the dough balls with a damp paper towel. Let the dough rise again for an additional 30 minutes.

Preheat oven to 500 degrees F. set oven rack to the lowest position in the oven and place your pizza stone in if using. You want to put your pizza stone in the cold oven – never in a hot oven, it will crack. If you don’t have a stone, you can put the pizza onto a cookie sheet.

Working with one dough ball at a time, on a lightly floured work surface, (I like to do this directly on aluminum foil or parchment paper) gently form a disk, press down and keep stretching the dough first with your hands and then using a floured rolling pin, gently roll dough into a 10 to 12 inch circle until very thin. Don’t worry if your circle isn’t perfect or if you get a hole just pinch the edges back together.

If the dough feels a little sticky, sprinkle with flour. Add toppings keeping them 1/2 inch in from the edge. Using a pizza peel, or flat sheet pan, transfer the pizza onto the stone while still on the foil or parchment. Alternatively you can place the pizza on a cookie sheet and slide that onto the bottom rack of the oven.
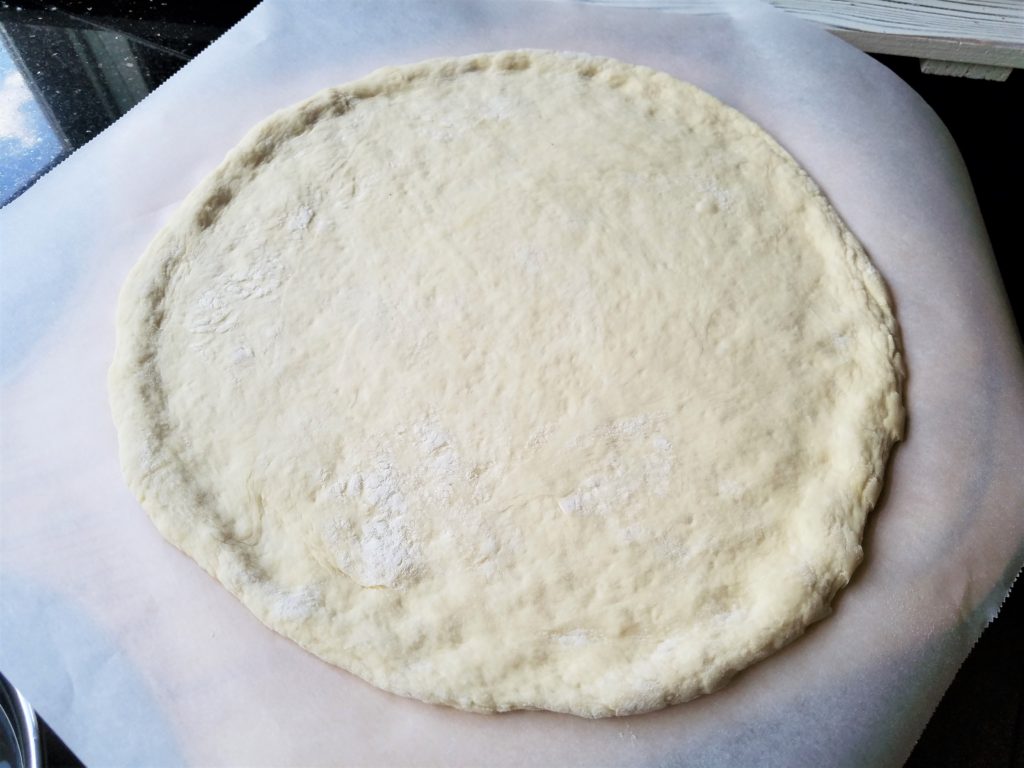
After it’s been in the oven for about 2 minutes, slide the foil or parchment out from under the pizza. You have to do this quickly and carefully especially if using parchment. Alternatively you can use a little cornmeal under the dough and slide it onto the stone or sheet pan directly. I’m not successful at that and find this to be the easiest way for me. In the past flour and cornmeal got all over my oven.

Keep an eye on it when it bakes; it cooks really quickly.. Bake 8 to 10 minutes or until golden and the cheese is bubbling. Checking after 5 minutes.